Getting Started
Part 1, Chapter 3
Project Setup
Start by creating a new project directory called "taxi-ng-app" to hold both the client and server applications.
$ mkdir taxi-ng-app && cd taxi-ng-app
Then, within "taxi-ng-app", create a new virtual environment to isolate our project's dependencies:
$ mkdir server && cd server
$ python3.10 -m venv env
$ source env/bin/activate
(env)$
The above commands may differ depending on your OS as well as your Python virtual environment tool (i.e., venv, virtualenvwrapper, Pipenv, Poetry).
Install Django, Django REST Framework, Django Channels, channel_redis, pytest-asyncio, pytest-django, Pillow, djangorestframework-simplejwt, and Psycopg2. Then, create a new Django project and app.
(env)$ pip install \
       Django==4.1.3 \
       djangorestframework==3.14.0 \
       channels==4.0.0 \
       channels-redis==4.0.0 \
       daphne==4.0.0 \
       pytest-asyncio==0.20.1 \
       pytest-django==4.5.2 \
       Pillow==9.3.0 \
       djangorestframework-simplejwt==5.2.2 \
       psycopg2-binary==2.9.5

(env)$ django-admin startproject taxi .
(env)$ python manage.py startapp trips
Your project directory should look like:
└── server
    ├── manage.py
    ├── taxi
    │   ├── __init__.py
    │   ├── asgi.py
    │   ├── settings.py
    │   ├── urls.py
    │   └── wsgi.py
    └── trips
        ├── __init__.py
        ├── admin.py
        ├── apps.py
        ├── migrations
        │   └── __init__.py
        ├── models.py
        ├── tests.py
        └── views.py
Postgres and Redis
You can set up and run Postgres and Redis directly from your operating system or from a Docker container. While you don't have to go the Docker route in Part 1, Part 2 will use Docker, so it's highly recommend to stick with Docker in Part 1 as well.
With Docker
Start by installing Docker if you haven't already done so.
Then, run the following command:
$ docker run --name some-postgres -p 5432:5432 \
    -e POSTGRES_USER=taxi -e POSTGRES_DB=taxi -e POSTGRES_PASSWORD=taxi -d postgres
This downloads the official Postgres Docker image from Docker Hub and runs it on port 5432 in the background. It also sets up a database with the user, password, and database name all set to taxi.
Next, spin up Redis on port 6379:
Then, run the following command:
$ docker run --name some-redis -p 6379:6379 -d redis
To test if Redis is up and running, run:
$ docker exec -it some-redis redis-cli ping

PONG
Without Docker
Download and install PostgreSQL using the method that works best for your system. Depending on your operating system and preferred installation, starting PostgreSQL may involve running a command in your terminal or starting an application. Make sure that PostgreSQL is running on its default port, 5432. We'll use this port to connect Django to the database.
Next, download and install Redis. In a new terminal window start the Redis server and make sure that it is running on its default port, 6379. The port number will be important when we tell Django how to communicate with Redis.
$ redis-server
If you're on a Mac, we recommend using Homebrew for both PostgreSQL and Redis:
$ brew install postgresql
$ brew services start postgresql
$ brew install redis
$ brew services start redis
Connect to Postgres using the psql client:
$(env) psql -U postgres
Create a new database and user with the following commands:
postgres=# CREATE USER taxi WITH SUPERUSER CREATEDB CREATEROLE PASSWORD 'taxi';
postgres=# CREATE DATABASE taxi OWNER taxi;
Exit psql by typing \q and hitting the RETURN button.
Django Config
Next, open up the project in your code editor of choice and make the following changes to settings.py:
# server/taxi/settings.py

import os # add with the other imports

INSTALLED_APPS = [
    'django.contrib.admin',
    'django.contrib.auth',
    'django.contrib.contenttypes',
    'django.contrib.sessions',
    'django.contrib.messages',
    'django.contrib.postgres', # new
    'django.contrib.staticfiles',
    'rest_framework', # new
    'trips', # new
]

# changed
DATABASES = {
    'default': {
        'ENGINE': 'django.db.backends.postgresql',
        'NAME': os.getenv('PGDATABASE'),
        'USER': os.getenv('PGUSER'),
        'PASSWORD': os.getenv('PGPASSWORD'),
        'HOST': os.getenv('PGHOST', 'localhost'),
        'PORT': os.getenv('PGPORT', '5432'),
    }
}

AUTH_USER_MODEL = 'trips.User' # new
Here, alongside the boilerplate Django apps, we've added Django's PostgreSQL package, Django REST Framework, and our own trips app.
We've replaced the default SQLite3 database with PostgreSQL. We're getting the database settings from the environment variables. We'll need to make sure that we set those variables in the same environment where we run the Django server. They can be anything you'd like, but for the purposes of this demo, define the following variables:
$ export PGDATABASE=taxi PGUSER=taxi PGPASSWORD=taxi
We're sticking with the default values for PGHOST and PGPORT.
We've also added an AUTH_USER_MODEL setting to make Django reference a user model of our design instead of the built-in one since we'll need to store more user data than what the standard fields allow.
Since we're creating this project from scratch, defining a custom user model is the right move. If we had made this change later in the project, we would have had to create a supplementary model and link it to the existing default user model.
Custom User Model
Create a basic custom user model in the server/trips/models.py file.
# server/trips/models.py

from django.contrib.auth.models import AbstractUser


class User(AbstractUser):
    pass
Using this custom User model allows us to add fields to it later.
Then make our first migration:
(env)$ python manage.py makemigrations
Migrations for 'trips':
  trips/migrations/0001_initial.py
    - Create model User
Now we can run the Django management migrate command, which will properly set up our app to use our custom user model. All database tables will be created as well.
(env)$ python manage.py migrate
You should see something similar to:
Operations to perform:
  Apply all migrations: admin, auth, contenttypes, sessions, trips
Running migrations:
  Applying contenttypes.0001_initial... OK
  Applying contenttypes.0002_remove_content_type_name... OK
  Applying auth.0001_initial... OK
  Applying auth.0002_alter_permission_name_max_length... OK
  Applying auth.0003_alter_user_email_max_length... OK
  Applying auth.0004_alter_user_username_opts... OK
  Applying auth.0005_alter_user_last_login_null... OK
  Applying auth.0006_require_contenttypes_0002... OK
  Applying auth.0007_alter_validators_add_error_messages... OK
  Applying auth.0008_alter_user_username_max_length... OK
  Applying auth.0009_alter_user_last_name_max_length... OK
  Applying auth.0010_alter_group_name_max_length... OK
  Applying auth.0011_update_proxy_permissions... OK
  Applying auth.0012_alter_user_first_name_max_length... OK
  Applying trips.0001_initial... OK
  Applying admin.0001_initial... OK
  Applying admin.0002_logentry_remove_auto_add... OK
  Applying admin.0003_logentry_add_action_flag_choices... OK
  Applying sessions.0001_initial... OK
Ensure all is well by running the development server:
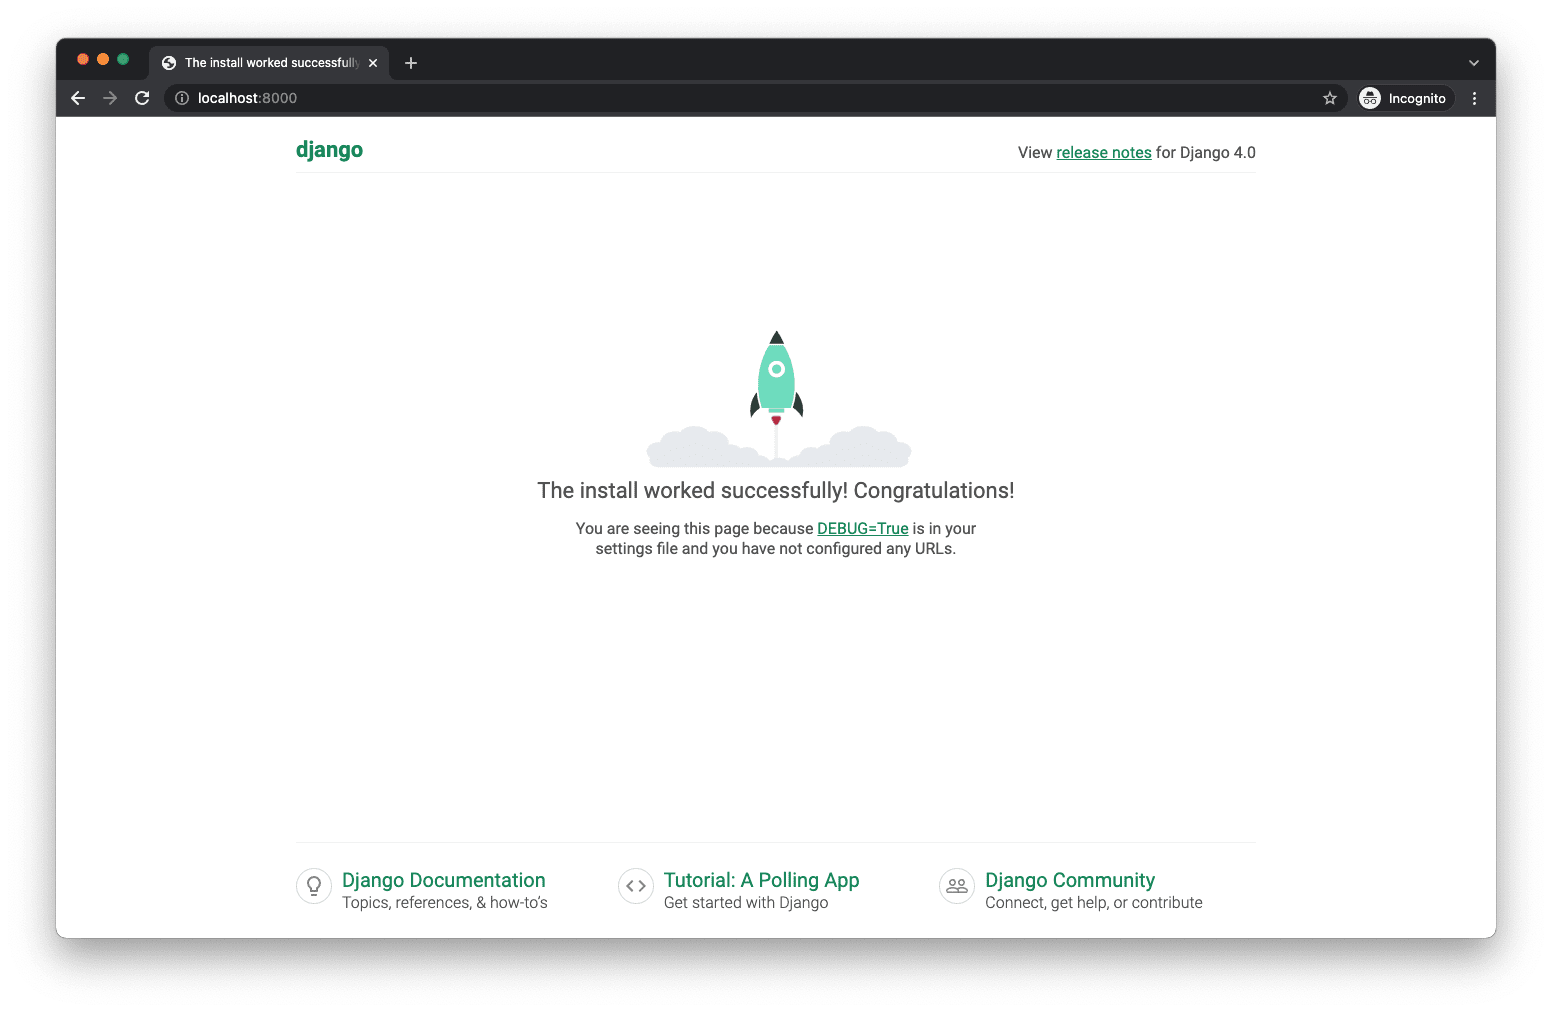
(env)$ python manage.py runserver
Then, navigate to http://localhost:8000/ within your browser of choice. You should see:
Kill the server by typing Control+C (the Control and "C" key at the same time).
Let's set up the Django admin page next.
Admin
Create a new superuser account with the createsuperuser management command. Choose a username, an email, and a password when prompted. (If Django deems your password "too common", it will warn you.)
(env)$ python manage.py createsuperuser
Open your trips/admin.py file and replace the contents with the following code.
# server/trips/admin.py

from django.contrib import admin
from django.contrib.auth.admin import UserAdmin as DefaultUserAdmin

from .models import User


@admin.register(User)
class UserAdmin(DefaultUserAdmin):
    pass
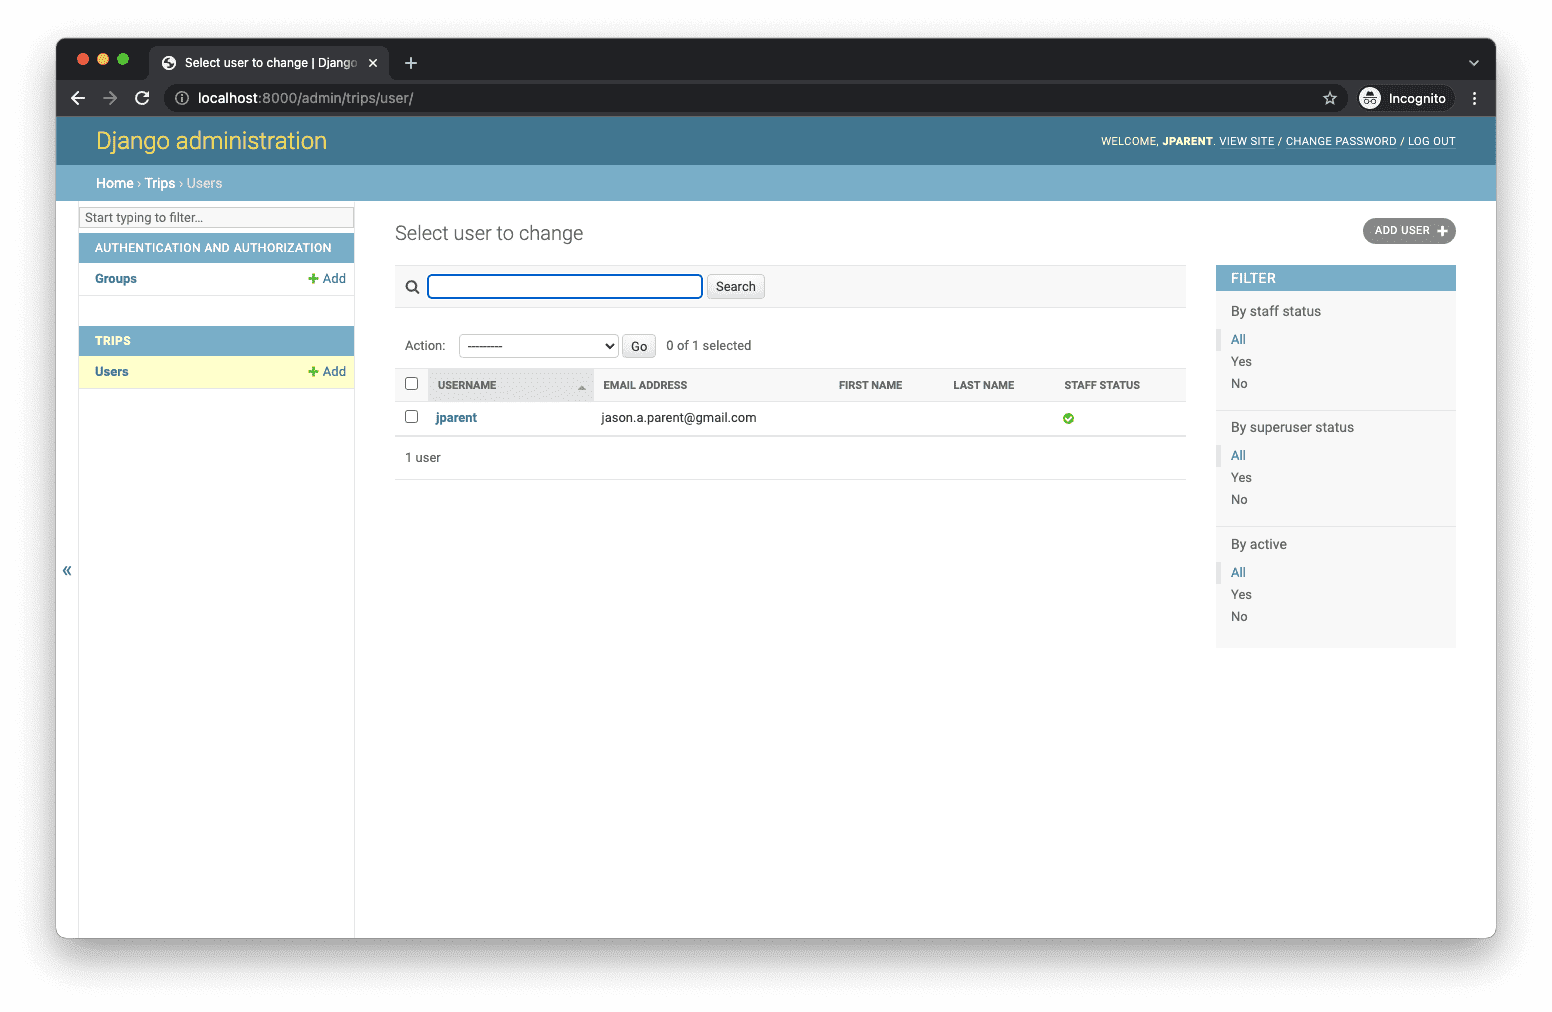
Run the server again. Visit http://localhost:8000/admin/ in your browser and log in with your superuser credentials. Click on the "Users" link to see your admin user's record.
Channels Config
Next, configure the CHANNEL_LAYERS by setting a default Redis backend and routing in the settings.py file. This can go at the bottom of the file.
# server/taxi/settings.py

REDIS_URL = os.getenv('REDIS_URL', 'redis://localhost:6379')

CHANNEL_LAYERS = {
    'default': {
        'BACKEND': 'channels_redis.core.RedisChannelLayer',
        'CONFIG': {
            'hosts': [REDIS_URL],
        },
    },
}
Then, add Django Channels to the INSTALLED_APPS:
# server/taxi/settings.py

INSTALLED_APPS = [
    'daphne', # new
    'django.contrib.admin',
    'django.contrib.auth',
    'django.contrib.contenttypes',
    'django.contrib.sessions',
    'django.contrib.messages',
    'django.contrib.postgres',
    'django.contrib.staticfiles',
    'rest_framework',
    'trips',
]
Modify the taxi/asgi.py file to have the following contents:
# server/taxi/asgi.py

import os

from django.core.asgi import get_asgi_application

from channels.routing import ProtocolTypeRouter

os.environ.setdefault('DJANGO_SETTINGS_MODULE', 'taxi.settings')

django_asgi_application = get_asgi_application()

application = ProtocolTypeRouter({
    'http': django_asgi_application,
})
Run with this for now. We'll look at what's happening here in an upcoming lesson.
Open your settings.py file one last time. Find the WSGI_APPLICATION setting and below that line add the following:
# server/taxi/settings.py

ASGI_APPLICATION = 'taxi.asgi.application'
Make sure the server runs error-free.
(env)$ python manage.py runserver
Your directory structure should look like the following. (Virtual environment and other system files are excluded.)
└── server
    ├── manage.py
    ├── taxi
    │   ├── __init__.py
    │   ├── asgi.py
    │   ├── settings.py
    │   ├── urls.py
    │   └── wsgi.py
    └── trips
        ├── __init__.py
        ├── admin.py
        ├── apps.py
        ├── migrations
        │   ├── 0001_initial.py
        │   └── __init__.py
        ├── models.py
        ├── tests.py
        └── views.py
Before moving on, take a moment to review all that we've done thus far. Try to answer the "why" along with the "what" and "how". For example, why did we use Redis over an in-memory layer for Django Channels?
✓ Mark as Completed