Authentication
Part 1, Chapter 4
Authentication is the cornerstone of any app that handles user data. It allows users to maintain privacy within the app, while gaining access to the full set of features afforded with registration.
Authentication Classes
With Django REST Framework (DRF), we have four authentication classes to choose from:
BasicAuthenticationRemoteUserAuthenticationSessionAuthenticationTokenAuthentication
Here's what you need to know: Every authentication method requires the client to send a user's credentials to the server at least once.
- In the case of basic authentication, the client must send the user's credentials over the wire with every request. This stipulation gives bad actors more opportunities to steal a user's password.
- Remote authentication passes the responsibility of verifying a user's identity to a third party. Most of the time, the third party is a centralized single sign-on server that supports a protocol such as LDAP, CAS, or SAML.
- With both session and token authentication, the client exchanges a user's credentials for an encrypted string. The client sends the secure string back to the server in subsequent requests to validate the user's identity. The server stores a record that associates the user with the secure string, usually in a database table. When the user logs out of the application, the server deletes that record, invalidating any additional attempts to use the old string for authentication.
The method of exchanging a secure string between the client and the server is important.
- Session authentication passes the string back and forth using cookies.
- Token authentication requires the client to explicitly send the string in the request, typically in an authentication header.
Any of these authentication methods are straightforward to use over HTTP, but some of them are difficult to use with WebSockets. The JavaScript WebSocket API supports cookies but does not support custom headers. Session authentication can work nicely here, but since we're designing this application to be run on a mobile device, token authentication is more desirable. We'll have to find a creative way to send the token over a WebSocket connection.
Server Configuration
Let's start by setting up our app to use both Django REST Framework's session authentication and the djangorestframework-simplejwt's JWTAuthentication class. Why use both? Although the main part of our app is meant to be run on a mobile device, we still need to support the Django admin, which will almost always be accessed from a desktop browser. Session authentication is the appropriate choice for our server-rendered static admin site and token authentication is the ideal option for authenticating our APIs. Add the following to the bottom of the server/taxi/settings.py file:
# server/taxi/settings.py

REST_FRAMEWORK = {
    'DEFAULT_AUTHENTICATION_CLASSES': (
        'rest_framework_simplejwt.authentication.JWTAuthentication',
        'rest_framework.authentication.SessionAuthentication',
    )
}

SIMPLE_JWT = {
    'ACCESS_TOKEN_LIFETIME': datetime.timedelta(minutes=60),
    'REFRESH_TOKEN_LIFETIME': datetime.timedelta(days=1),
    'USER_ID_CLAIM': 'id',
}
Don't forget to add the import datetime statement to the top of the file.
During the course of this tutorial, we're going to be following Test-Driven Development (TDD) to confirm that our code works. In the next part of the tutorial, we'll be adding a user interface so that we can play with the app as an actual user.
Sign Up
Let's create a new user account via an API. Users should be able to download our app and immediately sign up for a new account by providing the bare minimum information: username, password, and their names. The distinction between password1 and password2 correlates to users entering their passwords and then confirming them. Eventually, our app will present users a form with input fields and a submit button.
Remove the existing server/trips/tests.py file and create a new "tests" directory inside of "trips". Within it add an empty __init__.py file along with a test_http.py file.
Your new directory structure should look like this:
└── server
    ├── manage.py
    ├── taxi
    │   ├── __init__.py
    │   ├── asgi.py
    │   ├── settings.py
    │   ├── urls.py
    │   └── wsgi.py
    └── trips
        ├── __init__.py
        ├── admin.py
        ├── apps.py
        ├── migrations
        │   ├── 0001_initial.py
        │   └── __init__.py
        ├── models.py
        ├── tests
        │   ├── __init__.py
        │   └── test_http.py
        └── views.py
Add the following test to server/trips/tests/test_http.py:
# server/trips/tests/test_http.py

from django.contrib.auth import get_user_model
from rest_framework import status
from rest_framework.reverse import reverse
from rest_framework.test import APITestCase

PASSWORD = 'pAssw0rd!'


class AuthenticationTest(APITestCase):
    def test_user_can_sign_up(self):
        response = self.client.post(reverse('sign_up'), data={
            'username': '[email protected]',
            'first_name': 'Test',
            'last_name': 'User',
            'password1': PASSWORD,
            'password2': PASSWORD,
        })
        user = get_user_model().objects.last()
        self.assertEqual(status.HTTP_201_CREATED, response.status_code)
        self.assertEqual(response.data['id'], user.id)
        self.assertEqual(response.data['username'], user.username)
        self.assertEqual(response.data['first_name'], user.first_name)
        self.assertEqual(response.data['last_name'], user.last_name)
A couple things to note:
- We expect our API to return a 201 status code when the user account is created.
- The response data should be a JSON-serialized representation of our user model.
Run the test now:
(env)$ python manage.py test trips.tests
It should fail:
django.urls.exceptions.NoReverseMatch: Reverse for 'sign_up' not found.
'sign_up' is not a valid view function or pattern name.
Remember: A tenant of TDD is that we should write failing tests (red) before writing the code to get them to pass (green).
We need to create several pieces of code before our tests will pass.
Typically, a data model is the first thing we want to create in a situation like this. We've already created a user model, and since it extends Django's built-in model, it already supports the fields we need.
The next bit of code we need is the user serializer. Create a new server/trips/serializers.py file and fill in the following code:
# server/trips/serializers.py

from django.contrib.auth import get_user_model
from rest_framework import serializers


class UserSerializer(serializers.ModelSerializer):
    password1 = serializers.CharField(write_only=True)
    password2 = serializers.CharField(write_only=True)

    def validate(self, data):
        if data['password1'] != data['password2']:
            raise serializers.ValidationError('Passwords must match.')
        return data

    def create(self, validated_data):
        data = {
            key: value for key, value in validated_data.items()
            if key not in ('password1', 'password2')
        }
        data['password'] = validated_data['password1']
        return self.Meta.model.objects.create_user(**data)

    class Meta:
        model = get_user_model()
        fields = (
            'id', 'username', 'password1', 'password2',
            'first_name', 'last_name',
        )
        read_only_fields = ('id',)
Remember: Right now our user data is basic (first name, last name, username, and password), so we only need access to a few fields. We should never need to read the password.
Next, open the server/trips/views.py file and add the following view to it:
# server/trips/views.py

from django.contrib.auth import get_user_model
from rest_framework import generics

from .serializers import UserSerializer


class SignUpView(generics.CreateAPIView):
    queryset = get_user_model().objects.all()
    serializer_class = UserSerializer
Here, we created a SignUpView that extends Django REST Framework's CreateAPIView and leverages our UserSerializer to create a new user.
Here's how it works behind the scenes:
- Django passes request data to the
SignUpView, which in turn attempts to create a new user with theUserSerializer. The serializer checks if the passwords match. - If all of the data is valid, the serializer creates and returns a new user. If it fails, then the serializer returns the errors. Even if the passwords match, validation could fail if the username is already taken or the password isn't strong enough.
Finally, configure a URL to link to our view. We do this by updating the existing server/taxi/urls.py file:
# server/taxi/urls.py

from django.contrib import admin
from django.urls import path

from trips.views import SignUpView

urlpatterns = [
    path('admin/', admin.site.urls),
    path('api/sign_up/', SignUpView.as_view(), name='sign_up'),
]
Run the tests:
(env)$ python manage.py test trips.tests
They should pass!
Keep in mind that throughout this course we'll only be testing the happy path(s). Adding tests for error handling is a separate, highly recommended exercise left to the reader.
To manually test, fire up the server python manage.py runserver and navigate to the Browsable API at http://localhost:8000/api/sign_up/:
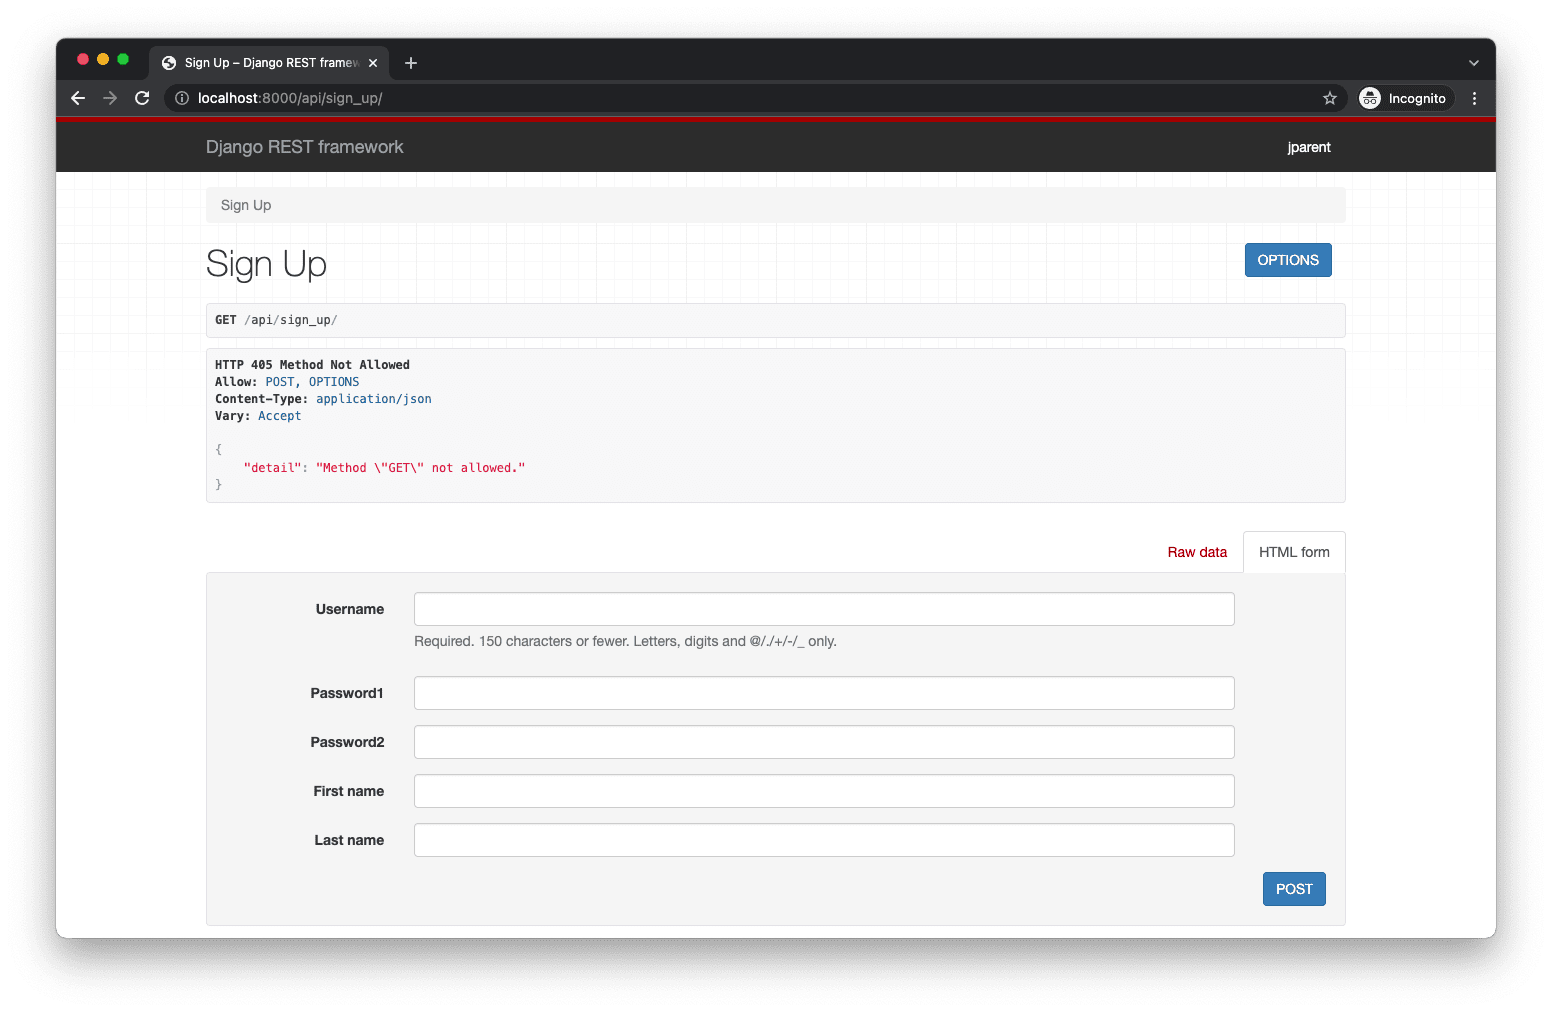
Take note of the following error:
HTTP 405 Method Not Allowed
Allow: POST, OPTIONS
Content-Type: application/json
Vary: Accept

{
    "detail": "Method \"GET\" not allowed."
}
That's expected since we don't have a GET route set up.
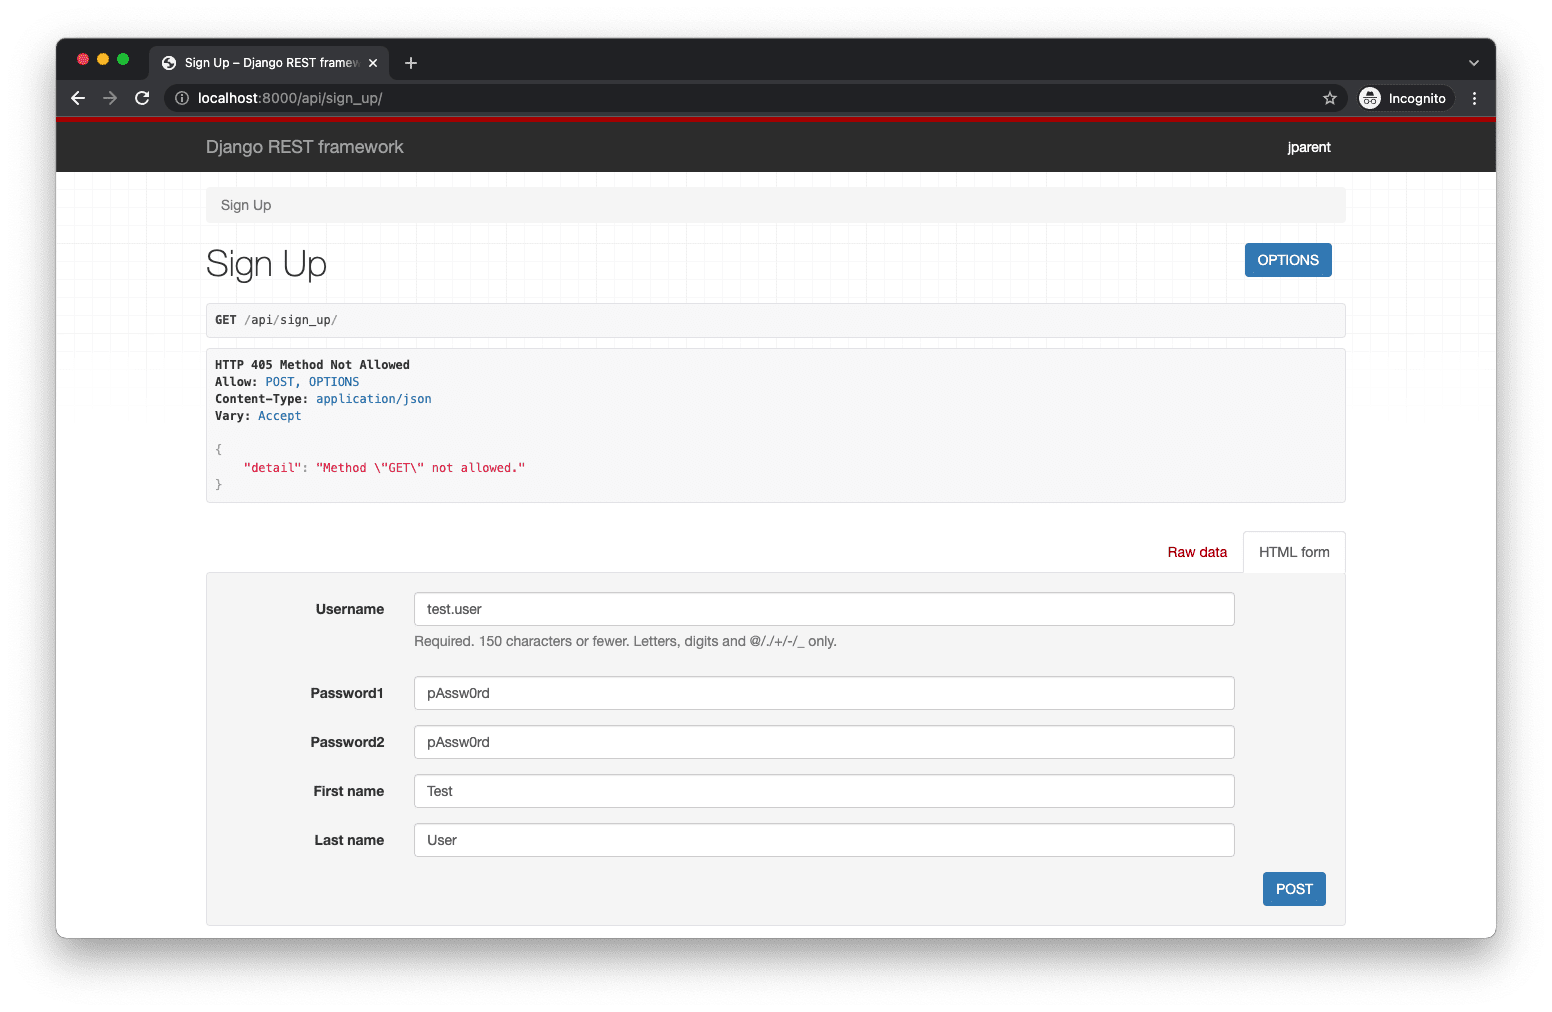
You can still test out the POST functionality using the HTML form:
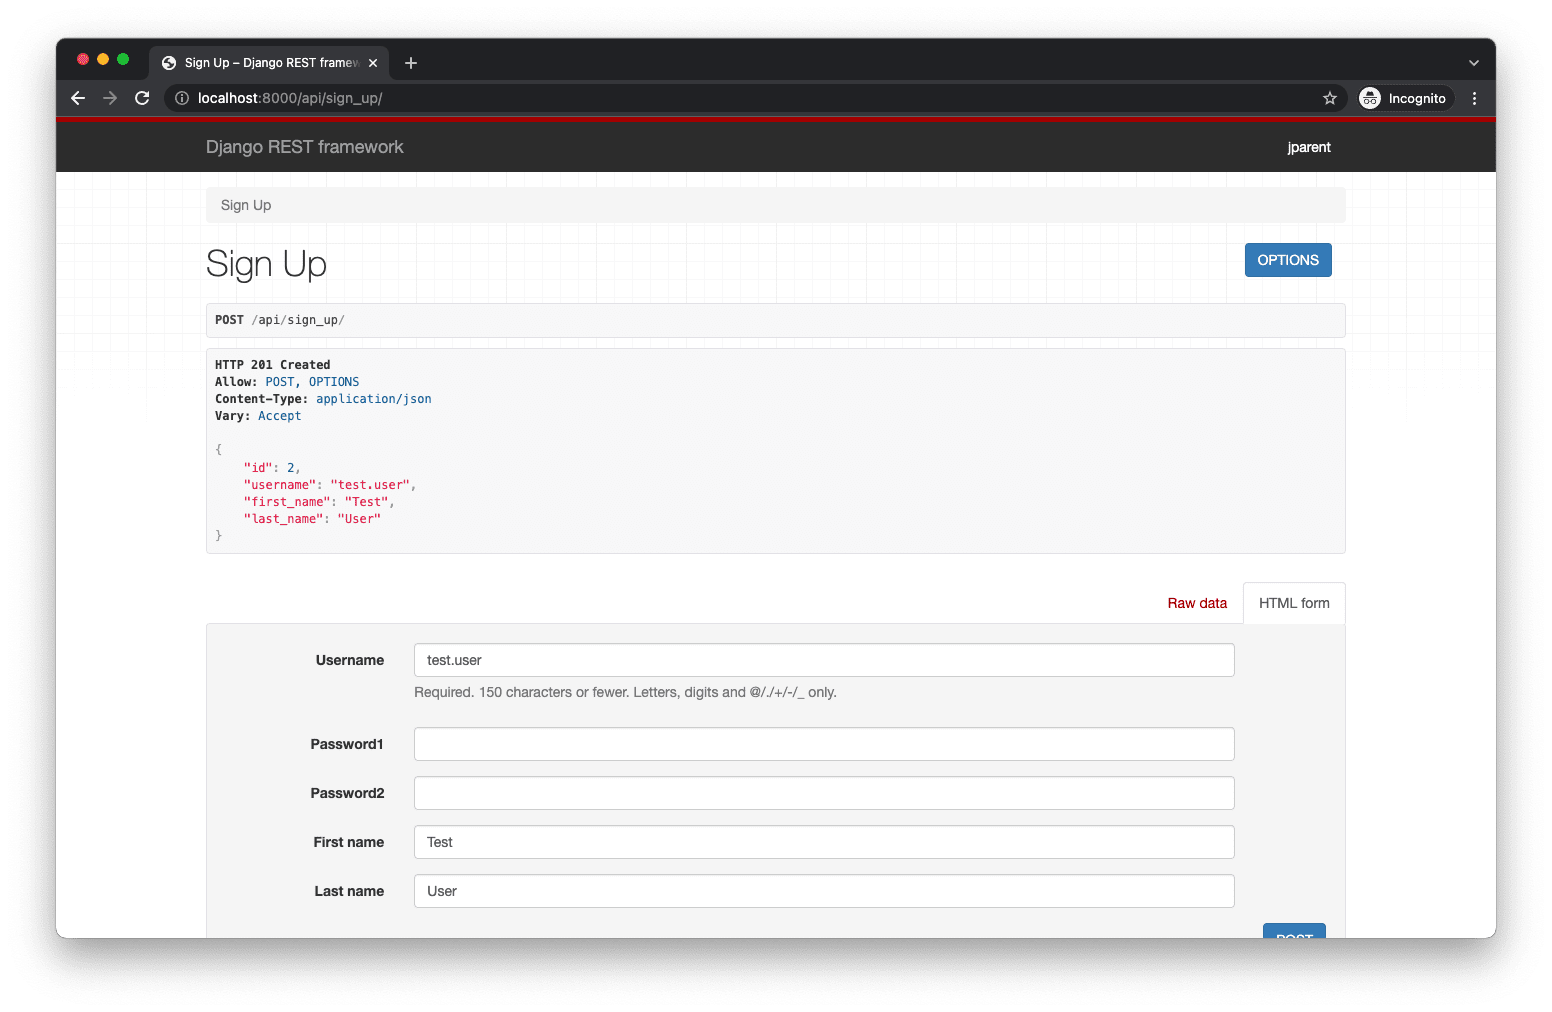
Click the "POST" button. It should succeed:
Log In
Now that we can sign up a new user, the next logical step is to create the functionality to log the user in. With JSON Web Tokens, logging a user in means generating an access token and a refresh token for a user.
Let's start by adding a new test to handle the log in behavior to server/trips/tests/test_http.py:
# server/trips/tests/test_http.py

import base64 # new
import json # new
from django.contrib.auth import get_user_model
from rest_framework import status
from rest_framework.reverse import reverse
from rest_framework.test import APITestCase

PASSWORD = 'pAssw0rd!'


def create_user(username='[email protected]', password=PASSWORD): # new
    return get_user_model().objects.create_user(
        username=username,
        first_name='Test',
        last_name='User',
        password=password
    )


class AuthenticationTest(APITestCase):
    # Function collapsed for clarity.
    def test_user_can_sign_up(self): ...

    def test_user_can_log_in(self): # new
        user = create_user()
        response = self.client.post(reverse('log_in'), data={
            'username': user.username,
            'password': PASSWORD,
        })

        # Parse payload data from access token.
        access = response.data['access']
        header, payload, signature = access.split('.')
        decoded_payload = base64.b64decode(f'{payload}==')
        payload_data = json.loads(decoded_payload)

        self.assertEqual(status.HTTP_200_OK, response.status_code)
        self.assertIsNotNone(response.data['refresh'])
        self.assertEqual(payload_data['id'], user.id)
        self.assertEqual(payload_data['username'], user.username)
        self.assertEqual(payload_data['first_name'], user.first_name)
        self.assertEqual(payload_data['last_name'], user.last_name)
Note that we added a
create_user()helper function to help keep our code DRY.
The process of logging in is as easy as signing up: The user enters their username and password and submits them to the server. We expect the server to generate tokens for the user and return a success status along with the serialized user data in the access token payload.
The JSON Web Token structure consists of a header, a payload, and a signature. The payload is a Base64Url encoded, JSON-serialized object containing data about the user. We leverage the base64 library to decode the payload. (We need to add back the == padding characters that JWT strips out to avoid errors.) Then we use json to parse the JSON string into an object.
Stop the local server and run the tests to ensure they fail:
django.urls.exceptions.NoReverseMatch: Reverse for 'log_in' not found.
'log_in' is not a valid view function or pattern name.
Now update the server/trips/views.py file:
# server/trips/views.py

from django.contrib.auth import get_user_model
from rest_framework import generics
from rest_framework_simplejwt.views import TokenObtainPairView # new

from .serializers import LogInSerializer, UserSerializer # changed


class SignUpView(generics.CreateAPIView):
    queryset = get_user_model().objects.all()
    serializer_class = UserSerializer


class LogInView(TokenObtainPairView): # new
    serializer_class = LogInSerializer
Then, update server/trips/serializers.py:
# server/trips/serializers.py

from django.contrib.auth import get_user_model
from rest_framework import serializers
from rest_framework_simplejwt.serializers import TokenObtainPairSerializer # new


# Hidden for clarity
class UserSerializer(serializers.ModelSerializer): ...


class LogInSerializer(TokenObtainPairSerializer): # new
    @classmethod
    def get_token(cls, user):
        token = super().get_token(user)
        user_data = UserSerializer(user).data
        for key, value in user_data.items():
            if key != 'id':
                token[key] = value
        return token
We programmed our log in function as we planned in the test. Let's break down the view:
- We created a
LogInViewthat simply extends theTokenObtainPairViewand uses a customLogInSerializer. - We created a
LogInSerializerthat serializes theUserobject and adds the data to the token payload as private claims. (We avoid overwriting theidclaim, since the token already includes it by default. Refer back to theUSER_ID_CLAIMsetting.)
Link our new view to a URL in the existing configuration in server/taxi/urls.py:
# server/taxi/urls.py

from django.contrib import admin
from django.urls import path
from rest_framework_simplejwt.views import TokenRefreshView # new

from trips.views import SignUpView, LogInView # changed

urlpatterns = [
    path('admin/', admin.site.urls),
    path('api/sign_up/', SignUpView.as_view(), name='sign_up'),
    path('api/log_in/', LogInView.as_view(), name='log_in'), # new
    path('api/token/refresh/', TokenRefreshView.as_view(), name='token_refresh'), # new
]
Notice that we're also adding Simple JWT's token_refresh API endpoint. Users can submit the refresh token to this API to generate a new access token.
Run the authentication tests one last time to make sure they pass:
(env)$ python manage.py test trips.tests

Found 2 test(s).
Creating test database for alias 'default'...
System check identified no issues (0 silenced).
..
----------------------------------------------------------------------
Ran 2 tests in 0.574s

OK
Destroying test database for alias 'default'...
Sanity Check
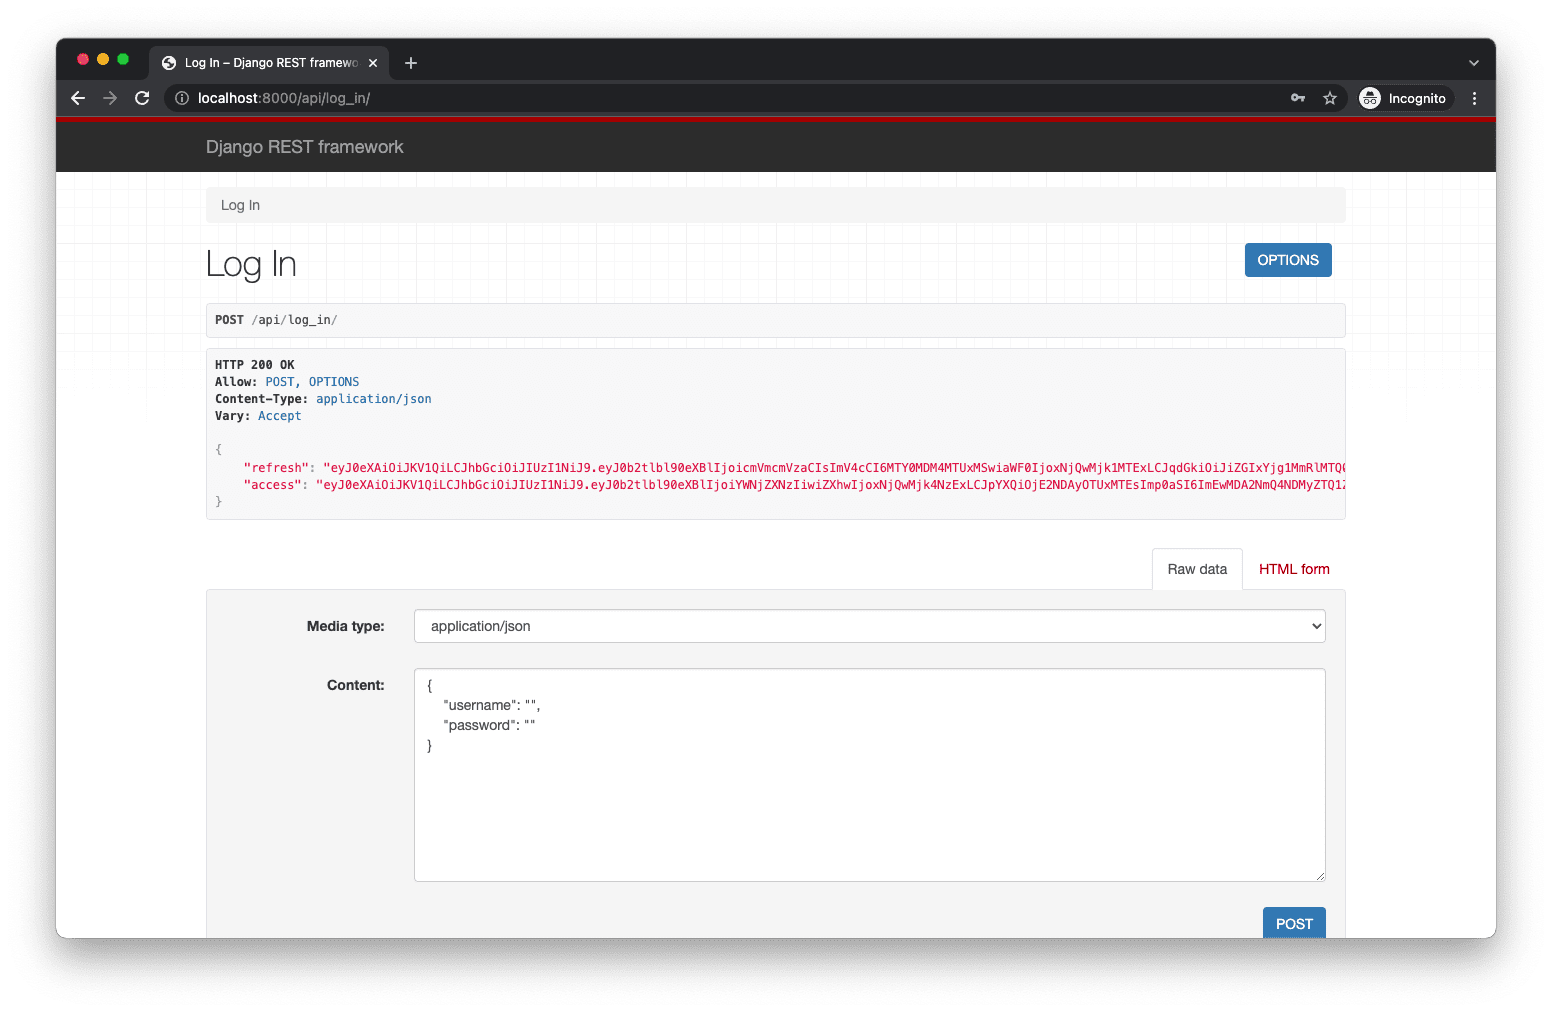
Our authentication work is done! But, before moving on, ensure you can log in at http://localhost:8000/api/log_in/. Make sure the server is running! Enter in the JSON for your username and password.
For example:
{
  "username": "test.user",
  "password": "pAssw0rd"
}
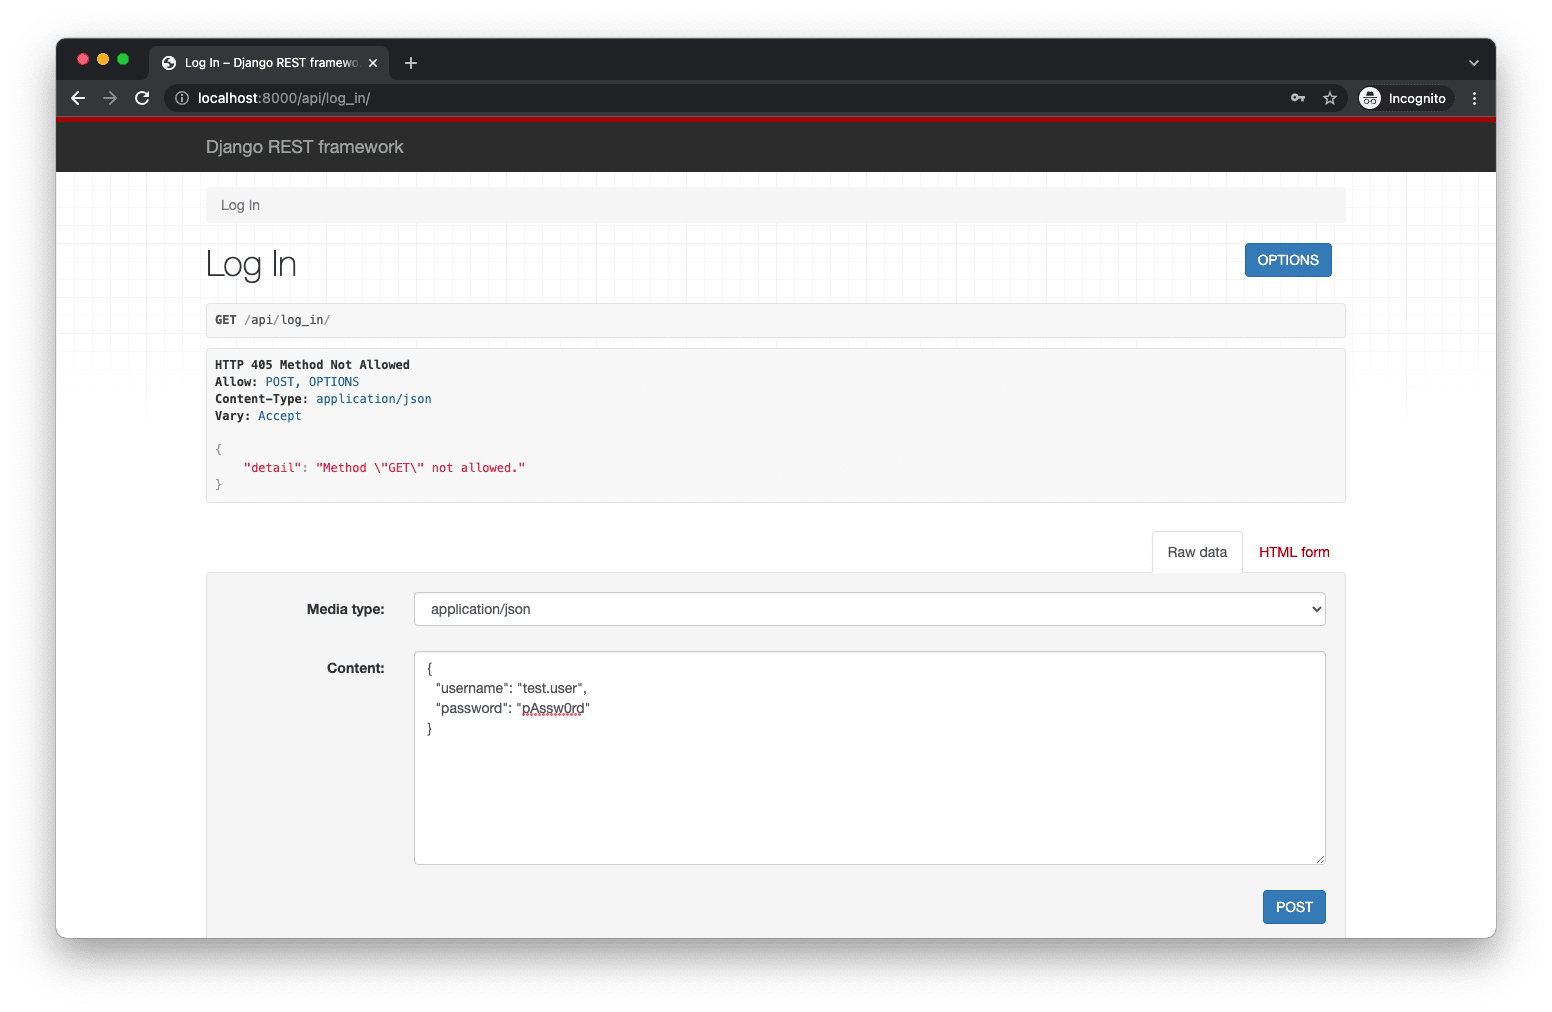
Then click the "POST" button. You should see the following success screen:
You can also test via cURL in a new terminal window. Just make sure the server is still running in the first terminal window!
First sign up for a new account:
$ curl -X POST http://localhost:8000/api/sign_up/ \
-H 'Content-Type: application/json' \
-d '
{
  "username": "another.user",
  "password1": "test",
  "password2": "test",
  "first_name": "Another",
  "last_name": "User"
}
'
Response:
{
  "id": 3,
  "username": "another.user",
  "first_name": "Another",
  "last_name": "User"
}
And then attempt to log in with the same credentials:
$ curl -X POST http://localhost:8000/api/log_in/ \
-H 'Content-Type: application/json' \
-d '
{
  "username": "another.user",
  "password": "test"
}
'
Response:
{
  "refresh": "<token>",
  "access": "<token>"
}
✓ Mark as Completed