Getting Started with Vue
Part 1, Chapter 4
In this chapter, we will create our first Vue application.
Getting Started
The first step when deciding to use the Vue framework is to figure out how you want to pull in the JavaScript code for Vue. Some options:
- Download the Vue JavaScript file
- Use a CDN (Content Deliver Network)
- Install via npm (Node package manager)
- Vue build tools (Vite)
In Part I (Vue Fundamentals) of this course, we'll be using option 2 by reading in the Vue library from a CDN. CDNs are designed to quickly provide static files, so you shouldn't even notice the time to load the JavaScript file.
In Part II (Components), Part III (Working with an API), and Part IV (Pinia and Vue Router), we'll switch over to option 4 by creating our project using the Vue build tools.
Returning to the index.html file, we need to update the <head> section to include the Vue source code from the CDN:
<head>
    <meta charset="UTF-8">
    <meta name="viewport" content="width=device-width, initial-scale=1.0">
    <title>Vue CRUD Course</title>

    <!-- Local CSS file for styling the application -->
    <link rel="stylesheet" href="css/style.css">

    <!-- Vue.js 3 development version -->
    <script src="https://unpkg.com/vue@3"></script>
</head>
The last line in the <head> section specifies that Vue should be loaded in from the CDN so that it can be used within our webpage.
We're now ready to start building web pages with Vue!
Vue Instance
Each Vue application needs to start by creating a new Vue instance (app) using the createApp() function:
<!-- Vue Code -->
<script type="text/javascript">
  const app = Vue.createApp({})
  const mountedApp = app.mount('#vue-app')
</script>
This code should be placed at the end of the index.html file, but it still needs to be within the <body> tag. For the first part of this course, we'll place all of our Vue source code into this section. Later in the course, as our Vue code expands in size, we'll move the code to separate JavaScript (Vue) files.
When creating the Vue application above, the key connection between the Vue instance and the HTML code within index.html is this line:
const mountedApp = app.mount('#vue-app')
This line specifies which HTML element to associate the Vue instance with. What this means is that we can use Vue code for controlling anything within that HTML element (#vue-app).
For this course, we want to be able to use Vue throughout the webpage, so let's add a new <div> element around our existing HTML elements within the <body> tag:
<body>
    <div id="vue-app">  <!-- NEW!! -->
        <header>
            <div class="title">
                <h1>{{ navTitle }}</h1>
            </div>
            <nav>
                <ul>
                    <li>Home</li>
                    <li>About</li>
                    <li>Contact</li>
                </ul>
            </nav>
        </header>

        <main>
            <h1>Content goes here!</h1>
        </main>

        <footer>
            <h4>{{ footerMessage }}</h4>
        </footer>
    </div>
    ...
</body>
We can now use Vue for any elements within the <div> tag with the id of vue-app.
Data
With the necessary setup in place, let's actually use Vue!
Here's the updated Vue code:
<!-- Vue Code -->
<script type="text/javascript">
  const app = Vue.createApp({
    data() {
      return {
        navTitle: 'Vue Course',
        footerMessage: 'testdriven.io',
      }
    }
  });

  const mountedApp = app.mount('#vue-app')
</script>
Within the Vue instance, a new data() function is defined which defines the data that should be returned from the Vue instance:
data() {
  return {
    navTitle: 'Vue Course',
    footerMessage: 'testdriven.io',
  }
}
We now have the navTitle and footerMessage data properties available to use in our HTML. We can update the HTML code to utilize these data elements in the <header> and <footer> tags by using the {{ }} syntax (double curly braces):
<div id="vue-app">
    <header>
        <div class="title">
            <h1>{{ navTitle }}</h1>   <!-- UPDATED!! -->
        </div>
        <nav>
            <ul>
                <li>Home</li>
                <li>About</li>
                <li>Contact</li>
            </ul>
        </nav>
    </header>

    <main>
        <h1>Content goes here!</h1>
    </main>

    <footer>
        <h4>{{ footerMessage }}</h4>  <!-- UPDATED!! -->
    </footer>
</div>
Vue allows you to bind the data properties in the Vue instance (navTitle and footerMessage) to the HTML elements. When the HTML code is displayed in your web browser, the data properties are loaded into the {{ }} locations specified, so the proper data is displayed.
With this updated code, our webpage looks like this:
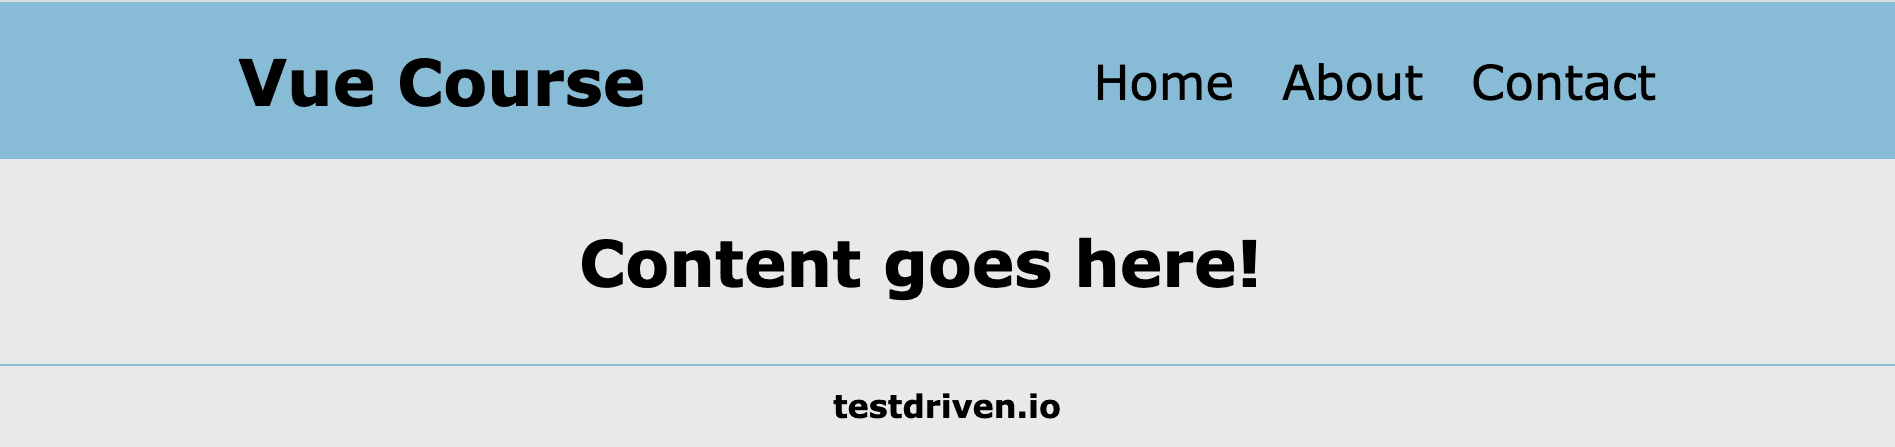
The title in the header is now being defined by the navTitle data property and the footer text is now being defined by the footerMessage data property.
Vue DevTools Example
The Vue DevTools are a browser extension that allows you to view and edit data in your Vue application.
The Vue DevTools that are compatible with Vue 3 are available for Chrome, Firefox, and Edge.
Once you have the Vue DevTools installed for your web browser, you'll see that any website (including the one that we're developing!) will show the Vue icon highlighted in the top-right corner:
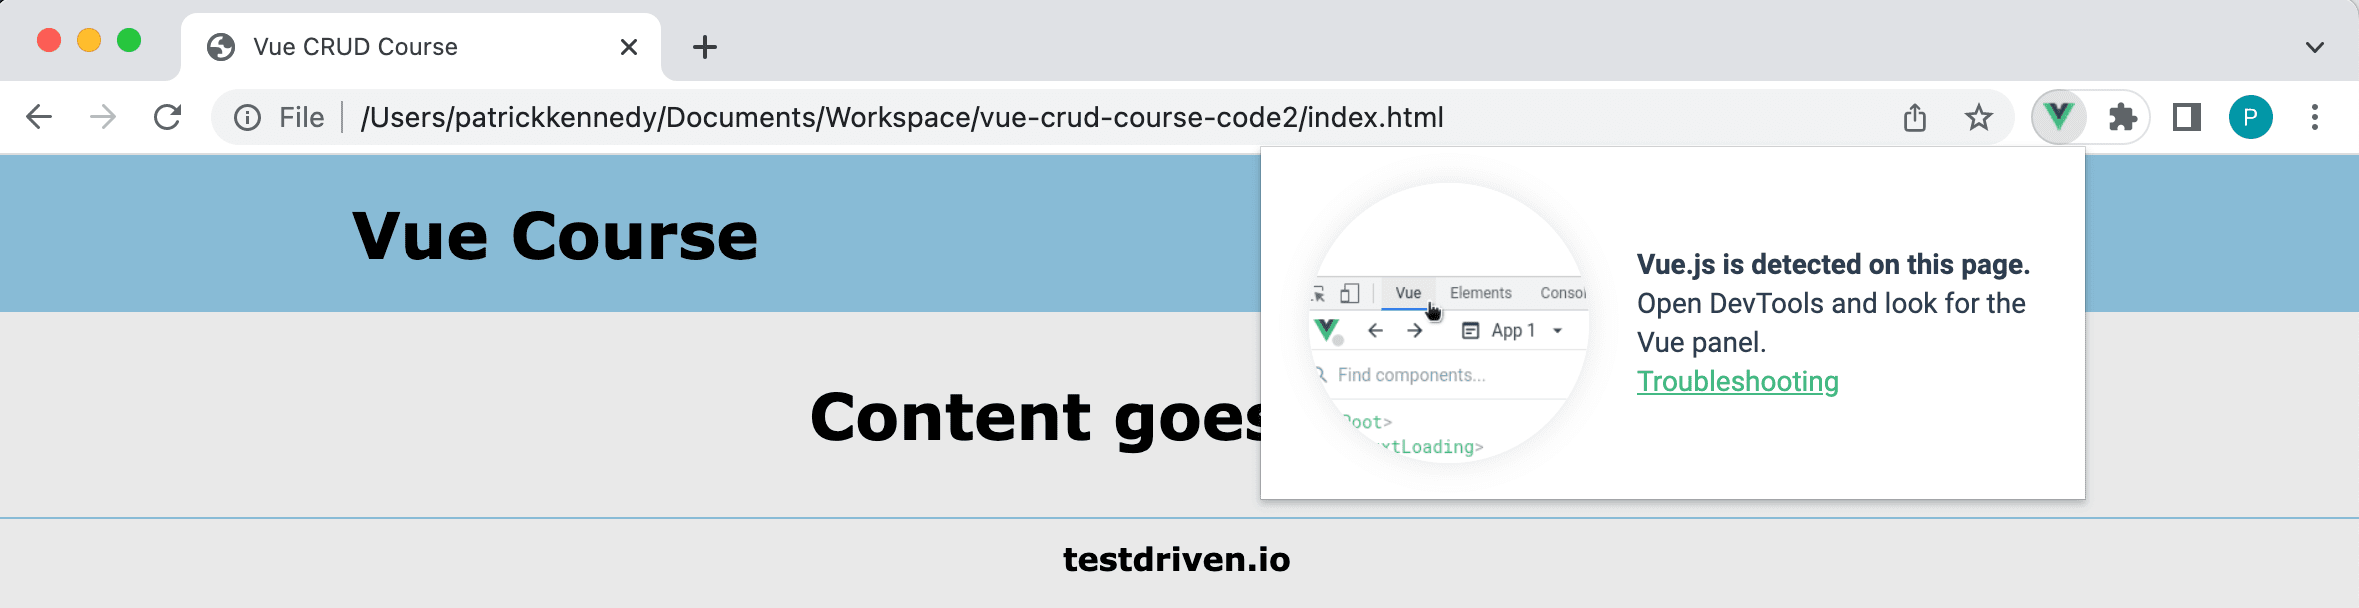
Troubleshooting: In Google Chrome, if the Vue icon indicates that Vue was not found on the page, then go to the extension settings and enable "Allow access to file URLs". Details: https://devtools.vuejs.org/guide/faq.html#when-opening-an-html-file-directly
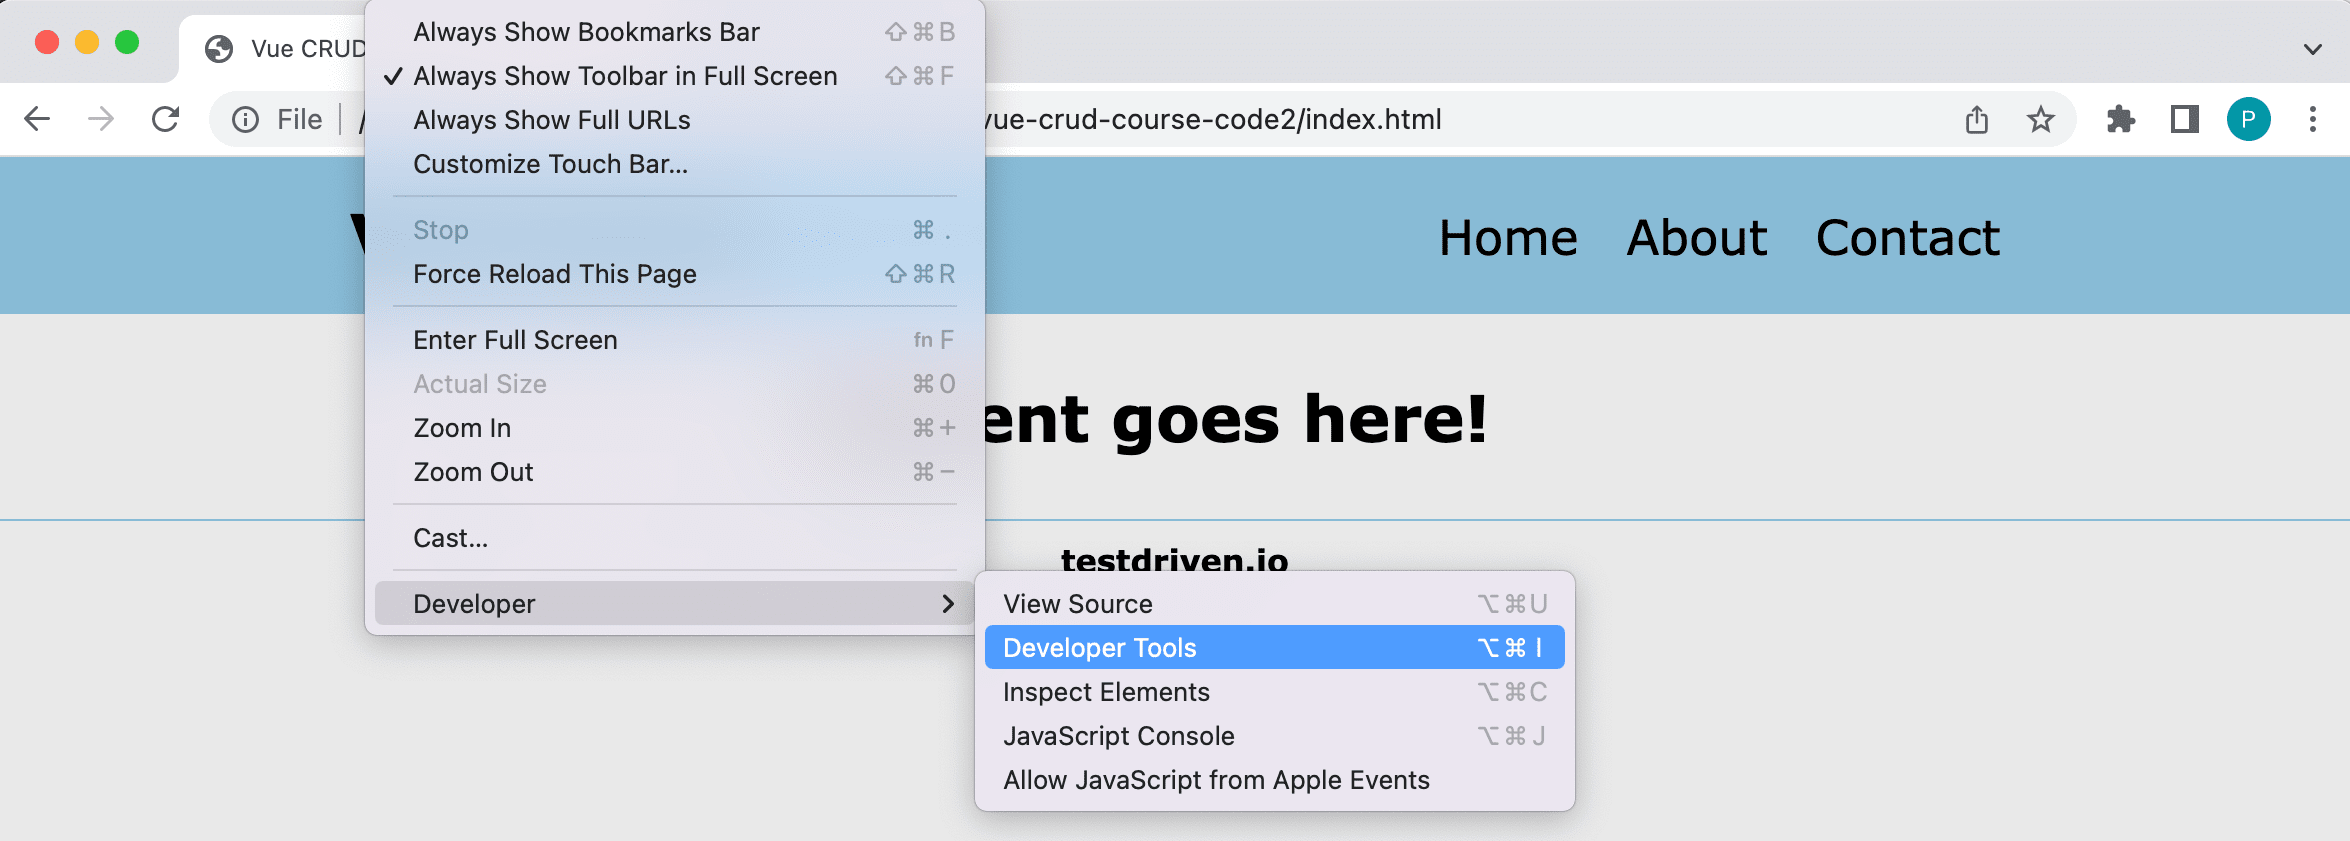
After seeing that Vue has been detected, open up the Developer Tools in your web browser. Here's an example from Chrome:
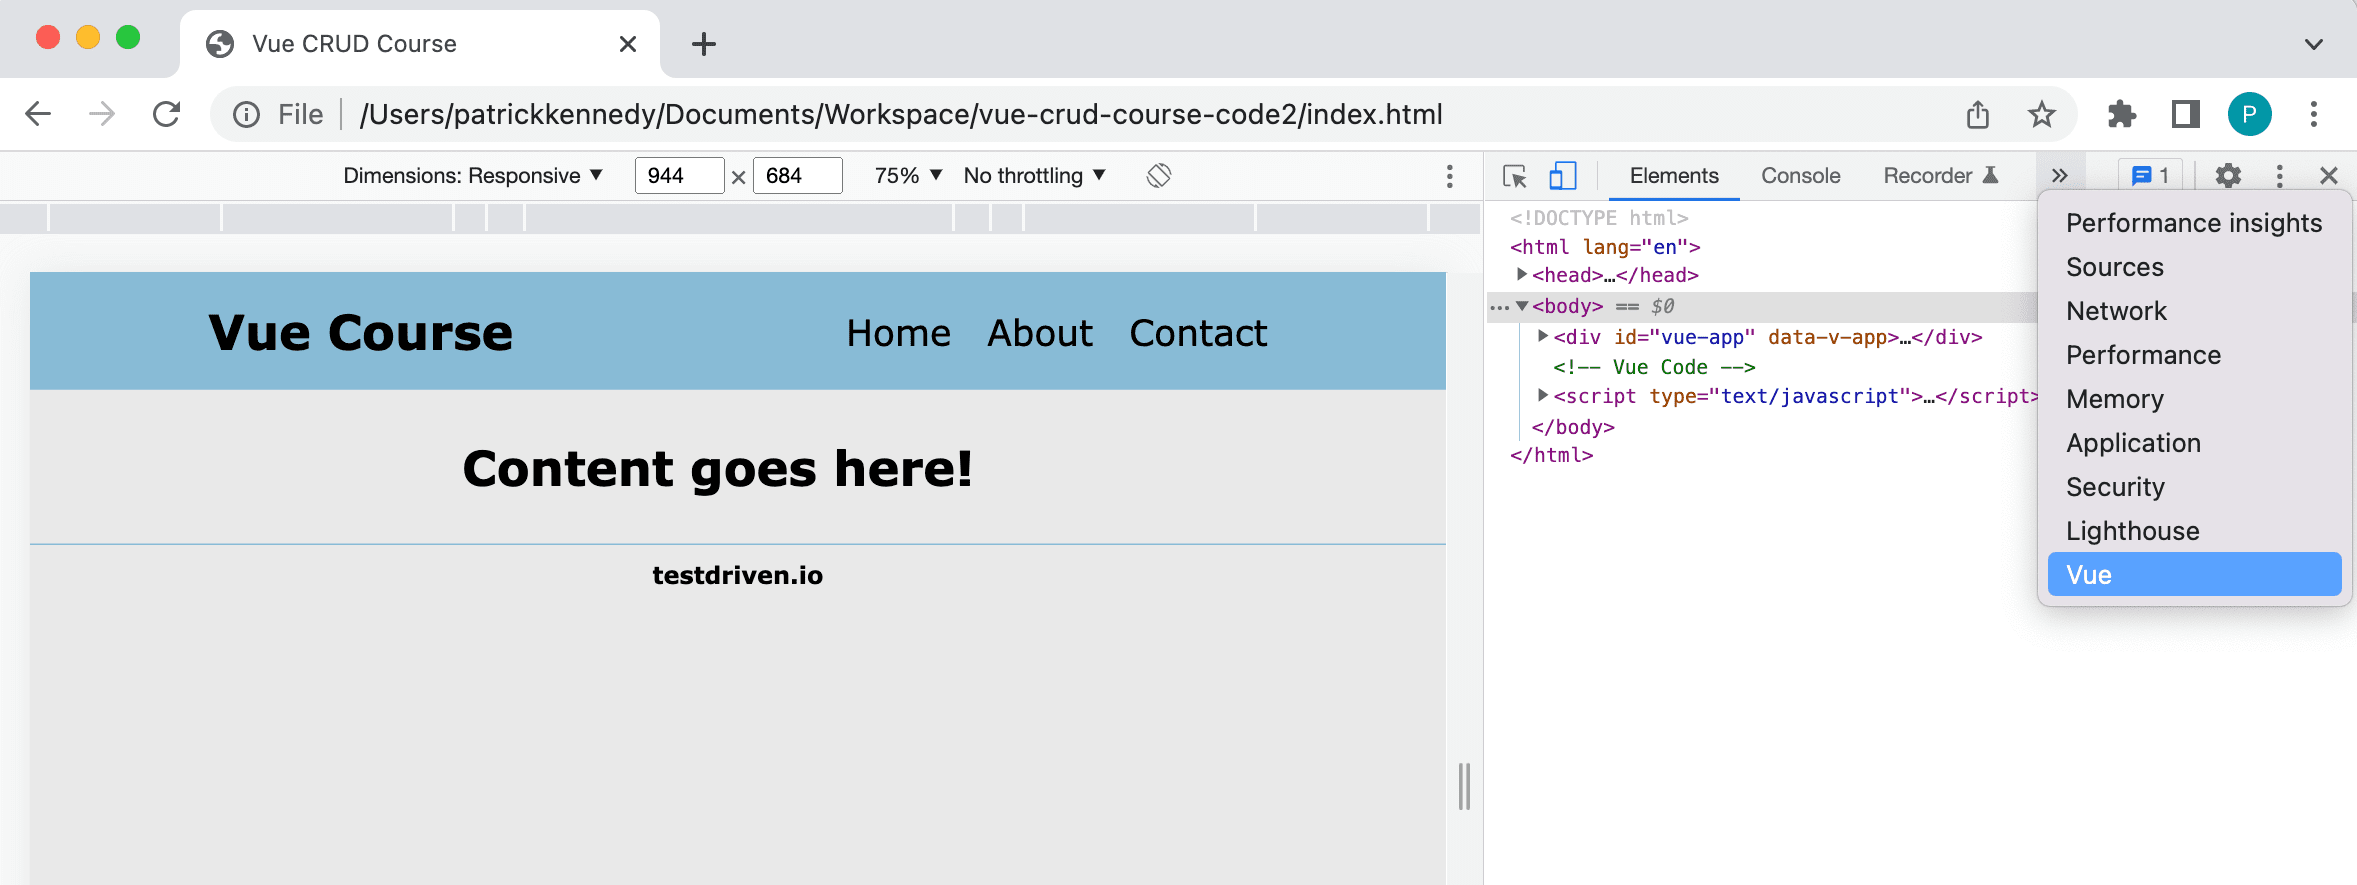
Sometimes the Vue DevTools can be hard to find, but there should be a Vue tab in the Developer Tools:
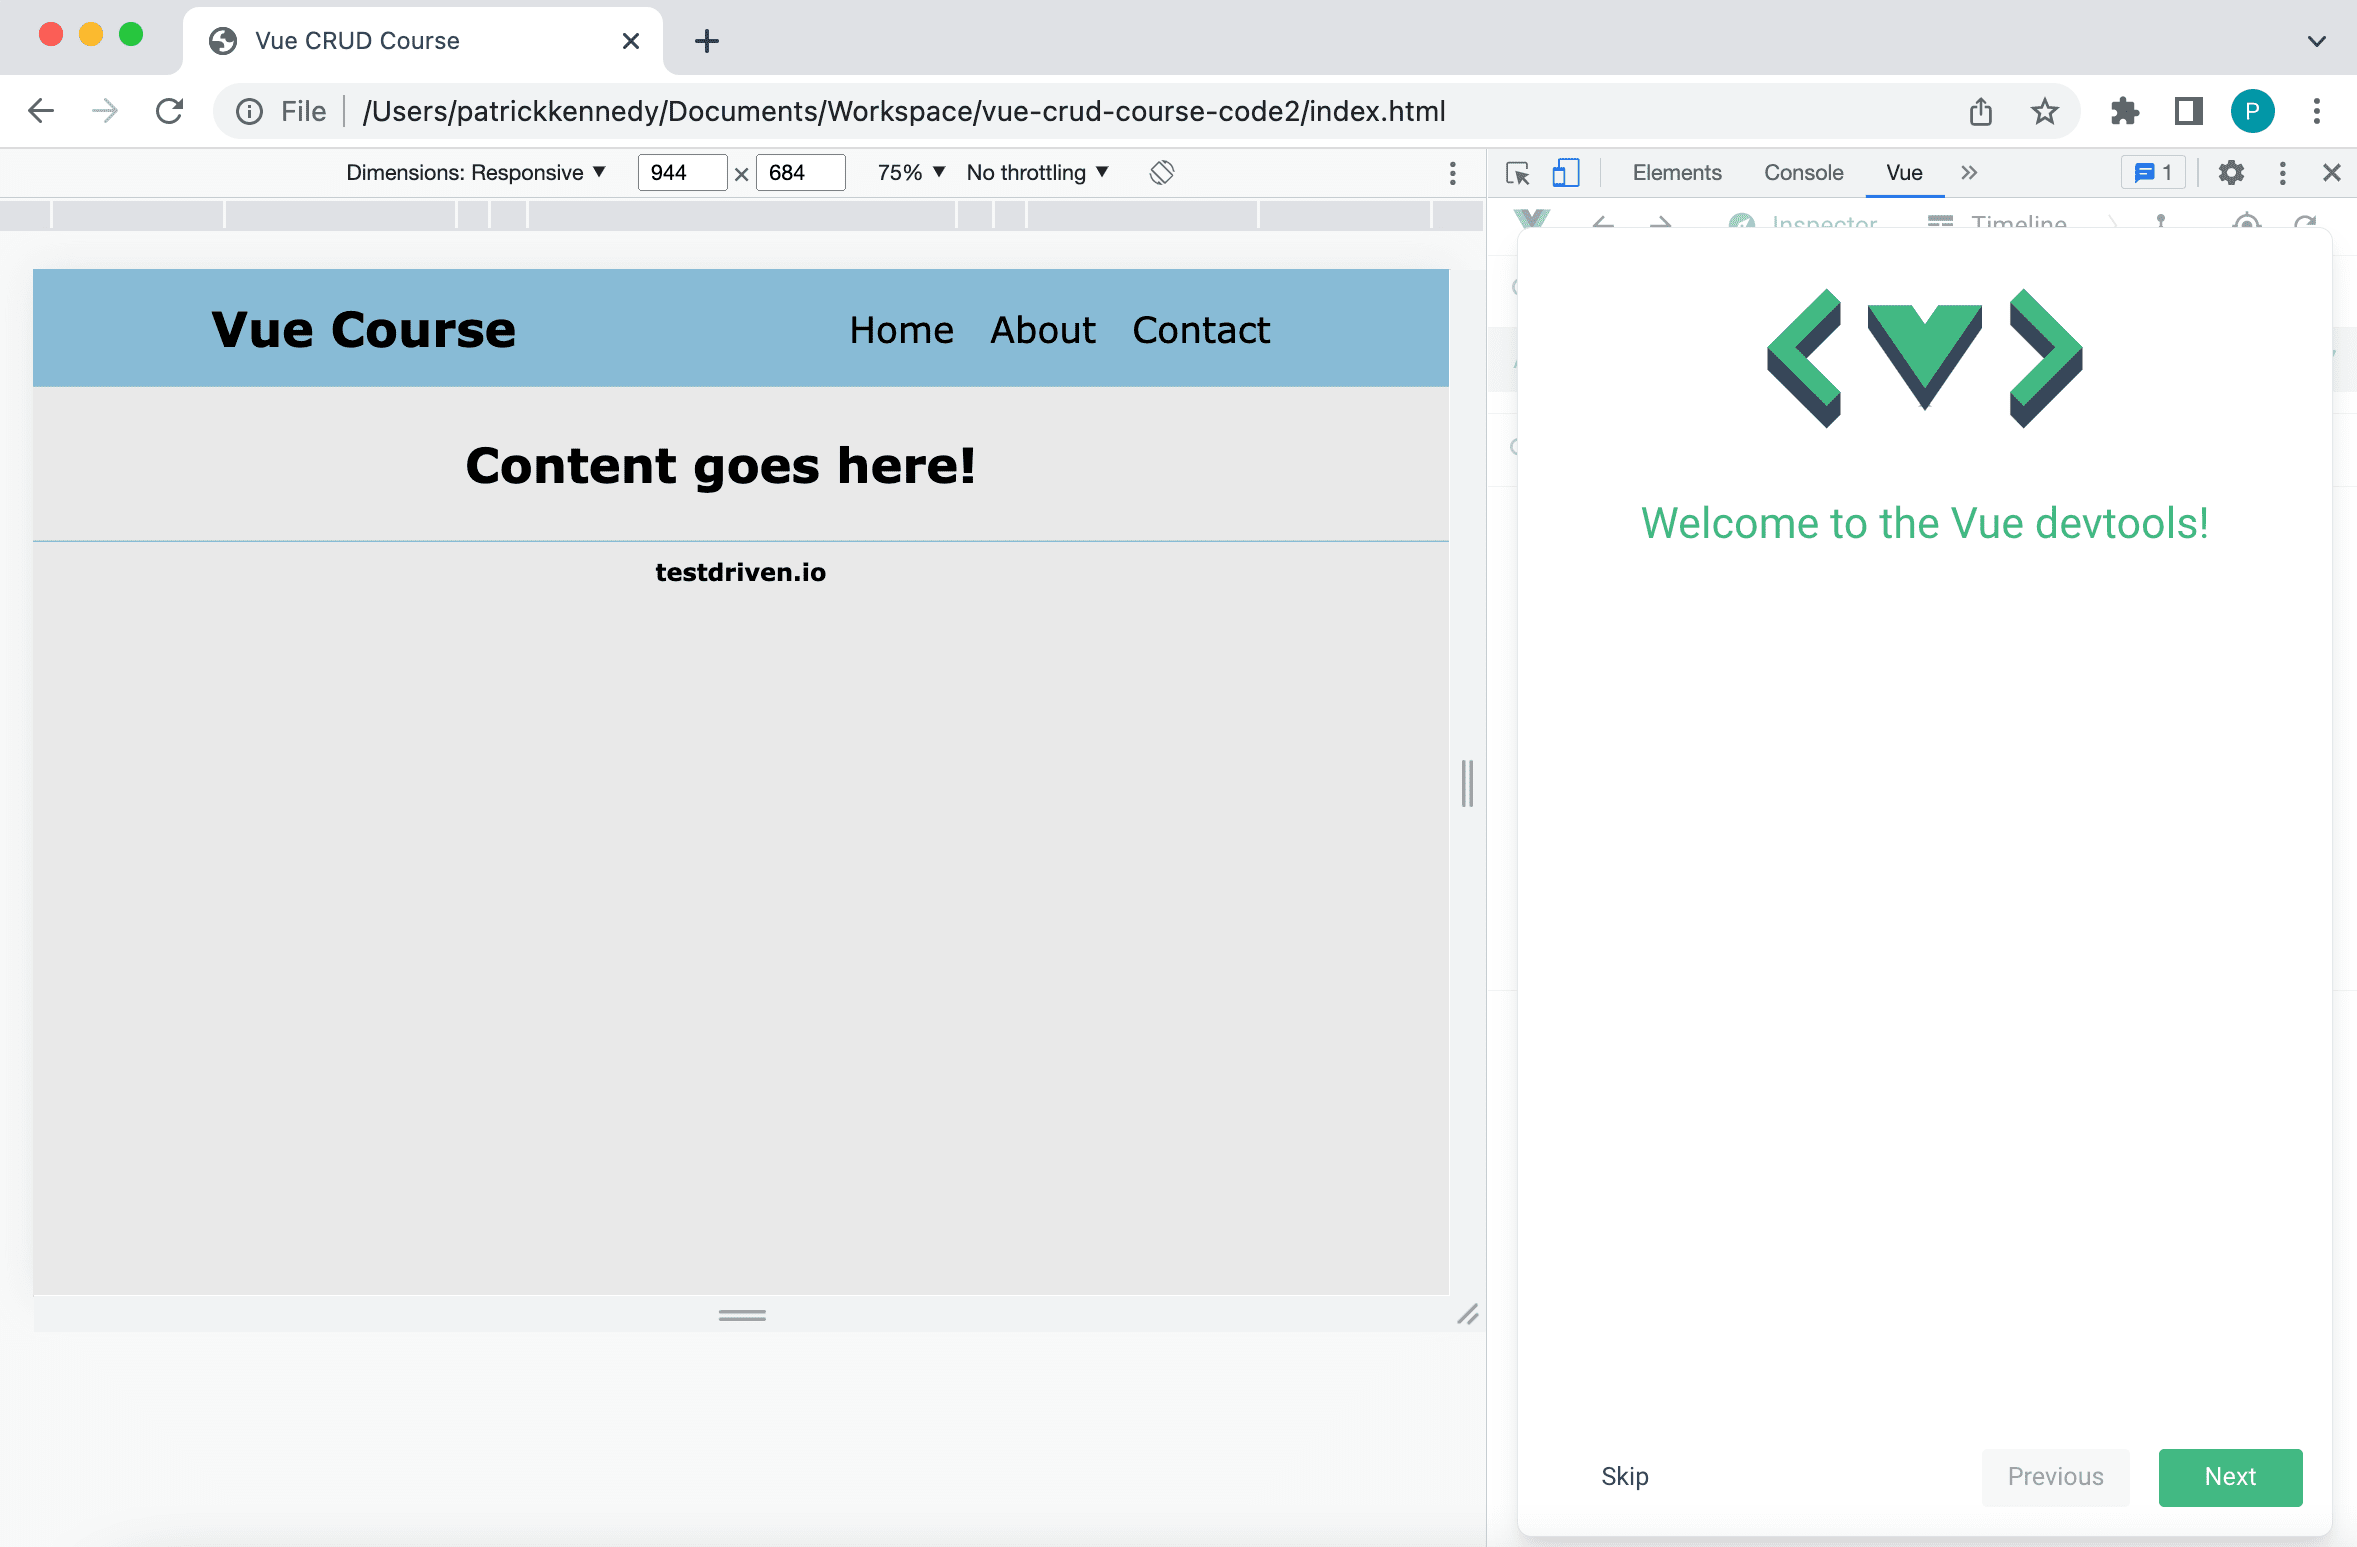
After clicking on the Vue tab in the Developer tools, you'll get a quick walk-through of the Vue DevTools:
After the walk-through, click on the Root element:
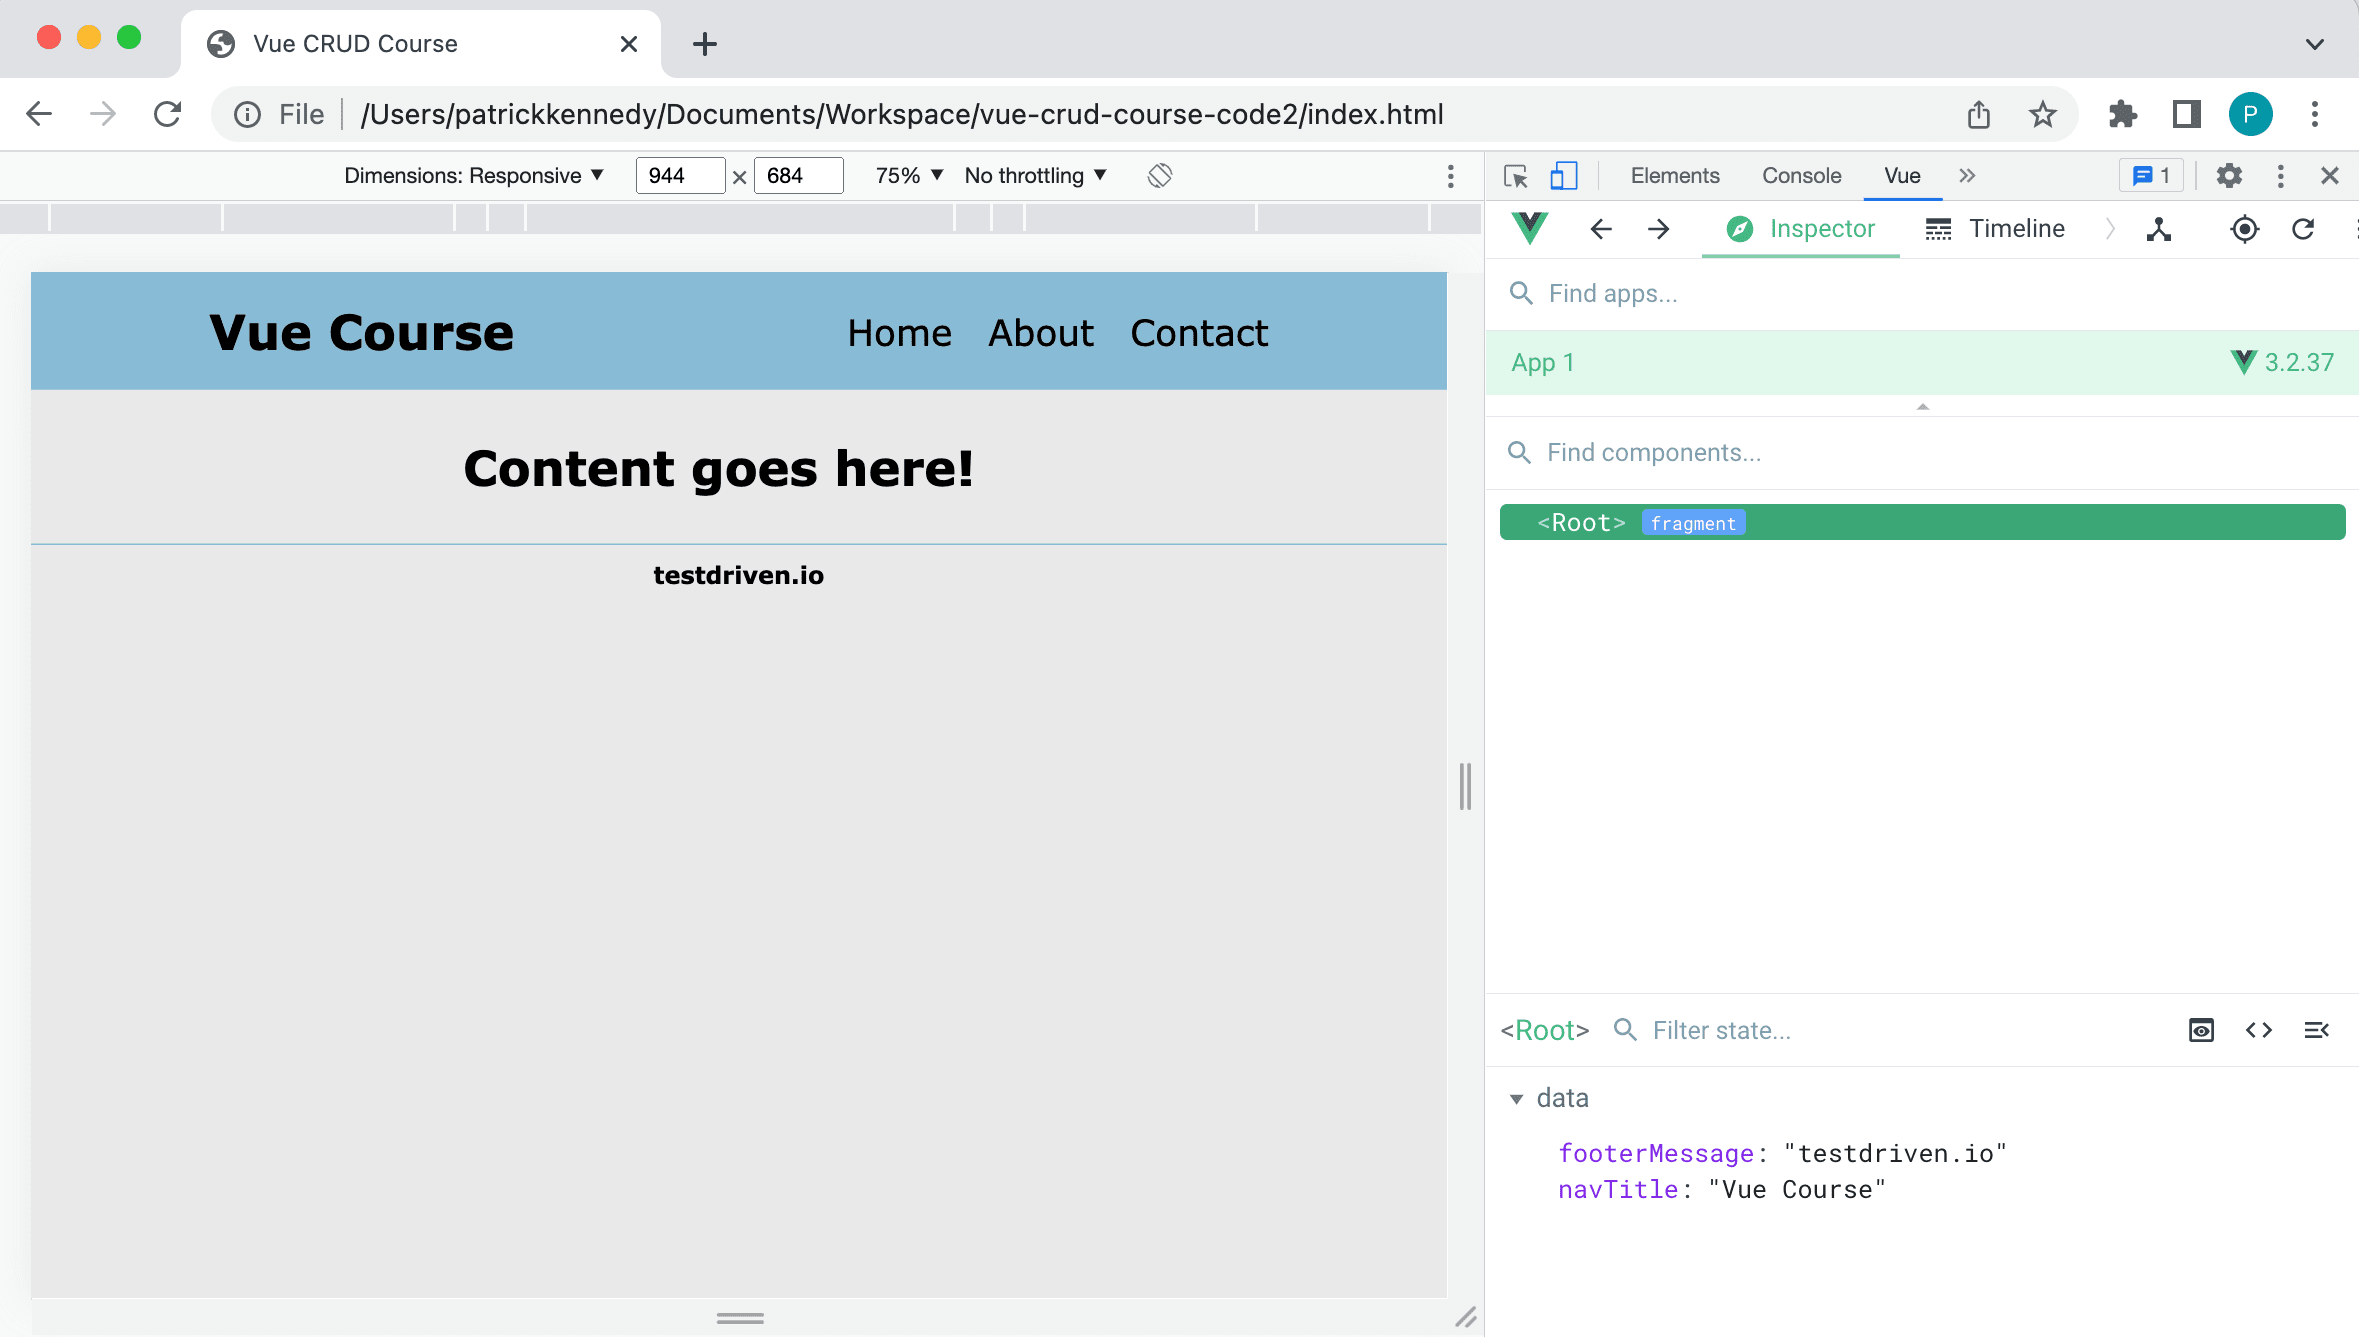
If you click on the Root element, you'll see that the entire webpage is highlighted. This means that our Vue instance can be used in any of these elements thanks to creating the <div> tag with an id of vue-app around all of our HTML codes.
To see the reactive power of Vue, let's try editing the value of one of the data properties by clicking on the edit icon (it looks like a pencil) next to the navTitle property:
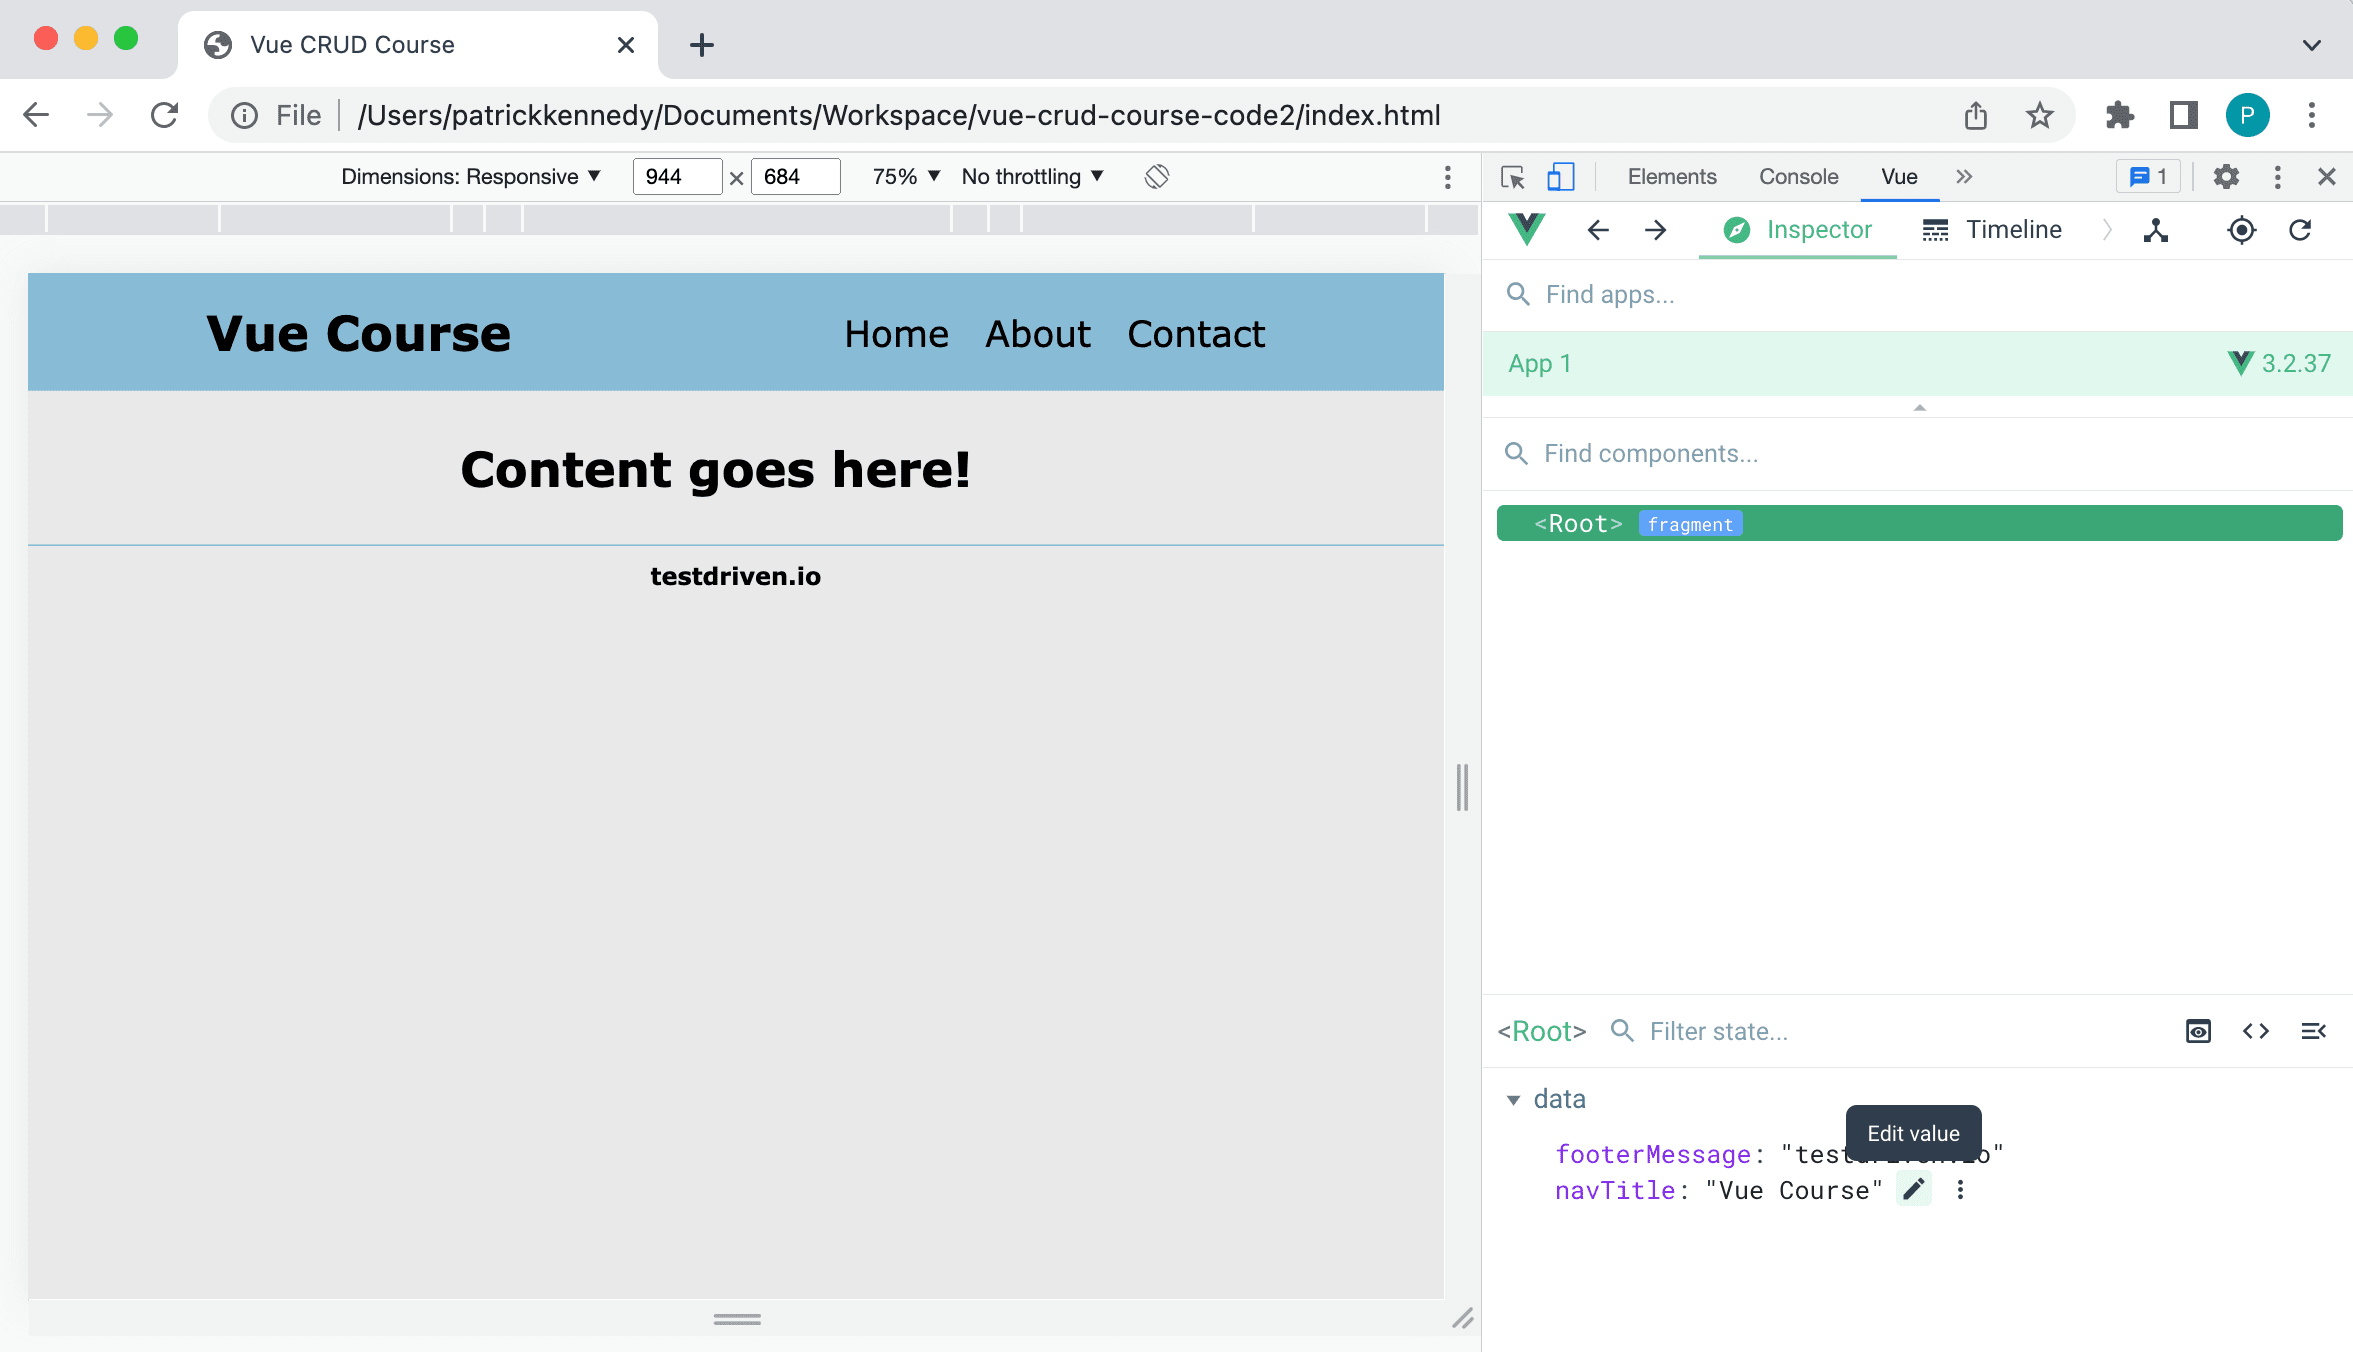
Try changing the text associated with the navTitle property; you should see the title of the webpage change instantly after pressing ENTER. For example:
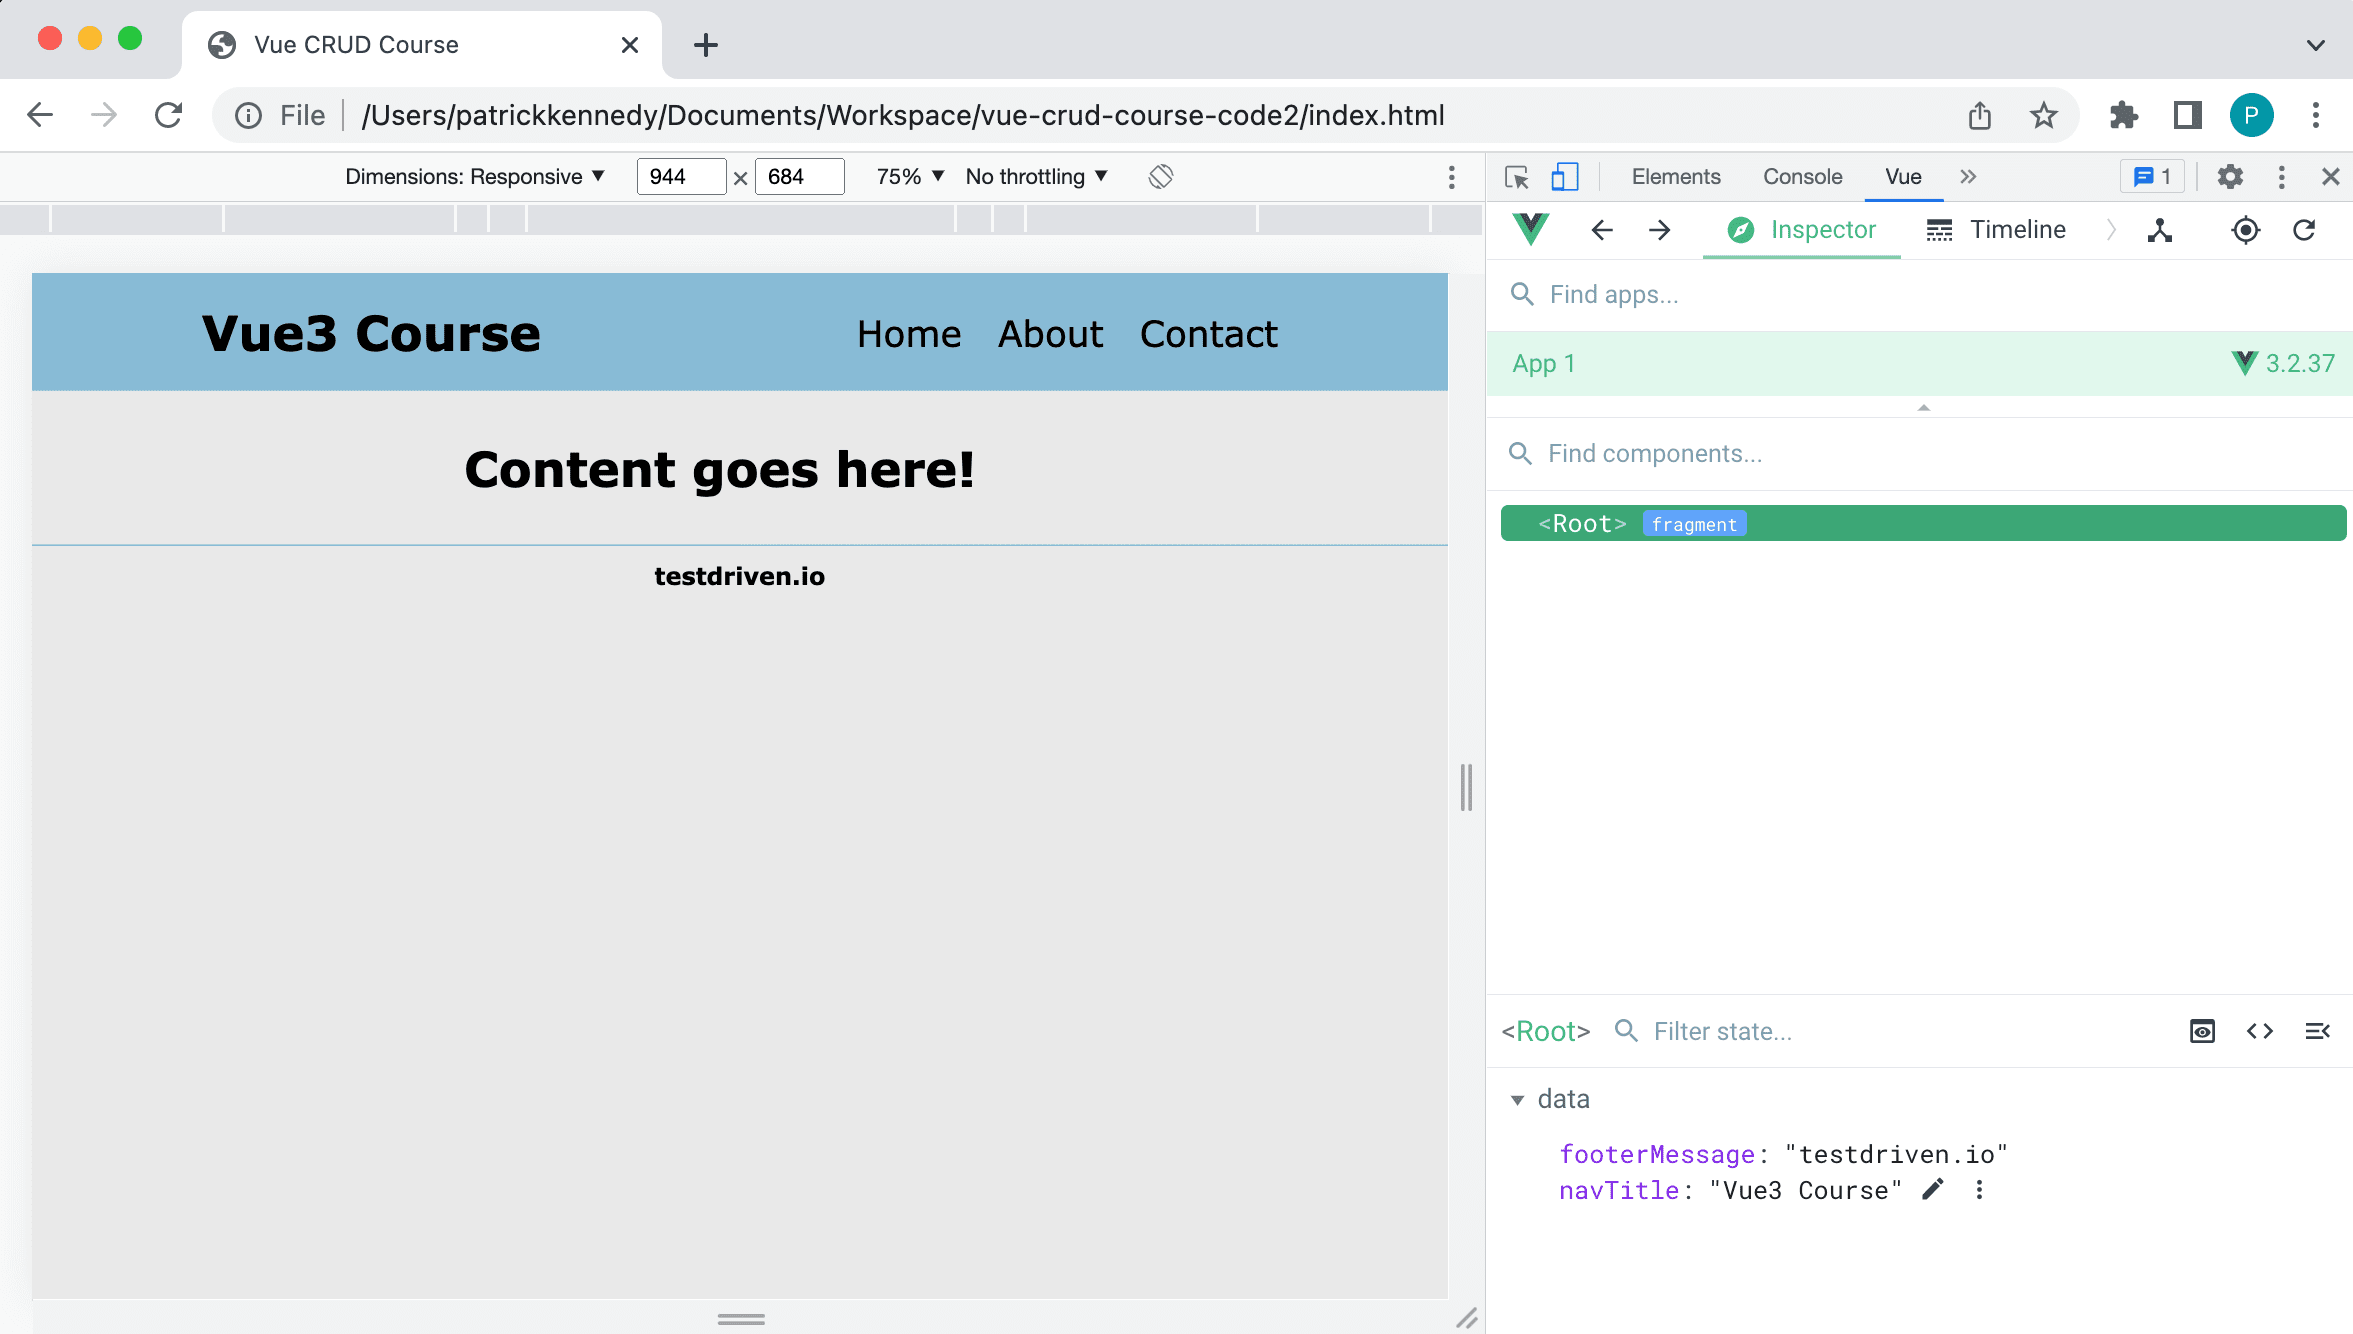
Pretty cool, right?
What's happening?
When we create the Vue instance, we are now adding data to our Vue instance in the data field. The data field is an object with two properties (navTitle and footerMessage).
In JavaScript, the term 'object' is confusing to me, as it has so many meanings in other programming languages. A JavaScript object is really a listing of key/value pairs, similar to a dictionary in Python or a hash table in C++.
When any property in the data object is changed, what you see on the webpage (i.e., the view) will be automatically updated thanks to Vue! This alone is a reason to use Vue over vanilla JavaScript, as there is so much functionality being abstracted away here and this reactive behavior just works out of the box.
Summary
In this chapter, we created our first Vue application by loading the Vue library from a CDN into our webpage and then creating a Vue instance. We created a new <div> tag around all of our existing HTML elements to allow Vue to apply to our entire website. Finally, we created two data properties to change two text fields on our website.
This chapter also provided an introduction to Vue DevTools, which are beneficial for debugging Vue (more to come in later chapters).
Further Reading
For more details on how Vue implements this reactivity, please refer to the Vue documentation: Reactivity in Depth.
✓ Mark as Completed