React Setup
Part 1, Chapter 4
Let's turn our attention to the client-side and add React.
React is a declarative, component-based, JavaScript library for building user interfaces.
If you're new to React, review the official tutorial and the excellent Why did we build React? blog post.
Make sure you have Node and NPM installed before continuing:
$ node -v
v20.16.0

$ npm -v
10.8.1
Project Setup
We'll be using the amazing Vite CLI to generate a boilerplate that's all set up and ready to go. Vite build time is pretty fast and the bundle size is smaller comparing to similar tools, that's why it's getting highly popular lately.
Vite is a modern build tool that significantly improves the development experience for web applications. It leverages native ES modules in the browser, allowing for faster hot module replacement (HMR) and instant server start times. This means that as you make changes to your code, you can see the results almost instantly without waiting for a full rebuild.
Bundlers, like Vite, are necessary because they help manage and optimize the assets of your application, such as JavaScript, CSS, and images. They bundle these assets into a format that can be efficiently served to the browser, reducing load times and improving performance.
The Vite CLI not only sets up Vite with React but also provides a boilerplate that includes a well-structured project layout, essential dependencies, and configuration files. This allows developers to focus on building their applications rather than spending time on initial setup and configuration.
You can also use Create React App instead of Vite to set up your project.
In the "services" folder, run the following command:
$ npm create [email protected]

✔ Project name: client
✔ Select a framework: › React
✔ Select a variant: › TypeScript
Next, install all of the dependencies and run the web server:
$ cd client
$ npm install
$ npm run dev
Ensure the app loads at http://localhost:5173/, and then kill the server. Now we're ready to build our first component!
Chakra UI
For styling, we'll be using Chakra UI.
Install:
$ npm install @chakra-ui/[email protected] @emotion/[email protected] @emotion/[email protected] [email protected] --save
Now, let's set up the ChakraProvider. Within main.tsx in the "services/client/src" folder, wrap the App component with ChakraProvider:
import React from "react";
import { ChakraProvider } from "@chakra-ui/react";
import ReactDOM from "react-dom/client";
import App from "./App.tsx";
import "./index.css";

ReactDOM.createRoot(document.getElementById("root")!).render(
  <React.StrictMode>
    <ChakraProvider>
      <App />
    </ChakraProvider>
  </React.StrictMode>
);
Also, delete the contents of services/client/src/index.css to remove the default styling.
For more, review Getting Started from the Chakra docs.
First Component
In the "src" folder, create a new folder called "components", and in that new folder, create a Users.tsx file:
import { Heading, Box, Divider } from "@chakra-ui/react";

const Users = () => {
  return (
    <Box p={4} maxW="1200px" mx="auto">
      <Heading
        as="h1"
        size="2xl"
        mb={6}
        mt={12}
        textAlign="left"
        color="gray.700"
      >
        Users
      </Heading>
      <Divider borderColor="gray.400" />
    </Box>
  );
};

export default Users;
Then, update App.tsx like so:
import { ChakraProvider } from "@chakra-ui/react";
import Users from "./components/Users";

const App = () => {
  return (
    <ChakraProvider>
      <Users />
    </ChakraProvider>
  );
};

export default App;
Start the server again to see the changes in the browser:
$ npm run dev
State Management
To tell React that our Users component has data that may change over time we should use state via the useState hook.
New to React Hooks? Review Primer on React Hooks as well as Introducing Hooks.
Let's add users state to our component. Update Users.tsx like so:
import { Heading, Box, Divider } from "@chakra-ui/react";
import { useState } from "react";

// new
interface User {
  created_date: string;
  email: string;
  id: number;
  username: string;
}

const Users = () => {
  const [users, setUsers] = useState<User[]>([]);  // new


  return (
    <Box p={4} maxW="1200px" mx="auto">
      <Heading
        as="h1"
        size="2xl"
        mb={6}
        mt={12}
        textAlign="left"
        color="gray.700"
      >
        Users
      </Heading>
      <Divider borderColor="gray.400" />
    </Box>
  );
};

export default Users;
What's happening?
- Since we're using TypeScript, we defined the shape of the user object using an Interface.
- We utilized the
useStatehook to manage the state of our users. TheuseStatefunction is a built-in React hook that allows us to add state to functional components. It returns an array with two elements: the current state value and a function to update that state. - In our case, we defined
usersas the state variable, which holds an array of user objects, andsetUsersas the function that updates this state. When we callsetUserswith new data, React re-renders the component with the updated state, allowing us to display the latest user information.
Using useState and setUsers is essential for managing dynamic data in our application, as it enables us to respond to changes and keep our UI in sync with the underlying data model.
Effect Hook
There's a fundamental concept in React called purity. React expects every component to be a pure function, meaning if we give it same input it should always have the same result. By using variables and code that change at render time, we introduce side effects to our components and this is against the concept of purity. The useEffect hook helps us to execute a piece of code after the component is rendered. With it, we can keep our components pure.
For more, review Keeping Components Pure.
useEffect is where we'll call our Flask APIs. For now, let's add some sample data for our users and add a table to show user data. In the next section, we'll look at how to fetch user data from our APIs.
Change the Users.tsx file so:
import {
  Heading,
  Box,
  Divider,
  Table,
  Thead,
  Tbody,
  Tr,
  Th,
  Td,
} from "@chakra-ui/react";
import { useState, useEffect } from "react";

interface User {
  created_date: string;
  email: string;
  id: number;
  username: string;
}

const Users = () => {
  const [users, setUsers] = useState<User[]>([]);

  // Sample users data
  useEffect(() => {
    setUsers([
      {
        id: 1,
        username: "johndoe",
        email: "[email protected]",
        created_date: "2024-08-01",
      },
      {
        id: 2,
        username: "janedoe",
        email: "[email protected]",
        created_date: "2024-08-02",
      },
    ]);
  }, []);

  return (
    <Box p={4} maxW="1200px" mx="auto">
      <Heading
        as="h1"
        size="2xl"
        mb={6}
        mt={12}
        textAlign="left"
        color="gray.700"
      >
        Users
      </Heading>
      <Divider borderColor="gray.400" />

      {/* Chakra UI Table */}
      <Table variant="simple" mt={4}>
        <Thead>
          <Tr>
            <Th>Username</Th>
            <Th>Email</Th>
            <Th>Created Date</Th>
          </Tr>
        </Thead>
        <Tbody>
          {users.map((user) => (
            <Tr key={user.username}>
              <Td>{user.username}</Td>
              <Td>{user.email}</Td>
              <Td>{user.created_date}</Td>
            </Tr>
          ))}
        </Tbody>
      </Table>
    </Box>
  );
};

export default Users;
You should now be able to see a table at http://localhost:5173/ with all the sample user data.
Fetching Data
In this section, we'll call the Flask API to fetch user data with Axios. Let's start by installing Axios:
$ npm install [email protected] --save
So, we need to fetch user data in the Effect hook of the App component and send the data to the Users component as props.
Update App.tsx like so:
import { useState, useEffect } from "react";
import { ChakraProvider } from "@chakra-ui/react";
import axios from "axios";
import Users from "./components/Users";

interface User {
  created_date: string;
  email: string;
  id: number;
  username: string;
}

const App = () => {
  const [users, setUsers] = useState<User[]>([]);

  useEffect(() => {
    const fetchUsers = async () => {
      try {
        const response = await axios.get(
          `${import.meta.env.VITE_API_SERVICE_URL}/users`
        );
        if (response.status === 200) {
          setUsers(response.data);
        }
      } catch (error) {
        console.error("Error fetching users:", error);
      }
    };

    fetchUsers();
  }, []);

  return (
    <ChakraProvider>
      <Users users={users} />
    </ChakraProvider>
  );
};

export default App;
As you see, in the Effect hook we made a call to the /users endpoint to fetch user data. The data is then passed as props to the Users component.
Now, in Users.tsx, let's read the props and show what we received from the API:
import {
  Heading,
  Box,
  Divider,
  Table,
  Thead,
  Tbody,
  Tr,
  Th,
  Td,
  Text,
} from "@chakra-ui/react";

interface User {
  created_date: string;
  email: string;
  id: number;
  username: string;
}

interface UsersProps {
  users: User[];
}

const Users: React.FC<UsersProps> = ({ users }) => {
  return (
    <Box p={4} maxW="1200px" mx="auto">
      <Heading
        as="h1"
        size="2xl"
        mb={6}
        mt={12}
        textAlign="left"
        color="gray.700"
      >
        Users
      </Heading>
      <Divider borderColor="gray.400" />

      {users.length > 0 ? (
        <Table variant="simple" mt={4}>
          <Thead>
            <Tr>
              <Th>Username</Th>
              <Th>Email</Th>
              <Th>Created Date</Th>
            </Tr>
          </Thead>
          <Tbody>
            {users.map((user) => (
              <Tr key={user.username}>
                <Td>{user.username}</Td>
                <Td>{user.email}</Td>
                <Td>{user.created_date}</Td>
              </Tr>
            ))}
          </Tbody>
        </Table>
      ) : (
        <Text mt={4} color="gray.500" textAlign="center">
          There are no registered users.
        </Text>
      )}
    </Box>
  );
};

export default Users;
Next, in the root of the "client" folder, add a .env file:
VITE_API_SERVICE_URL=http://localhost:5004
To test, open a new terminal window, navigate to the project root, and spin up the Flask API:
$ docker compose up -d --build
Then, update and seed the database:
$ docker compose exec api python manage.py recreate_db

$ docker compose exec api python manage.py seed_db
In your first terminal, run npm run dev. Within your browser, open Chrome DevTools, and you should see the following error within your JavaScript console:
Access to XMLHttpRequest at 'http://localhost:5004/users'
from origin 'http://localhost:5173' has been blocked by CORS policy:
No 'Access-Control-Allow-Origin' header is present on the requested resource.
In short, we're making a cross-origin AJAX request (from http://localhost:5173/ to http://localhost:5004), which is a violation of the browser's "same origin policy". Fortunately, we can use the Flask-CORS extension to handle this.
Cross-Origin Resource Sharing
Within the "users" folder, add Flask-CORS to the requirements.txt file:
flask-cors==4.0.1
To keep things simple, let's allow cross origin requests on all routes, from any domain. Simply update services/users/src/__init__.py like so:
# src/__init__.py


import os

from flask import Flask
from flask_admin import Admin
from flask_cors import CORS  # new
from flask_sqlalchemy import SQLAlchemy
from werkzeug.middleware.proxy_fix import ProxyFix

# instantiate the extensions
db = SQLAlchemy()
cors = CORS()  # new
admin = Admin(template_mode="bootstrap3")


def create_app(script_info=None):

    # instantiate the app
    app = Flask(__name__)
    app.wsgi_app = ProxyFix(app.wsgi_app, x_for=1, x_proto=1, x_host=1, x_port=1)

    # set config
    app_settings = os.getenv("APP_SETTINGS")
    app.config.from_object(app_settings)

    # set up extensions
    db.init_app(app)
    cors.init_app(app, resources={r"*": {"origins": "*"}})  # new
    if os.getenv("FLASK_ENV") == "development":
        admin.init_app(app)

    # register api
    from src.api import api

    api.init_app(app)

    # shell context for flask cli
    @app.shell_context_processor
    def ctx():
        return {"app": app, "db": db}

    return app
To test, start by updating the containers:
$ docker compose up -d --build
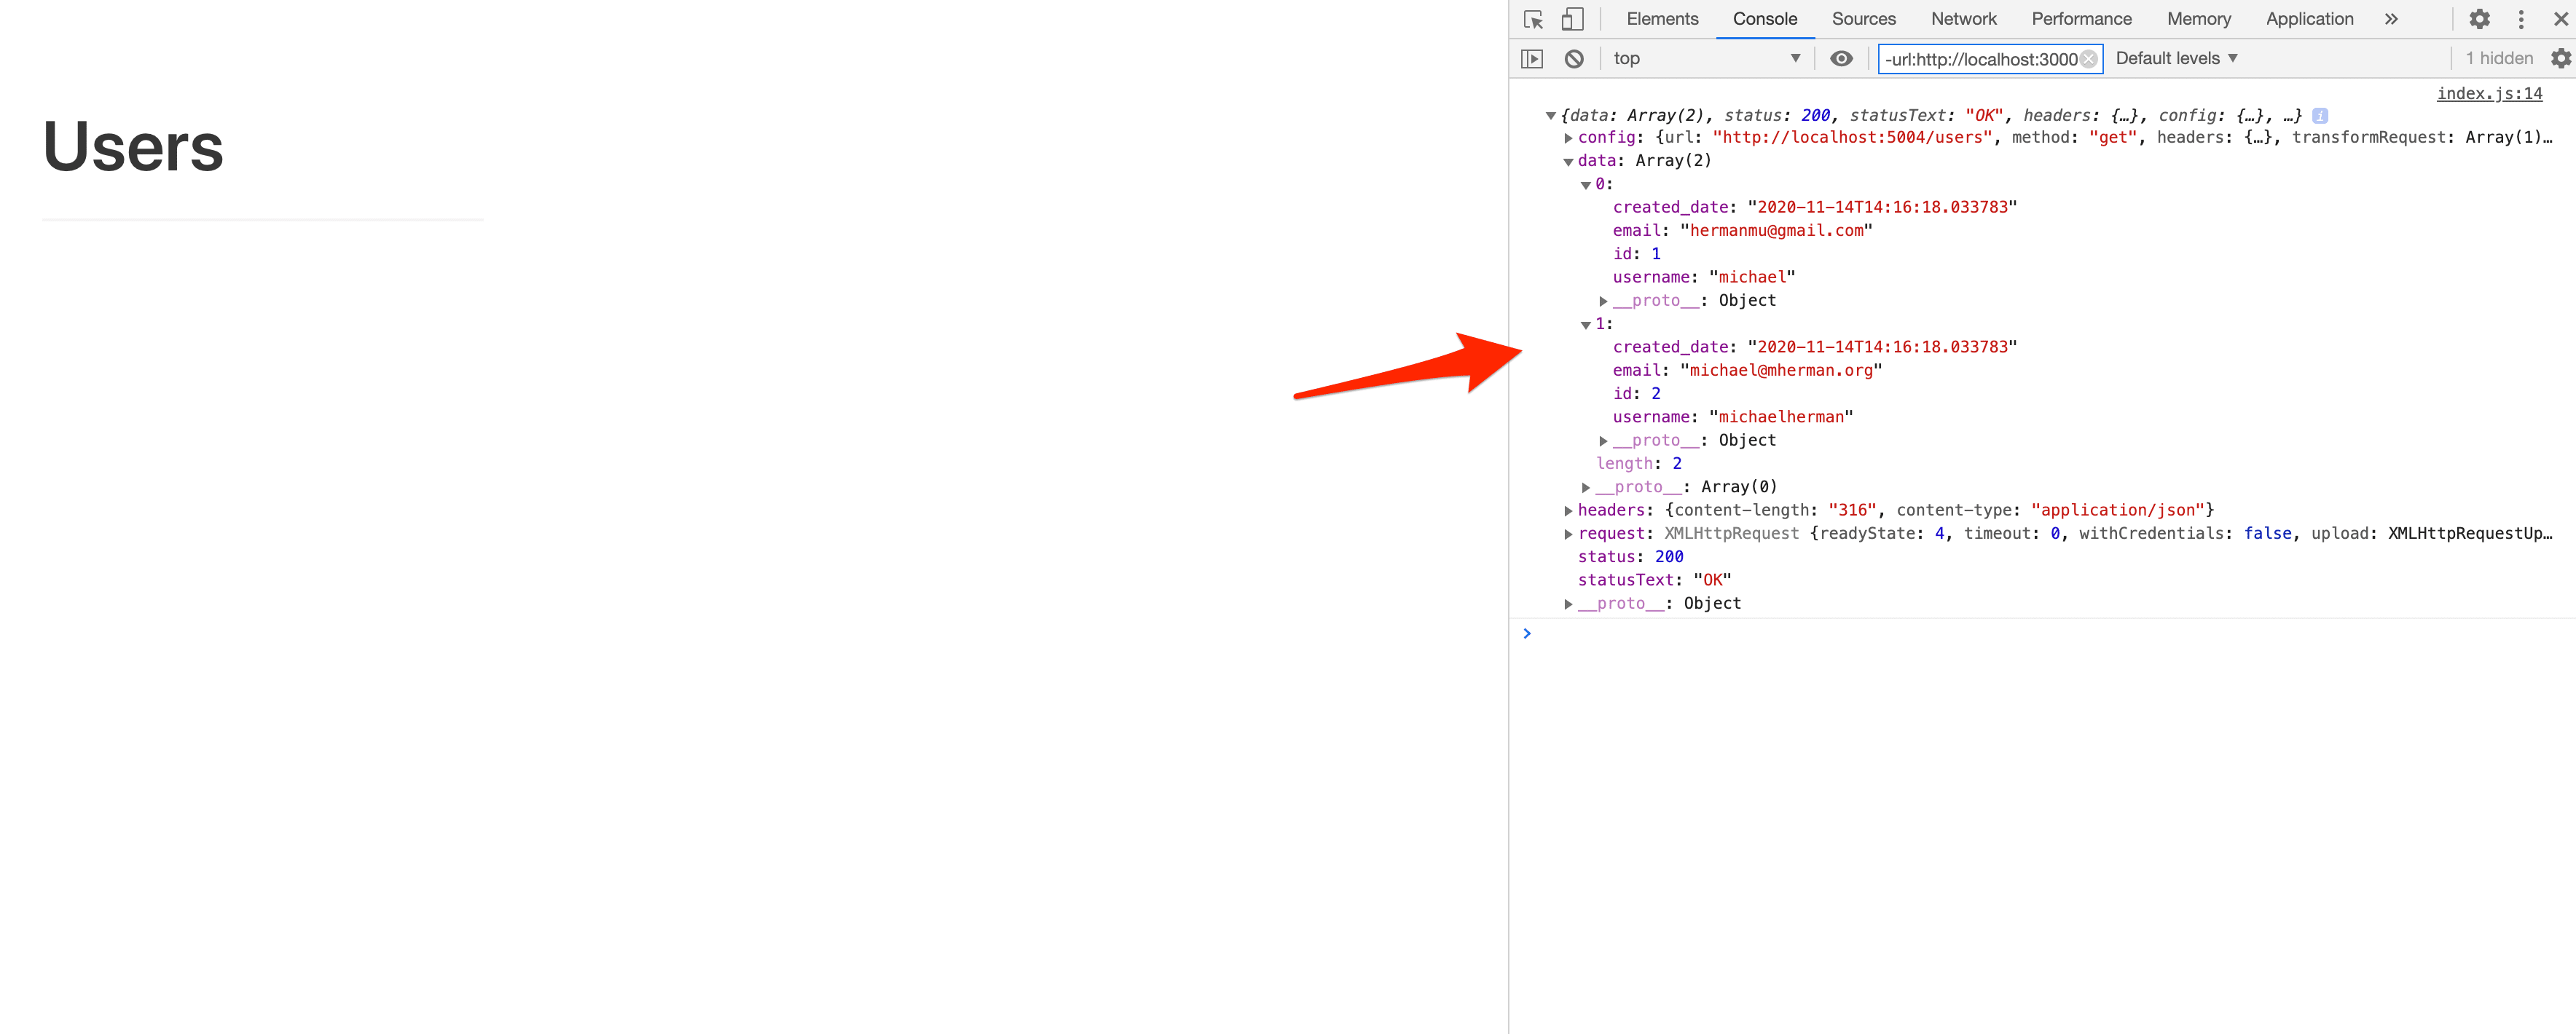
With both apps running, navigate to http://localhost:5173 again, and this time the table should be populated with the users:
✓ Mark as Completed