 Abdulazeez Abdulazeez Adeshina
In this tutorial, you'll be building a CRUD app with FastAPI and React.
We'll start by scaffolding a new React app with Vite before building the backend RESTful API with FastAPI. Finally, we'll develop the backend CRUD routes along with the frontend, React components. For styling, we'll use Chakra UI, a modular component library.
Final app:
Dependencies:
- React v19.0.0
- Vite v6.1.1
- Node v22.13.1
- npm v10.9.2
- FastAPI v0.115.7
- Python v3.13.1
Before beginning this tutorial, you should be familiar with how React works. For a quick refresher on React, review the main concepts from the Quick Start guide, and if you're new to React, check out the Tic-Tac-Toe tutorial for some hands-on practice.
Contents
Objectives
By the end of this tutorial, you will be able to:
- Develop a RESTful API with Python and FastAPI
- Scaffold a React project with Vite
- Manage state operations with the React Context API and Hooks
- Create and render React functional components in the browser
- Connect a React application to a FastAPI backend
What is FastAPI?
FastAPI is a Python web framework designed for building fast and efficient backend APIs. It handles both synchronous and asynchronous operations and has built-in support for data validation, authentication, and interactive API documentation powered by OpenAPI.
For more on FastAPI, review the following resources:
What is React?
React is an open-source, component-based JavaScript UI library that's used for building frontend applications.
For more, check out the Thinking in React tutorial, to get a feel for how React works.
Setting up FastAPI
Start by creating a new folder to hold your project called "fastapi-react":
$ mkdir fastapi-react
$ cd fastapi-react
In the "fastapi-react" folder, create a new folder to house the backend:
$ mkdir backend
$ cd backend
Next, create and activate a virtual environment:
$ python3.13 -m venv venv
$ source venv/bin/activate
$ export PYTHONPATH=$PWD
Feel free to swap out venv and Pip for Poetry or Pipenv. For more, review Modern Python Environments.
Install FastAPI:
(venv)$ pip install fastapi==0.115.7 uvicorn==0.34.0
Uvicorn is an ASGI (Asynchronous Server Gateway Interface) compatible server that will be used for standing up the backend API.
Next, create the following files and folders in the "backend" folder:
└── backend
    ├── main.py
    └── app
        ├── __init__.py
        └── api.py
In the main.py file, define an entry point for running the application:
import uvicorn


if __name__ == "__main__":
    uvicorn.run("app.api:app", host="0.0.0.0", port=8000, reload=True)
Here, we instructed the file to run a Uvicorn server on port 8000 and reload on every file change.
Before starting the server via the entry point file, create a base route in backend/app/api.py:
from fastapi import FastAPI
from fastapi.middleware.cors import CORSMiddleware


app = FastAPI()

origins = [
    "http://localhost:5173",
    "localhost:5173"
]


app.add_middleware(
    CORSMiddleware,
    allow_origins=origins,
    allow_credentials=True,
    allow_methods=["*"],
    allow_headers=["*"]
)


@app.get("/", tags=["root"])
async def read_root() -> dict:
    return {"message": "Welcome to your todo list."}
Why do we need CORSMiddleware? In order to make cross-origin requests -- i.e., requests that originate from a different protocol, IP address, domain name, or port -- you need to enable Cross Origin Resource Sharing (CORS). FastAPI's built-in CORSMiddleware handles this for us.
The above configuration will allow cross-origin requests from our frontend domain and port which will run at localhost:5173.
For more on the handling of CORS in FastAPI, review the official docs.
Run the entry point file from your console:
(venv)$ python main.py
Navigate to http://localhost:8000 in your browser. You should see:
{
  "message": "Welcome to your todo list."
}
Setting up React
Let's scaffold a new React application with Vite.
Open a new terminal window, navigate to the project directory and then generate a new React application:
$ npm create [email protected]
Answer y to proceed, and provide the following information:
Project name: frontend
Select a framework: › React
Select a variant: › TypeScript
Install the dependencies:
$ cd frontend
$ npm install
Next, install a UI component library called Chakra UI:
$ npm install @chakra-ui/[email protected]
$ npm install @emotion/[email protected] @emotion/[email protected] [email protected]
After the installation, create a new folder called "components" in the "src" folder, which will be used to hold the application's components, along with two components, Header.tsx and Todos.tsx:
$ cd src
$ mkdir components
$ cd components
$ touch {Header,Todos}.tsx
Open the frontend/src/index.css and replace it with the following code:
:root{
  font-family: Inter, system-ui, Avenir, Helvetica, Arial, sans-serif;
  line-height: 1.5;
  font-weight: 400;

  color-scheme: light dark;
  color: rgba(255, 255, 255, 0.87);
  background-color: #242424;

  font-synthesis: none;
  text-rendering: optimizeLegibility;
  -webkit-font-smoothing: antialiased;
  -moz-osx-font-smoothing: grayscale;
}

[data-scope="dialog"] {
  background: #1a1a1a !important;
  --bg-currentcolor: #1a1a1a !important;
}

button {
  background-color: #1a1a1a;
  color: #ffffff;
}

input::placeholder {
  color: #888888;
  opacity: 1;
}

/* For Firefox */
input::-moz-placeholder {
  color: #888888;
  opacity: 1;
}

/* For Chrome/Safari/Opera */
input::-webkit-input-placeholder {
  color: #888888;
}

/* For Internet Explorer */
input:-ms-input-placeholder {
  color: #888888;
}


a {
  font-weight: 500;
  color: #646cff;
  text-decoration: inherit;
}
a:hover {
  color: #535bf2;
}

h1 {
  font-size: 3.2em;
  line-height: 1.1;
}

button {
  border-radius: 8px;
  border: 1px solid transparent;
  padding: 0.6em 1.2em;
  font-size: 1em;
  font-weight: 500;
  font-family: inherit;
  background-color: #1a1a1a;
  cursor: pointer;
  transition: border-color 0.25s;
}
button:hover {
  border-color: #646cff;
}
button:focus,
button:focus-visible {
  outline: 4px auto -webkit-focus-ring-color;
}
Now let's start building the Header component in the Header.tsx file:
import React from "react";
import { Heading, Flex, Separator } from "@chakra-ui/react";

const Header = () => {
  return (
    <Flex
      as="nav"
      align="center"
      justify="space-between"
      wrap="wrap"
      padding="1rem"
      bg="gray.400"
      width="100%"
      position="fixed"
      top="0"
      left="0"
      right="0"
      zIndex="1000"
    >
      <Flex align="center" as="nav" mr={5}>
        <Heading as="h1" size="sm">Todos</Heading>
        <Separator />
      </Flex>
    </Flex>
  );
};

export default Header;
After importing React and the Heading, Flex, and Separator components from Chakra UI, we defined a functional component to render a basic header. The component is then exported for use in the base component.
Next, let's replace the frontend/src/App.tsx file with the following code:
import { ChakraProvider } from '@chakra-ui/react'
import { defaultSystem } from "@chakra-ui/react"
import Header from "./components/Header";

function App() {

  return (
    <ChakraProvider value={defaultSystem}>
      <Header />
    </ChakraProvider>
  )
}

export default App;
ChakraProvider, imported from the Chakra UI library, serves as the parent component for other components using Chakra UI. It provides a theme to all child components (Header in this case) via React's Context API.
Note that we imported the
defaultSystemtheme from the Chakra UI library. You can create your own custom theme and pass it to theChakraProvidercomponent, to learn more about theming, review the the official Customization doc.
Start your React app from the terminal:
$ npm run dev
This will open the React app in your default browser at http://localhost:5173/. You should see:
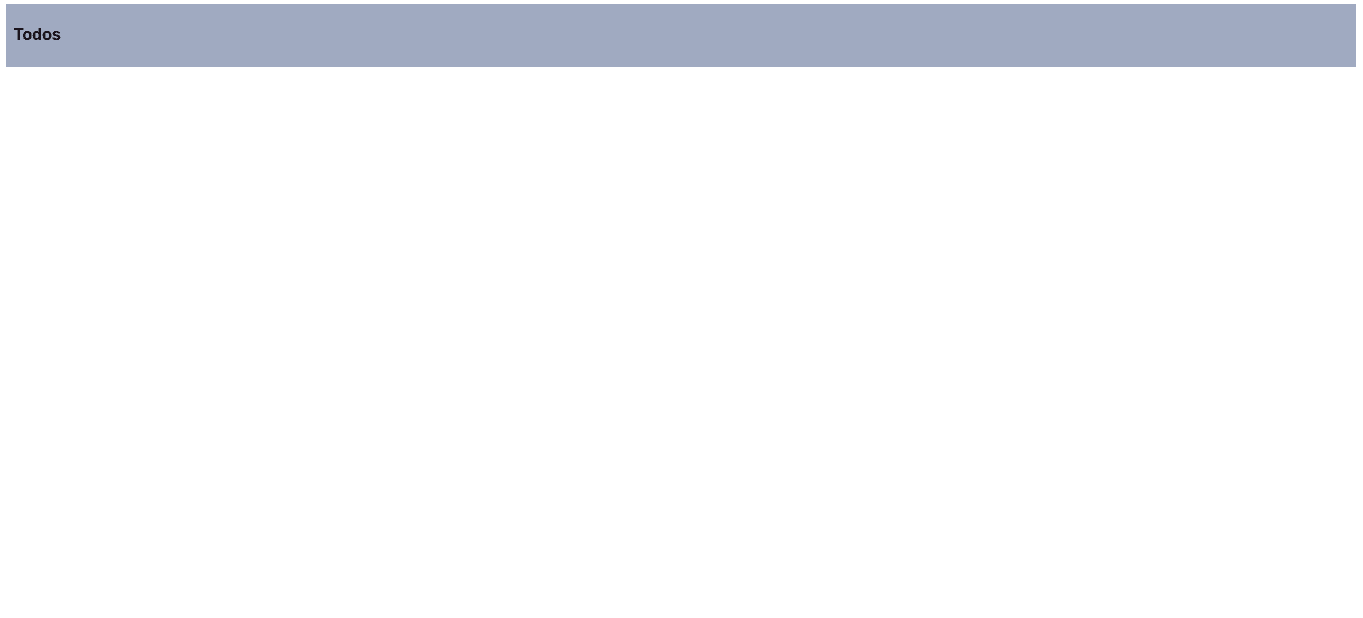
What Are We Building?
For the remainder of this tutorial, you'll be building a todo CRUD app for creating, reading, updating, and deleting todos. By the end, your app will look like this:
GET Route
Backend
Start by adding a list of todos to backend/app/api.py:
todos = [
    {
        "id": "1",
        "item": "Read a book."
    },
    {
        "id": "2",
        "item": "Cycle around town."
    }
]
The list above is just dummy data used for this tutorial. The data simply represents the structure of individual todos. Feel free to wire up a database and store the todos there.
Then, add the route handler:
@app.get("/todo", tags=["todos"])
async def get_todos() -> dict:
    return { "data": todos }
Manually test the new route at http://localhost:8000/todo. Check out the interactive documentation at http://localhost:8000/docs as well:

Frontend
In the Todos.tsx component, start by importing React, the useState() and useEffect() hooks, and some Chakra UI components:
import React, { useEffect, useState, createContext, useContext } from "react";
import {
  Box,
  Button,
  Container,
  Flex,
  Input,
  DialogBody,
  DialogContent,
  DialogFooter,
  DialogHeader,
  DialogRoot,
  DialogTitle,
  DialogTrigger,
  Stack,
  Text,
  DialogActionTrigger,
} from "@chakra-ui/react";
The useState hook is responsible for managing our client component state while the useEffect hook allows us to perform operations such as data fetching when the component is mounted in the DOM.
For more on React Hooks, review the Primer on React Hooks tutorial and Built-in React Hooks from the official docs.
Now, let's define our Todo interface:
interface Todo {
  id: string;
  item: string;
}
The
Todointerface is used to define the shape of the data that will be passed to theTodoscomponent.
Next, create a context for managing global state activities across all components:
const TodosContext = createContext({
  todos: [], fetchTodos: () => {}
})
In the code block above, we defined a context object via createContext that takes in two provider values: todos and fetchTodos. The fetchTodos function will be defined in the next code block.
Want to learn more about managing state with the React Context API? Check out the React Context API: Managing State with Ease article.
Next, add the Todos component:
export default function Todos() {
  const [todos, setTodos] = useState([])
  const fetchTodos = async () => {
    const response = await fetch("http://localhost:8000/todo")
    const todos = await response.json()
    setTodos(todos.data)
  }
}
Here, we created an empty state variable array, todos, and a state method, setTodos, so we can update the state variable. Next, we defined a function called fetchTodos to retrieve todos from the backend asynchronously and update the todo state variable at the end of the function.
Next, within the Todos component, retrieve the todos using the fetchTodos function and render the data by iterating through the todos state variable:
useEffect(() => {
  fetchTodos()
}, [])

return (
  <TodosContext.Provider value={{todos, fetchTodos}}>
    <Container maxW="container.xl" pt="100px">
      <Stack gap={5}>
        {todos.map((todo: Todo) => (
          <b key={todo.id}>{todo.item}</b>
        ))}
      </Stack>
    </Container>
  </TodosContext.Provider>
)
Todos.tsx should now look like:
import React, { useEffect, useState, createContext, useContext } from "react";
import {
  Box,
  Button,
  Container,
  Flex,
  Input,
  DialogBody,
  DialogContent,
  DialogFooter,
  DialogHeader,
  DialogRoot,
  DialogTitle,
  DialogTrigger,
  Stack,
  Text,
  DialogActionTrigger,
} from "@chakra-ui/react";


interface Todo {
  id: string;
  item: string;
}

const TodosContext = createContext({
  todos: [], fetchTodos: () => {}
})

export default function Todos() {
  const [todos, setTodos] = useState([])
  const fetchTodos = async () => {
    const response = await fetch("http://localhost:8000/todo")
    const todos = await response.json()
    setTodos(todos.data)
  }
  useEffect(() => {
    fetchTodos()
  }, [])

  return (
    <TodosContext.Provider value={{todos, fetchTodos}}>
      <Container maxW="container.xl" pt="100px">
        <Stack gap={5}>
          {todos.map((todo: Todo) => (
            <b key={todo.id}>{todo.item}</b>
          ))}
        </Stack>
      </Container>
    </TodosContext.Provider>
  )
}
Import the Todos component in App.tsx file and render it:
import { ChakraProvider } from '@chakra-ui/react'
import { defaultSystem } from "@chakra-ui/react"
import Header from "./components/Header";
import Todos from "./components/Todos";  // new

function App() {

  return (
    <ChakraProvider value={defaultSystem}>
      <Header />
      <Todos />  {/* new */}
    </ChakraProvider>
  )
}

export default App;
Your app at http://localhost:5173 should now look like this:
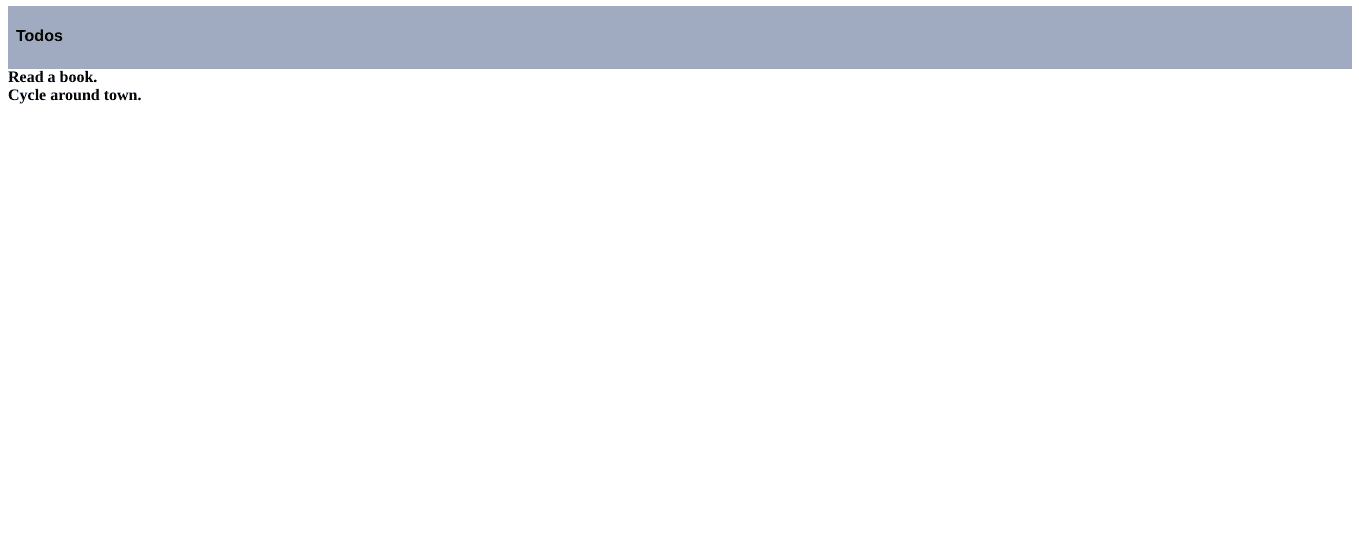
Try adding a new todo to the todos list in backend/app/api.py. Refresh the browser. You should see the new todo. With that, we're done wth the GET request for retrieving all todos.
POST Route
Backend
Start by adding a new route handler to handle POST requests for adding a new todo to backend/app/api.py:
@app.post("/todo", tags=["todos"])
async def add_todo(todo: dict) -> dict:
    todos.append(todo)
    return {
        "data": { "Todo added." }
    }
With the backend running, you can test the POST route in a new terminal tab using curl:
$ curl -X POST http://localhost:8000/todo -d \
    '{"id": "3", "item": "Buy some testdriven courses."}' \
    -H 'Content-Type: application/json'
You should see:
{
    "data: [
        "Todo added."
    ]"
}
You should also see the new todo in the response from the http://localhost:8000/todo endpoint as well as at http://localhost:5173.
As an exercise, implement a check to prevent adding duplicate todo items.
Frontend
Start by adding the shell for adding a new todo to frontend/src/components/Todos.tsx:
function AddTodo() {
  const [item, setItem] = React.useState("")
  const {todos, fetchTodos} = React.useContext(TodosContext)
}
Here, we created a new state variable that will hold the value from the form. We also retrieved the context values, todos and fetchTodos.
Next, add the functions for obtaining the input from the form and handling the form submission to AddTodo:
const handleInput = (event: React.ChangeEvent<HTMLInputElement>) => {
  setItem(event.target.value)
}

const handleSubmit = (event: React.FormEvent<HTMLFormElement>) => {
  event.preventDefault()
  const newTodo = {
    "id": todos.length + 1,
    "item": item
  }

  fetch("http://localhost:8000/todo", {
    method: "POST",
    headers: { "Content-Type": "application/json" },
    body: JSON.stringify(newTodo)
  }).then(fetchTodos)
}
In the handleSubmit function, we added a POST request and sent data to the server with the todo info. We then called fetchTodos to update todos.
React.ChangeEvent<HTMLInputElement>is a type that represents the event object for an input element.
Just after the handleSubmit function, return the form to be rendered:
return (
  <form onSubmit={handleSubmit}>
    <Input
      pr="4.5rem"
      type="text"
      placeholder="Add a todo item"
      aria-label="Add a todo item"
      onChange={handleInput}
    />
  </form>
)
In the code block above, we set the form onSubmit event listener to the handleSubmit function that we created earlier. The todo item value is also updated as the input value changes via the onChange listener.
The full AddTodo component should now look like this:
function AddTodo() {
  const [item, setItem] = React.useState("")
  const {todos, fetchTodos} = React.useContext(TodosContext)

  const handleInput = (event: React.ChangeEvent<HTMLInputElement>) => {
    setItem(event.target.value)
  }

  const handleSubmit = (event: React.FormEvent<HTMLFormElement>) => {
    event.preventDefault()
    const newTodo = {
      "id": todos.length + 1,
      "item": item
    }

    fetch("http://localhost:8000/todo", {
      method: "POST",
      headers: { "Content-Type": "application/json" },
      body: JSON.stringify(newTodo)
    }).then(fetchTodos)
  }

  return (
    <form onSubmit={handleSubmit}>
      <Input
        pr="4.5rem"
        type="text"
        placeholder="Add a todo item"
        aria-label="Add a todo item"
        onChange={handleInput}
      />
    </form>
  )
}
Next, add the AddTodo component to the Todos component like so:
export default function Todos() {
  const [todos, setTodos] = useState([])
  const fetchTodos = async () => {
    const response = await fetch("http://localhost:8000/todo")
    const todos = await response.json()
    setTodos(todos.data)
  }
  useEffect(() => {
    fetchTodos()
  }, [])

  return (
    <TodosContext.Provider value={{todos, fetchTodos}}>
      <Container maxW="container.xl" pt="100px">
      <AddTodo />  {/* new */}
        <Stack gap={5}>
          {todos.map((todo: Todo) => (
            <b key={todo.id}>{todo.item}</b>
          ))}
        </Stack>
      </Container>
    </TodosContext.Provider>
  )
}
The frontend application should look like this:
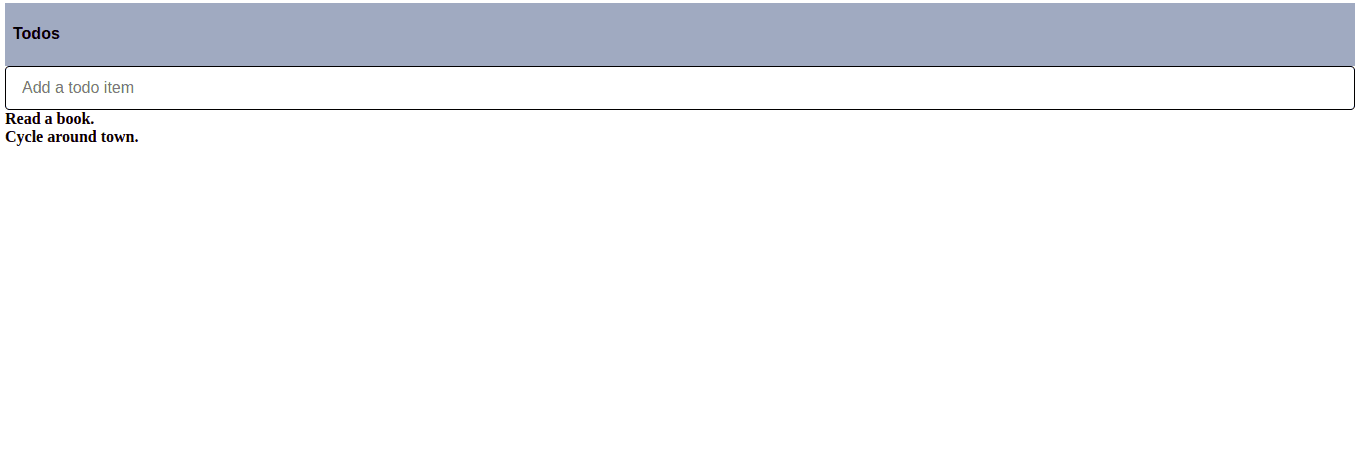
Test the form by adding a todo:
PUT Route
Backend
Add an update route:
@app.put("/todo/{id}", tags=["todos"])
async def update_todo(id: int, body: dict) -> dict:
    for todo in todos:
        if int(todo["id"]) == id:
            todo["item"] = body["item"]
            return {
                "data": f"Todo with id {id} has been updated."
            }

    return {
        "data": f"Todo with id {id} not found."
    }
So, we checked for the todo with an ID matching the one supplied and then, if found, updated the todo's item with the value from the request body.
Frontend
Start by defining the component UpdateTodo in frontend/src/components/Todos.tsx and passing two prop values, item and id to it:
const UpdateTodo = ({ item, id, fetchTodos }: UpdateTodoProps) => {
  const [todo, setTodo] = useState(item);
}
After the import statements in the top of the file, add the UpdateTodoProps interface:
interface UpdateTodoProps {
  item: string;
  id: string;
  fetchTodos: () => void;
}
voidis a type that represents the absence of a value. We used it to indicate that a function does not return a value.
The state variables above are for the modal, which we'll create shortly, and to hold the todo value to be updated. The fetchTodos context value is also imported for updating todos after the changes have been made.
Now, let's write the function responsible for sending PUT requests. In the UpdateTodo component body, just after the state and context variables, add the following:
const updateTodo = async () => {
  await fetch(`http://localhost:8000/todo/${id}`, {
    method: "PUT",
    headers: { "Content-Type": "application/json" },
    body: JSON.stringify({ item: todo }),
  });
  await fetchTodos();
};
In the asynchronous function above, a PUT request is sent to the backend and then the fetchTodos() is invoked.
Next, render the modal:
return (
  <DialogRoot>
    <DialogTrigger asChild>
      <Button h="1.5rem" size="sm">
        Update Todo
      </Button>
    </DialogTrigger>
    <DialogContent
      position="fixed"
      top="50%"
      left="50%"
      transform="translate(-50%, -50%)"
      bg="white"
      p={6}
      rounded="md"
      shadow="xl"
      maxW="md"
      w="90%"
      zIndex={1000}
    >
      <DialogHeader>
        <DialogTitle>Update Todo</DialogTitle>
      </DialogHeader>
      <DialogBody>
        <Input
          pr="4.5rem"
          type="text"
          placeholder="Add a todo item"
          aria-label="Add a todo item"
          value={todo}
          onChange={event => setTodo(event.target.value)}
        />
      </DialogBody>
      <DialogFooter>
        <DialogActionTrigger asChild>
          <Button variant="outline" size="sm">Cancel</Button>
        </DialogActionTrigger>
        <Button size="sm" onClick={updateTodo}>Save</Button>
      </DialogFooter>
    </DialogContent>
  </DialogRoot>
)
In the above code, we created a modal using Chakra UI's Dialog components. In the modal body, we listened for changes to the textbox and updated the state object, todo. Lastly, when the button "Update Todo" is clicked, the function updateTodo() is invoked and our todo is updated.
The full component should now look like this:
const UpdateTodo = ({ item, id, fetchTodos }: UpdateTodoProps) => {
  const [todo, setTodo] = useState(item);
  const updateTodo = async () => {
    await fetch(`http://localhost:8000/todo/${id}`, {
      method: "PUT",
      headers: { "Content-Type": "application/json" },
      body: JSON.stringify({ item: todo }),
    });
    await fetchTodos();
  };

  return (
    <DialogRoot>
      <DialogTrigger asChild>
        <Button h="1.5rem" size="sm">
          Update Todo
        </Button>
      </DialogTrigger>
      <DialogContent
        position="fixed"
        top="50%"
        left="50%"
        transform="translate(-50%, -50%)"
        bg="white"
        p={6}
        rounded="md"
        shadow="xl"
        maxW="md"
        w="90%"
        zIndex={1000}
      >
        <DialogHeader>
          <DialogTitle>Update Todo</DialogTitle>
        </DialogHeader>
        <DialogBody>
          <Input
            pr="4.5rem"
            type="text"
            placeholder="Add a todo item"
            aria-label="Add a todo item"
            value={todo}
            onChange={event => setTodo(event.target.value)}
          />
        </DialogBody>
        <DialogFooter>
          <DialogActionTrigger asChild>
            <Button variant="outline" size="sm">Cancel</Button>
          </DialogActionTrigger>
          <Button size="sm" onClick={updateTodo}>Save</Button>
        </DialogFooter>
      </DialogContent>
    </DialogRoot>
  )
}
Before adding the component to the Todos component, let's add a helper component for rendering todos to clean things up a bit:
function TodoHelper({item, id, fetchTodos}: TodoHelperProps) {
  return (
    <Box p={1} shadow="sm">
      <Flex justify="space-between">
        <Text mt={4} as="div">
          {item}
          <Flex align="end">
            <UpdateTodo item={item} id={id} fetchTodos={fetchTodos}/>
          </Flex>
        </Text>
      </Flex>
    </Box>
  )
}
Add the TodoHelperProps interface to the top of the file:
interface TodoHelperProps {
  item: string;
  id: string;
  fetchTodos: () => void;
}
In the component above, we rendered the todo passed to the component and attached an update button to it.
Replace the code in the return block within the Todos component:
return (
  <TodosContext.Provider value={{todos, fetchTodos}}>
    <Container maxW="container.xl" pt="100px">
      <AddTodo />
      <Stack gap={5}>
          {
          todos.map((todo) => (
              <TodoHelper item={todo.item} id={todo.id} fetchTodos={fetchTodos}/>
          ))
          }
      </Stack>
    </Container>
  </TodosContext.Provider>
)
The browser should have a refreshed look:
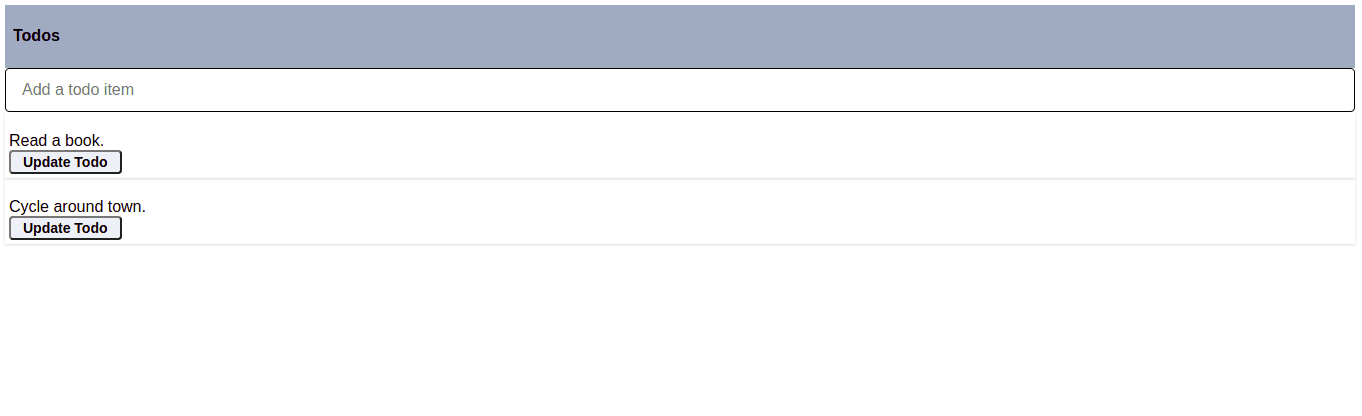
Verify that it works:
DELETE Route
Backend
Finally, add the delete route:
@app.delete("/todo/{id}", tags=["todos"])
async def delete_todo(id: int) -> dict:
    for todo in todos:
        if int(todo["id"]) == id:
            todos.remove(todo)
            return {
                "data": f"Todo with id {id} has been removed."
            }

    return {
        "data": f"Todo with id {id} not found."
    }
Frontend
Let's write a component for deleting a todo, which will be used in the TodoHelper component:
const DeleteTodo = ({ id, fetchTodos }: DeleteTodoProps) => {
  const deleteTodo = async () => {
    await fetch(`http://localhost:8000/todo/${id}`, {
      method: "DELETE",
      headers: { "Content-Type": "application/json" },
      body: JSON.stringify({ id: id })
    })
    await fetchTodos()
  }

  return (
    <Button h="1.5rem" size="sm" marginLeft={2} onClick={deleteTodo}>Delete Todo</Button>
  )
}
Add the DeleteTodoProps interface:
interface DeleteTodoProps {
  id: string;
  fetchTodos: () => void;
}
Here, we started by invoking the fetchTodos function from the global state object. Next, we created an asynchronous function that sends a DELETE request to the server and then updates the list of todos by, again, calling fetchTodos. Lastly, we rendered a button that when clicked, triggers deleteTodo().
Next, add the DeleteTodo component to the TodoHelper:
function TodoHelper({item, id, fetchTodos}: TodoHelperProps) {
  return (
    <Box p={1} shadow="sm">
      <Flex justify="space-between">
        <Text mt={4} as="div">
          {item}
          <Flex align="end">
            <UpdateTodo item={item} id={id} fetchTodos={fetchTodos}/>
            <DeleteTodo id={id} fetchTodos={fetchTodos}/>  {/* new */}
          </Flex>
        </Text>
      </Flex>
    </Box>
  )
}
The client application should be updated automatically:
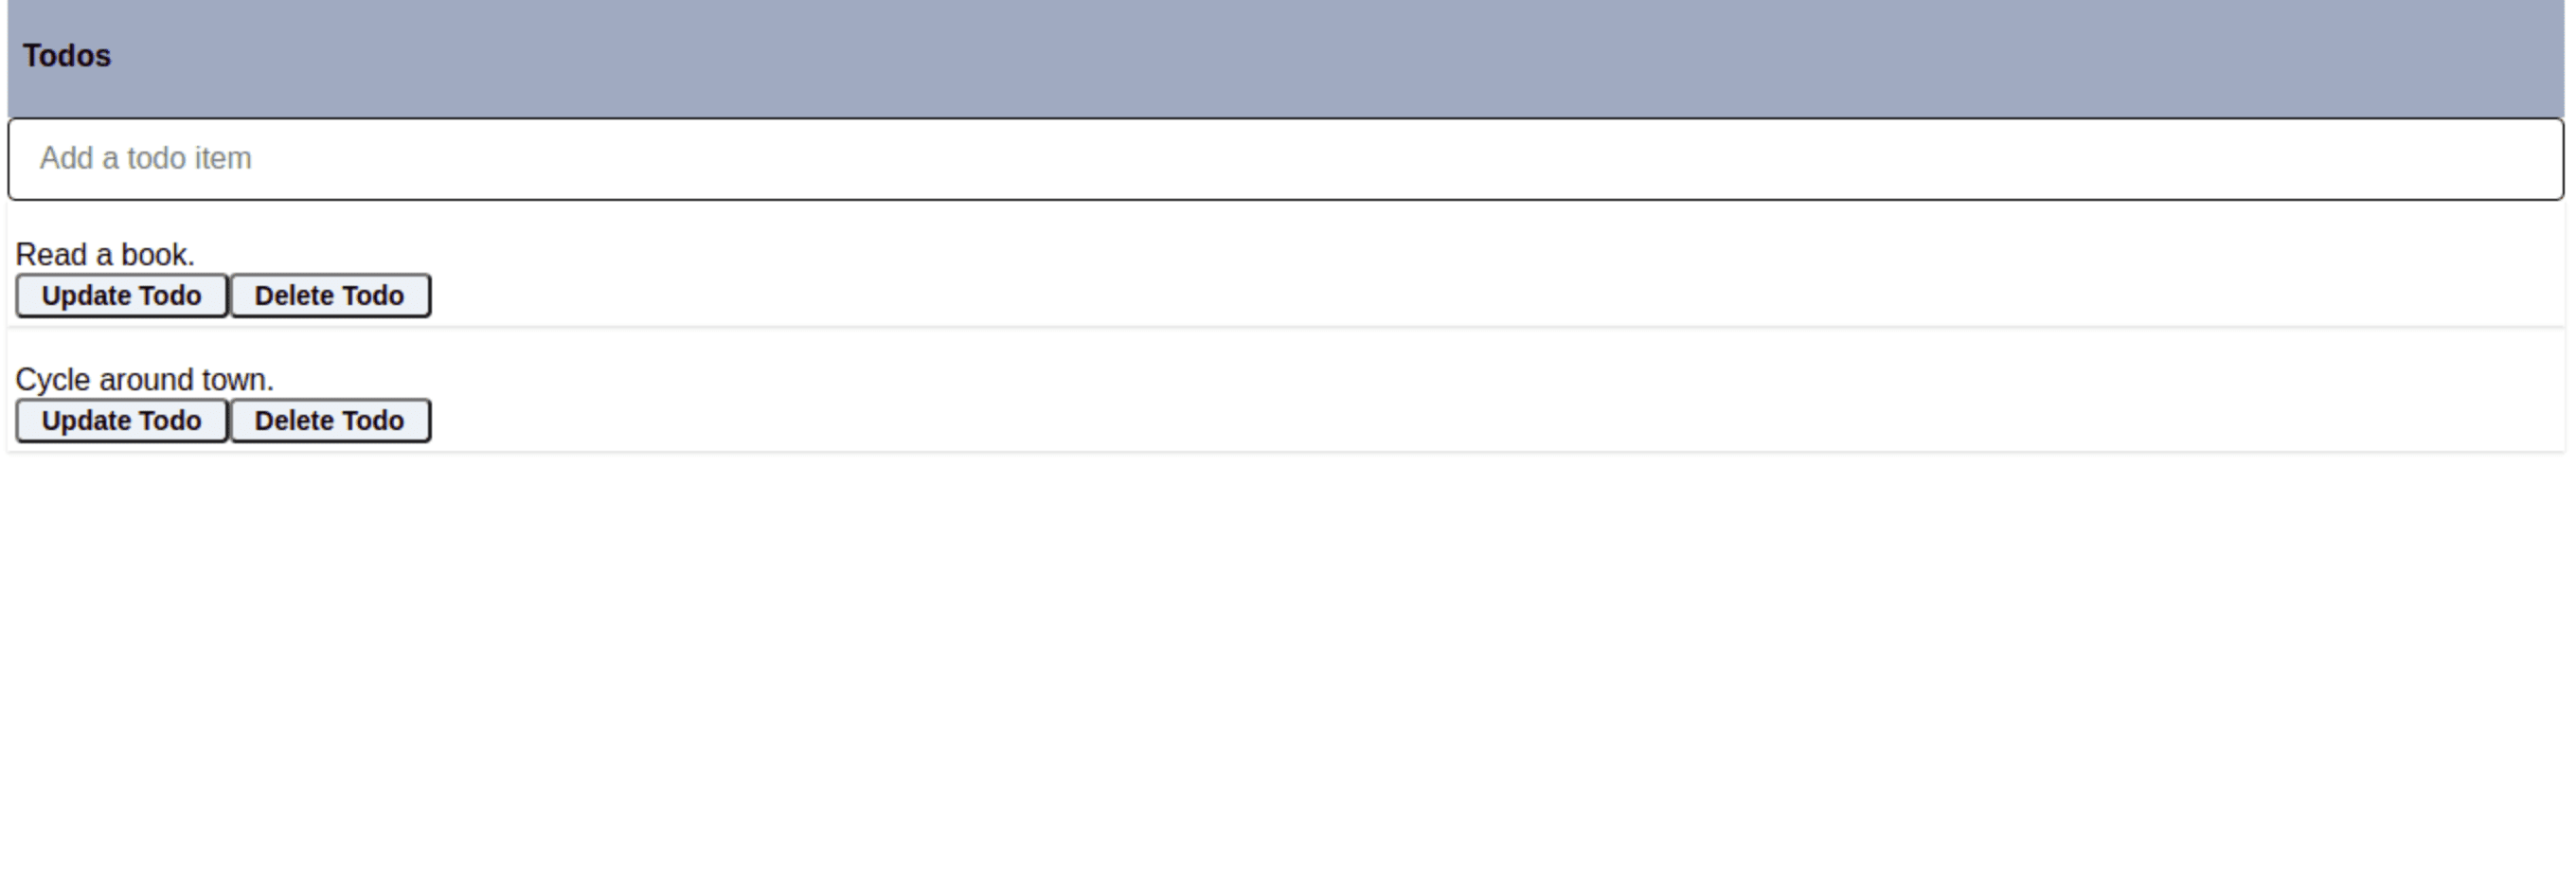
Now, test the delete button:
Conclusion
This tutorial covered the basics of setting up a CRUD application with FastAPI and React.
Check your understanding by reviewing the objectives from the beginning of this tutorial. You can find the source code in the fastapi-react repo. Thanks for reading.
Looking for some challenges?
- Deploy the React app to Netlify using this guide and update the CORS object in the backend so that it's dynamically configured using an environment variable.
- Deploy the backend API server to Heroku and replace the connection URL on the frontend. Again, use an environment variable for this. You can learn the basics of deploying FastAPI to Heroku from the Deploying and Hosting a Machine Learning Model with FastAPI and Heroku tutorial. For a beyond the basics look, check out the Test-Driven Development with FastAPI and Docker course.
- Set up unit and integration tests with pytest for the backend and React Testing Library for the frontend. The Test-Driven Development with FastAPI and Docker course covers how to test FastAPI with pytest while the Authentication with Flask, React, and Docker details how to test a React application with Jest and React Testing Library.