Postgres
Part 1, Chapter 5
Up to this point, we've been using Django's default SQLite database. Django recommends using Postgres and has many Postgres database packages installed to support the unique features that the product offers.
Let's start by deleting the old SQLite database.
$ rm server/db.sqlite3
Next, edit your docker-compose.yml file to add a new database service.
# docker-compose.yml

version: "3.8"

services:

  database:
    container_name: perusable-database
    environment:
      - POSTGRES_DB=perusable
      - POSTGRES_USER=perusable
      - POSTGRES_PASSWORD=perusable
    image: postgres:15.2
    ports:
      - "5433:5432"
    volumes:
      - perusable-database:/var/lib/postgresql/data

  server:
    build:
      context: ./server
    container_name: perusable-server
    depends_on:
      - database
    environment:
      - SQL_ENGINE=django.db.backends.postgresql
      - SQL_DATABASE=perusable
      - SQL_USER=perusable
      - SQL_PASSWORD=perusable
      - SQL_HOST=perusable-database
      - SQL_PORT=5432
    command: [ "bash", "start.sh" ]
    ports:
      - 8003:8000
    volumes:
      - ./server:/usr/src/app

volumes:
  perusable-database:
Notes:
- Note that we used the base Postgres -- e.g.,
postgres:15.2-- image without adding any new commands to it, so we don't need a "database" directory or a Dockerfile. - The docker-compose.yml file changes introduce a new
volumesstructure at the same level asservices. Typically, the code in your container only exists as long as the container is running. When you stop the Docker container and start it again, everything is recreated from scratch from the image. Volumes let you store data outside of the container lifecycle. By adding theperusable-databasevolume, all of the data we write to Postgres will persist as the Docker container is started and stopped. - The
depends_onproperty tells theserverservice to wait fordatabaseservice to start before initializing. Theenvironmentproperty defines environment variables to be used in theservercontainer's runtime environment. - Make sure the credentials found in the
environmentsections match.
Next, let's update DATABASES from server/perusable/settings.py:
# server/perusable/settings.py

DATABASES = {
    'default': {
        'ENGINE': os.environ.get('SQL_ENGINE', 'django.db.backends.sqlite3'),
        'NAME': os.environ.get('SQL_DATABASE', os.path.join(BASE_DIR, 'db.sqlite3')),
        'USER': os.environ.get('SQL_USER', 'user'),
        'PASSWORD': os.environ.get('SQL_PASSWORD', 'password'),
        'HOST': os.environ.get('SQL_HOST', 'localhost'),
        'PORT': os.environ.get('SQL_PORT', '5432'),
    }
}
Notes:
- Remember how we installed the
psycopg2-binaryPython dependency? This library lets Django access Postgres. - Do not forget to add
import osto the top of the settings.py
From the project's root directory, build the Docker containers again:
$ docker-compose up -d --build
Note the -d flag. Specifying this flag runs docker-compose in the background. You can still see the status of the containers by running docker container ls.
Open the settings.py file in the server/perusable/perusable folder. Replace INSTALLED_APPS with the following:
# server/perusable/settings.py

DJANGO_APPS = [
    'django.contrib.admin',
    'django.contrib.auth',
    'django.contrib.contenttypes',
    'django.contrib.sessions',
    'django.contrib.messages',
    'django.contrib.staticfiles',
]

THIRD_PARTY_APPS = []

LOCAL_APPS = [
    'catalog.apps.CatalogConfig',
]

INSTALLED_APPS = DJANGO_APPS + THIRD_PARTY_APPS + LOCAL_APPS
Taking this action tells Django to "install" our catalog app. Installing a Django app allows it to interact with the database.
With the proper settings in place, let's create the data model to support our wine catalog. From the "server/catalog" directory, change the code in models.py to the following:
# server/catalog/models.py

import uuid

from django.db import models


class Wine(models.Model):
    id = models.UUIDField(
        primary_key=True, default=uuid.uuid4, editable=False
    )
    country = models.CharField(max_length=255)
    description = models.TextField(null=True, blank=True)
    points = models.IntegerField()
    price = models.DecimalField(
        decimal_places=2, max_digits=10, null=True, blank=True
    )
    variety = models.CharField(max_length=255)
    winery = models.CharField(max_length=255)

    def __str__(self):
        return f'{self.id}'
We defined a Wine model with seven fields. We used a UUID -- e.g., fb433ec2-4686-4f39-a07e-3b06d98f42f0 -- as our database table's primary key. And we stored a lot of other information about our wine, such as its variety and the winery that produced it.
Next, create an admin page to complement the model in server/catalog/admin.py:
# server/catalog/admin.py

from django.contrib import admin

from .models import Wine


@admin.register(Wine)
class WineAdmin(admin.ModelAdmin):
    fields = ('id', 'country', 'description', 'points', 'price', 'variety', 'winery',)
    list_display = ('id', 'country', 'points', 'price', 'variety', 'winery',)
    list_filter = ('country', 'variety', 'winery',)
    ordering = ('variety',)
    readonly_fields = ('id',)
Now, create the migrations. With the containers running, execute the following command in your terminal:
$ docker-compose exec server python manage.py makemigrations catalog
You should see:
Migrations for 'catalog':
  perusable/catalog/migrations/0001_initial.py
    - Create model Wine
Apply the changes to the database with the following command:
$ docker-compose exec server python manage.py migrate
You should see this message:
Operations to perform:
  Apply all migrations: admin, auth, catalog, contenttypes, sessions
Running migrations:
  Applying catalog.0001_initial... OK
In order to access the admin portal, you'll need to create a superuser:
$ docker-compose exec server python manage.py createsuperuser
Fill in the inputs with your own values.
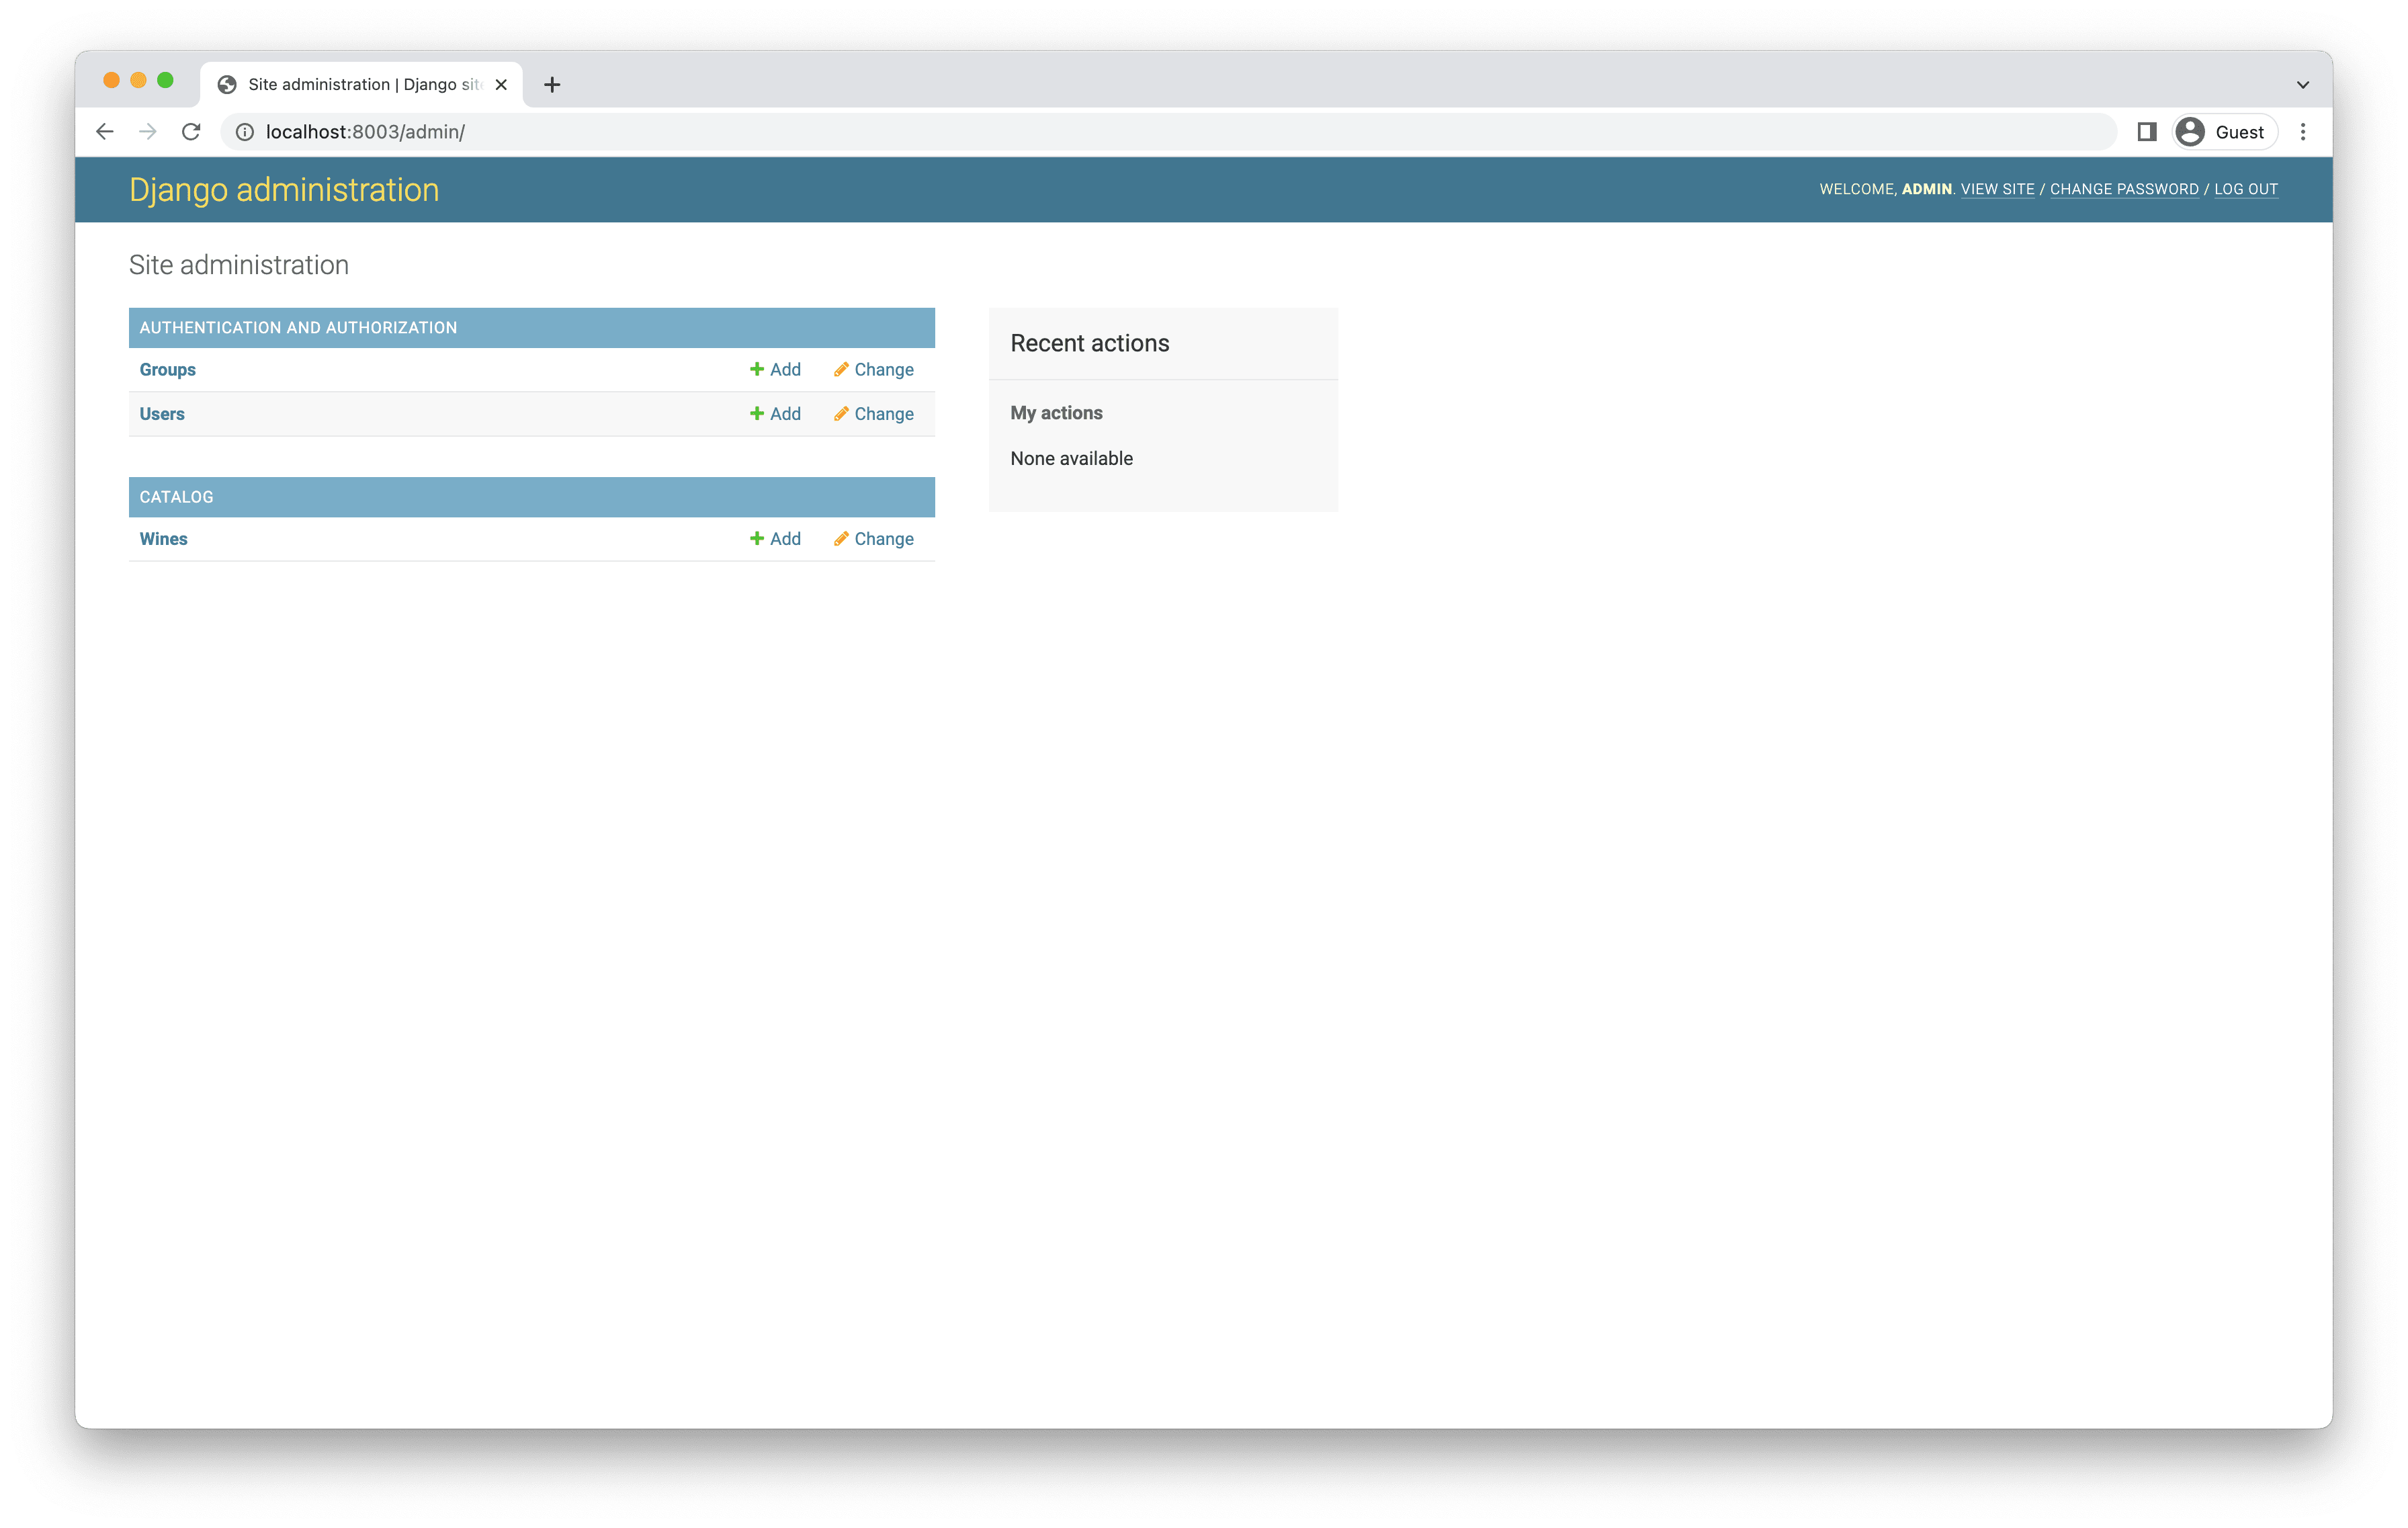
Visit http://localhost:8003/admin/ in your browser and log in with your superuser credentials. You should see something like the following:
✓ Mark as Completed