 Michael Herman
In this tutorial, we'll look at how to run a Python and Selenium-based web scraper in parallel with Selenium Grid and Docker. We'll also look at how to quickly scale Selenium Grid on DigitalOcean using Docker Swarm to increase efficiency of the scraper. Finally, we'll create a bash script that automates the spinning up and tearing down of resources on DigitalOcean.
Dependencies:
- Docker v20.10.13
- Python v3.10.4
- Selenium v4.1.3
Contents
Learning Objectives
By the end of this tutorial, you will be able to:
- Configure Selenium Grid to work with Docker
- Deploy Selenium Grid to DigitalOcean via Docker Machine
- Create a Docker Swarm Cluster
- Scale Selenium Grid across a Docker Swarm Cluster
- Automate the deployment of Selenium Grid and Docker Swarm
Getting Started
Start by cloning down the base project with the web scraping script, create and activate a virtual environment, and install the dependencies:
$ git clone https://github.com/testdrivenio/selenium-grid-docker-swarm.git --branch base --single-branch
$ cd selenium-grid-docker-swarm
$ python3.10 -m venv env
$ source env/bin/activate
(env)$ pip install -r requirements.txt
The above commands may differ depending on your environment.
Test out the scraper:
(env)$ python project/script.py
You should see something similar to:
Scraping random Wikipedia page...
[
  {
    'url': 'https://en.wikipedia.org/wiki/Andreas_Reinke',
    'title': 'Andreas Reinke',
    'last_modified': ' This page was last edited on 10 January 2022, at 23:11\xa0(UTC).'
  }
]
Finished!
Essentially, the script makes a request to Wikipedia:Random -- https://en.wikipedia.org/wiki/Special:Random -- for information about the random article using Selenium to automate interaction with the site and Beautiful Soup to parse the HTML.
It's a modified version of the scraper built in the Building A Concurrent Web Scraper With Python and Selenium tutorial. Please review the tutorial along with the code from the script for more info.
Configuring Selenium Grid
Next, let's spin up Selenium Grid to simplify the running of the script in parallel on multiple machines. We'll also use Docker and Docker Compose to manage those machines with minimal installation and configuration.
Add a docker-compose.yml file to the root directory:
version: '3.8'

services:

  hub:
    image: selenium/hub:4.1.3
    ports:
      - 4442:4442
      - 4443:4443
      - 4444:4444

  chrome:
    image: selenium/node-chrome:4.1.3
    depends_on:
      - hub
    environment:
      - SE_EVENT_BUS_HOST=hub
      - SE_EVENT_BUS_PUBLISH_PORT=4442
      - SE_EVENT_BUS_SUBSCRIBE_PORT=4443
Here, we used the official Selenium Docker images to set up a basic Selenium Grid that consists of a hub and a single Chrome node. We used the 4.1.3 tag, which is associated with the following versions of Selenium, WebDriver, Chrome, and Firefox:
- Selenium: 4.1.3
- Google Chrome: 99.0.4844.84
- ChromeDriver: 99.0.4844.51
- Mozilla Firefox: 98.0.2
- Geckodriver: 0.30.0
Want to use different versions? Find the appropriate tag from the releases page.
Pull and run the images:
$ docker-compose up -d
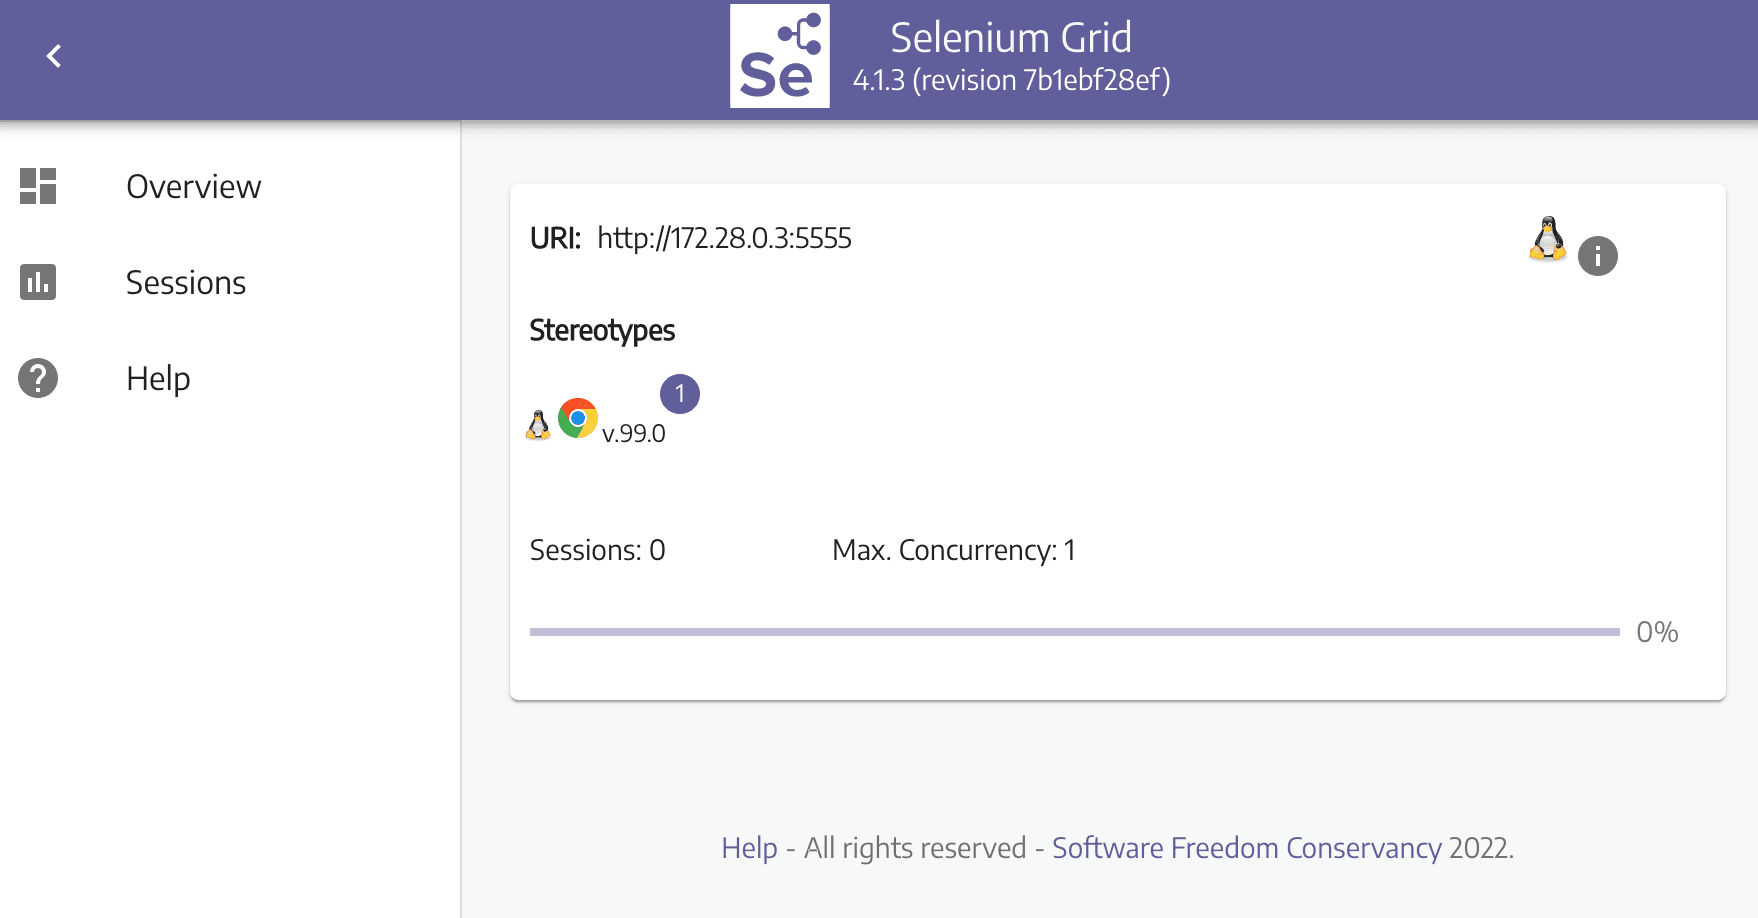
Navigate to http://localhost:4444 in your browser to ensure that the hub is up and running with one Chrome node:
Since Selenium Hub is running on a different machine (within the Docker container), we need to configure the remote driver in project/scrapers/scraper.py:
def get_driver():
    options = webdriver.ChromeOptions()
    options.add_argument("--headless")

    # initialize driver
    driver = webdriver.Remote(
            command_executor='http://localhost:4444/wd/hub',
            desired_capabilities=DesiredCapabilities.CHROME)
    return driver
Add the import:
from selenium.webdriver.common.desired_capabilities import DesiredCapabilities
Run the scraper again:
(env)$ python project/script.py
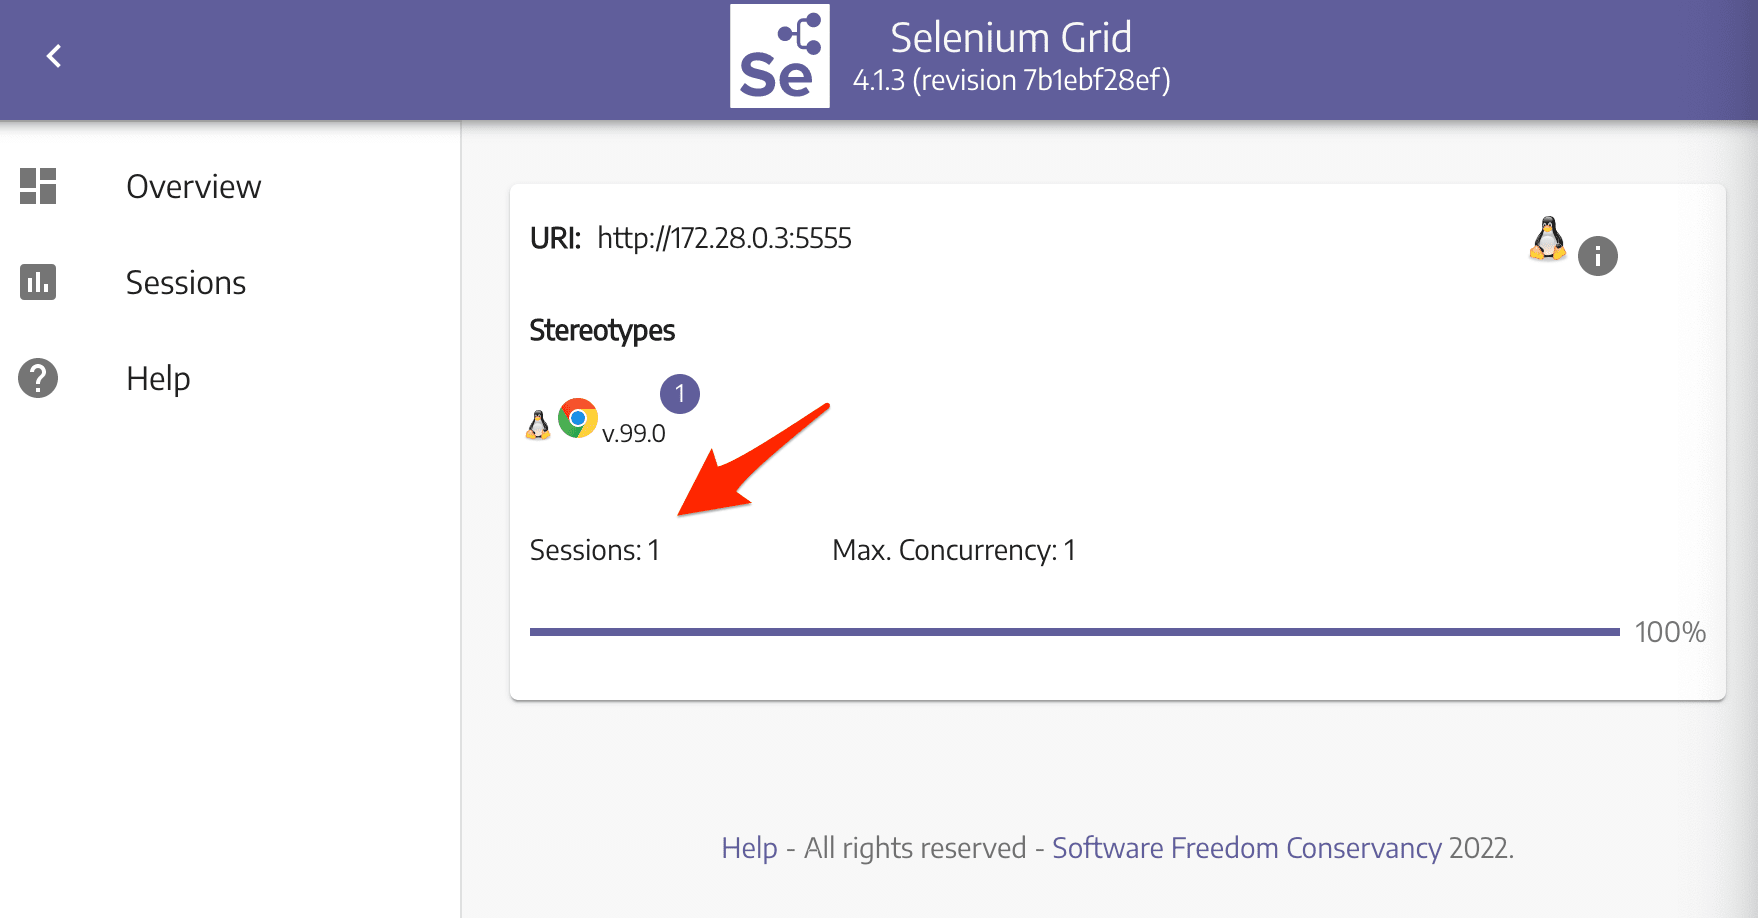
While the scraper is running, you should see "Sessions" change to one, indicating that it's in use:
Deploying to DigitalOcean
Sign up for DigitalOcean if you don't already have an account. To use the DigitalOcean API, you'll also need to generate an access token.
Get $10 in DigitalOcean credit here.
Add the token as an environment variable:
(env)$ export DIGITAL_OCEAN_ACCESS_TOKEN=[your_token]
Provision a new droplet with Docker Machine:
(env)$ docker-machine create \
        --driver digitalocean \
        --digitalocean-access-token $DIGITAL_OCEAN_ACCESS_TOKEN \
        --digitalocean-region "nyc1" \
        --digitalocean-image "debian-10-x64" \
        --digitalocean-size "s-4vcpu-8gb" \
        --engine-install-url "https://releases.rancher.com/install-docker/19.03.9.sh" \
        selenium-hub;
--engine-install-urlis required since, as of writing, Docker v20.10.13 doesn't work with Docker Machine.
Next, point the Docker daemon at the newly created machine and set it as the active machine:
(env)$ docker-machine env selenium-hub
(env)$ eval $(docker-machine env selenium-hub)
Spin up the two containers on the droplet:
(env)$ docker-compose up -d
Once up, grab the IP of the droplet:
(env)$ docker-machine ip selenium-hub
Ensure Selenium Grid is up at http://YOUR_IP:4444, and then update the IP address in project/scrapers/scraper.py:
command_executor='http://YOUR_IP:4444/wd/hub',
Run the scraper:
(env)$ python project/script.py
Again, navigate to the Grid dashboard and ensure a session is active. You should see the following output in the terminal:
Scraping random Wikipedia page...
[
  {
    'url': 'https://en.wikipedia.org/wiki/David_Hidalgo',
    'title': 'David Hidalgo',
    'last_modified': ' This page was last edited on 11 November 2021, at 01:24\xa0(UTC).'
  }
]
Finished!
Thus far we're only scraping a single article on Wikipedia. What if we wanted to scrape multiple articles?
(env)$ for i in {1..21}; do {
          python project/script.py &
        };
        done
        wait
Navigate to the Grid dashboard again. You should see one of the requests running along with 20 queued requests:

Since we only have one node running, it will take a while to finish (just over 1.5 minutes on my end). We could spin up a few more instances of the node, but each of them would have to fight for resources on the droplet. It's best to deploy the hub and a number of nodes across a few droplets. This is where Docker Swarm comes into play.
Running Docker Swarm
So, with Docker Swarm (or "docker swarm mode", if you want to be more accurate), we can deploy a single Selenium Grid across a number of machines.
Start by initializing Docker Swarm on the current machine:
(env)$ docker swarm init --advertise-addr [YOUR_IP]
You should see something like:
Swarm initialized: current node (mky1a6z8rjaeaeiucvzyo355l) is now a manager.

To add a worker to this swarm, run the following command:

    docker swarm join --token SWMTKN-1-2136awhbig93jh8xunp8yp2wn0pw9i946dvmfrpi05tnpbxula-633h28mn97sxhbfn8479mmpx5 134.122.20.39:2377

To add a manager to this swarm, run 'docker swarm join-token manager' and follow the instructions.
Take note of the join command as it contains a token that we need in order to add workers to the Swarm.
Review the official docs for more info on adding nodes to a Swarm.
Next, spin up three new droplets on DigitalOcean:
(env)$ for i in 1 2 3; do
            docker-machine create \
              --driver digitalocean \
              --digitalocean-access-token $DIGITAL_OCEAN_ACCESS_TOKEN \
              --digitalocean-region "nyc1" \
              --digitalocean-image "debian-10-x64" \
              --digitalocean-size "s-4vcpu-8gb" \
              --engine-install-url "https://releases.rancher.com/install-docker/19.03.9.sh" \
              node-$i;
        done
And then add each to the Swarm as a worker:
(env)$ for i in 1 2 3; do
            docker-machine ssh node-$i \
              -- docker swarm join --token YOUR_JOIN_TOKEN;
        done
You should see something like:
(env)$ for i in 1 2 3; do
            docker-machine ssh node-$i \
              -- docker swarm join --token SWMTKN-1-2136awhbig93jh8xunp8yp2wn0pw9i946dvmfrpi05tnpbxula-633h28mn97sxhbfn8479mmpx5 134.122.20.39:2377
        done
This node joined a swarm as a worker.
This node joined a swarm as a worker.
This node joined a swarm as a worker.
Update the docker-compose.yml file to deploy Selenium Grid in Swarm mode:
version: '3.8'

services:

  hub:
    image: selenium/hub:4.1.3
    ports:
      - 4442:4442
      - 4443:4443
      - 4444:4444
    deploy:
      mode: replicated
      replicas: 1
      placement:
        constraints:
          - node.role == worker

  chrome:
    image: selenium/node-chrome:4.1.3
    depends_on:
      - hub
    environment:
      - SE_EVENT_BUS_HOST=hub
      - SE_EVENT_BUS_PUBLISH_PORT=4442
      - SE_EVENT_BUS_SUBSCRIBE_PORT=4443
      - NODE_MAX_SESSION=1
    entrypoint: bash -c 'SE_OPTS="--host $$HOSTNAME" /opt/bin/entry_point.sh'
    deploy:
      replicas: 1
      placement:
        constraints:
          - node.role == worker
Major changes:
- Placement constraints: We set up a placement constraint of
node.role == workerso that all tasks will be run on the worker nodes. It's generally best to keep manager nodes free from CPU and/or memory-intensive tasks. - Entrypoint: Here, we updated the host set in
SE_OPTSwithin the entry_point.sh script so nodes running on different hosts will be able to successfully link back to the hub.
With that, we are ready to deploy the stack:
(env)$ docker stack deploy --compose-file=docker-compose.yml selenium
Let's also add a few more nodes:
(env)$ docker service scale selenium_chrome=5

selenium_chrome scaled to 5
overall progress: 5 out of 5 tasks
1/5: running   [==================================================>]
2/5: running   [==================================================>]
3/5: running   [==================================================>]
4/5: running   [==================================================>]
5/5: running   [==================================================>]
verify: Service converged
You can check the status of the stack like so:
(env)$ docker stack ps selenium
You'll also want to get the IP address of the machine running the hub:
(env)$ docker-machine ip $(docker service ps --format "{{.Node}}" selenium_hub)
Update the IP address again in project/scrapers/scraper.py:
command_executor='http://YOUR_IP:4444/wd/hub',
Test it out:
(env)$ for i in {1..21}; do {
          python project/script.py &
        };
        done
        wait
Back on the Grid dashboard at http://YOUR_IP:4444/, you should see the five nodes, each running a single session. There should also be 16 queued requests:

This should run much faster now. On my end, it took 25 seconds to run.
Commands
Want to view the services?
(env)$ docker service ls
To get more info about the Chrome nodes along with where each are running, run:
(env)$ docker service ps selenium_chrome
Remove the services:
(env)$ docker service rm selenium_chrome
(env)$ docker service rm selenium_hub
Spin down the droplets:
(env)$ docker-machine rm node-1 node-2 node-3
(env)$ docker-machine rm selenium-hub
Automating the Workflow
Right now we have to manually spin the resources up and back down. Let's automate the process so that when you want to run a scraping job the resources are spun up and then torn down automatically.
project/create.sh:
#!/bin/bash


echo "Spinning up four droplets..."

for i in 1 2 3 4; do
    docker-machine create \
        --driver digitalocean \
        --digitalocean-access-token $DIGITAL_OCEAN_ACCESS_TOKEN \
        --digitalocean-region "nyc1" \
        --digitalocean-image "debian-10-x64" \
        --digitalocean-size "s-4vcpu-8gb" \
        --engine-install-url "https://releases.rancher.com/install-docker/19.03.9.sh" \
        node-$i;
done


echo "Initializing Swarm mode..."

docker-machine ssh node-1 -- docker swarm init --advertise-addr $(docker-machine ip node-1)


echo "Adding the nodes to the Swarm..."

TOKEN=`docker-machine ssh node-1 docker swarm join-token worker | grep token | awk '{ print $5 }'`

docker-machine ssh node-2 "docker swarm join --token ${TOKEN} $(docker-machine ip node-1):2377"
docker-machine ssh node-3 "docker swarm join --token ${TOKEN} $(docker-machine ip node-1):2377"
docker-machine ssh node-4 "docker swarm join --token ${TOKEN} $(docker-machine ip node-1):2377"


echo "Deploying Selenium Grid to http://$(docker-machine ip node-1):4444"

eval $(docker-machine env node-1)
docker stack deploy --compose-file=docker-compose.yml selenium
docker service scale selenium_chrome=5
project/destroy.sh:
#!/bin/bash


echo "Bringing down the services"

docker service rm selenium_chrome
docker service rm selenium_hub


echo "Bringing down the droplets"

docker-machine rm node-1 node-2 node-3 node-4 -y
Update the get_driver() in project/scrapers/scraper.py to take an address:
def get_driver(address):
    options = webdriver.ChromeOptions()
    options.add_argument("--headless")

    # initialize driver
    driver = webdriver.Remote(
                command_executor=f'http://{address}:4444/wd/hub',
                desired_capabilities=DesiredCapabilities.CHROME)
    return driver
Update the main block in project/script.py:
if __name__ == '__main__':
    browser = get_driver(sys.argv[1])
    data = run_process(browser)
    print(data)
    browser.quit()
    print(f'Finished!')
Time to test!
(env)$ sh project/create.sh
Run the scraper:
(env)$ docker-machine env node-1
(env)$ eval $(docker-machine env node-1)
(env)$ NODE=$(docker service ps --format "{{.Node}}" selenium_hub)
(env)$ for i in {1..21}; do {
          python project/script.py $(docker-machine ip $NODE) &
        };
        done
        wait
Bring down the resources once done:
(env)$ sh project/destroy.sh
Next Steps
Try out these challenges:
- Right now we're not doing anything with the scraped data. Try spinning up a database and adding a function to the scraping script to write the data to the database.
- Selenium is also used for browser-based, end-to-end testing. With Selenium Grid you can run the tests against different versions of Chrome and Firefox on different operating systems. In other words, you can spin up a number of nodes, each with different versions of Chrome and Firefox that you can run the tests against. Try this out on your own. Check out the Distributed Testing with Selenium Grid and Docker tutorial to see this in action!
- Rip out Docker Swarm from the mix and add Kubernetes in its place.
As always, you can find the code in the repo.