 Abdulazeez Abdulazeez Adeshina
This tutorial looks at how to develop a real-time order dashboard with FastAPI and MongoDB (along with HTML, CSS, and JavaScript). We'll use MongoDB Change Streams and WebSockets to stream live data updates from the FastAPI backend to the frontend.
We'll be using the Motor package to interact with MongoDB asynchronously. If you've never used it before, check out Building a CRUD App with FastAPI and MongoDB.
Contents
Objectives
By the end of this tutorial, you should be able to:
- Develop a RESTful API with FastAPI to perform order creation, updates, and deletions
- Implement real-time data updates using MongoDB Change Streams
- Stream change events to the frontend via FastAPI WebSocket connections
- Track full document history of updated or deleted documents using MongoDB pre-images
- Build a responsive dashboard UI using HTML, CSS, and JavaScript to visualize incoming events
What Are We Building?
We'll create an order management API and an order tracking dashboard that displays real-time order updates, status changes, and cancellations.
Project Setup
We'll start by creating the project structure. The entire project will be housed in a single folder as we're making use of a HTML, CSS, and JavaScript powered frontend.
Open a new terminal and run the following commands:
$ mkdir fastapi-mongodb-realtime-dashboard
$ cd fastapi-mongodb-realtime-dashboard
Create a "static" folder to house our mini frontend as well as a "server" folder for our backend:
$ mkdir static server
Now that we have the project directory all set up, let's create a virtual environment, install dependencies, and create the project files for our backend and frontend.
In the project directory, create and activate a virtual environment:
$ python -m venv venv
$ source venv/bin/activate
Install the required dependencies:
(venv)$ pip install fastapi==0.115.14 uvicorn==0.34.3 motor==3.7.1 python-dotenv==1.1.1
Create the following project files in the folder:
fastapi-mongodb-realtime-dashboard
├── main.py
├── requirements.txt
├── server
│   ├── api.py
│   ├── database.py
│   └── model.py
└── static
    ├── index.html
    └── index.js
Lastly, add the following dependencies to your requirements.txt file:
fastapi==0.115.14
motor==3.7.1
python-dotenv==1.1.1
uvicorn==0.34.3
Schema
Let's define the schema for which our data will be based on, which will represent how data is stored in the MongoDB database.
Pydantic schemas are used for validating data along with serializing (JSON -> Python) and de-serializing (Python -> JSON). It does not serve as a Mongo schema-validator, in other words.
In server/model.py, define the following schemas:
from datetime import datetime
from typing import Optional

from pydantic import BaseModel, Field, ConfigDict


class OrderSchema(BaseModel):
    item: str = Field(..., example="FastAPI Course By TestDriven")
    customer: str = Field(..., example="Abdulazeez Abdulazeez Adeshina")
    status: Optional[str] = Field("pending", example="pending")
    created_at: datetime = datetime.now()

    model_config = ConfigDict(
        json_schema_extra={
            "example": {
                "item": "FastAPI Course By TestDriven",
                "customer": "Abdulazeez Abdulazeez Adeshina",
                "status": "pending"
            }
        }
    )


class UpdateOrderSchema(BaseModel):
    status: Optional[str]

    model_config = ConfigDict(
        json_schema_extra={
            "example": {
                "status": "completed"
            }
        }
    )
In the code above, we defined a Pydantic schema called OrderSchema that represents how the order will be stored in and retrieved from your MongoDB database, and an UpdateOrderSchema that represents the request body for a PUT operation.
In Pydantic, the ellipsis, ..., indicates that a Field is required. It could be replaced with None or a default value. In OrderSchema, the item and customer field have an ellipsis. We've also included an example using ConfigDict to provide an example of the filled schema instance.
This schema will help users send HTTP requests with the proper shape of the API -- i.e., the type of data to send and how to send it.
With the schema in place, let's set up MongoDB before writing the routes for the API.
MongoDB Setup
In this section, we'll wire up MongoDB and configure our application to communicate with it.
According to Wikipedia, MongoDB is a cross-platform document-oriented database program. Classified as a NoSQL database program, MongoDB uses JSON-like documents with optional schemas.
If you don't have MongoDB installed on your machine, refer to the Installation guide from the docs. Once installed, continue with the guide to run the mongod daemon process. Once done, you can verify that MongoDB is up and running, by connecting to the instance via the mongosh shell command:
$ mongosh
For reference, this tutorial uses MongoDB Community Edition v7.0.2
$ mongod --version

db version v7.0.2
Build Info: {
    "version": "7.0.2",
    "gitVersion": "02b3c655e1302209ef046da6ba3ef6749dd0b62a",
    "modules": [],
    "allocator": "system",
    "environment": {
        "distarch": "aarch64",
        "target_arch": "aarch64"
    }
}
Database Setup
With MongoDB installed and running, we'll configure Motor, an asynchronous MongoDB driver, to interact with the database.
In server/database.py, configure the database:
from motor.motor_asyncio import AsyncIOMotorClient


DATABASE_URL = "mongodb://localhost:27017"

client = AsyncIOMotorClient(DATABASE_URL)
database = client.orders

orders = database.get_collection("orders")
In the code block above, we imported Motor's AsyncIOMotorClient to establish a connection with our local database instance via the URL stored in DATABASE_URL. We then referenced a database called orders and a collection (akin to a table in a relational database) called orders.
With the database connection in place, let's create the routes to allow us create, update, and delete orders.
Routes
Here, we'll create the routes to allow us create, update, and delete an order. These routes will be responsible for triggering the changes in the database which in turn processes events for real-time updates to the frontend.
In server/api.py, add the following:
from bson import ObjectId
from fastapi import APIRouter, HTTPException

from server.database import orders
from server.model import OrderSchema, UpdateOrderSchema


router = APIRouter()


@router.post("/api/orders")
async def create_order(payload: OrderSchema):
    order = payload.model_dump()
    result = await orders.insert_one(order)
    return {"id": str(result.inserted_id)}


@router.put("/api/orders/{id}")
async def update_order(id: str, payload: UpdateOrderSchema):
    if not await orders.find_one({"_id": ObjectId(id)}):
        raise HTTPException(status_code=404, detail="Order not found")
    await orders.update_one({"_id": id}, {"$set": payload.model_dump(exclude_unset=True)})
    return {"updated": str(id)}


@router.delete("/api/orders/{id}")
async def delete_order(id: str):
    result = await orders.delete_one({"_id": ObjectId(id)})
    if result.deleted_count == 0:
        raise HTTPException(status_code=404, detail="Order not found")
    return {"deleted": id}
In the code block above, we defined the routes for creating, updating, and deleting an order. Next, we'll create the main FastAPI instance.
In server/main.py, add the following:
from fastapi import FastAPI
from fastapi.responses import HTMLResponse
from fastapi.staticfiles import StaticFiles

from server.api import router


app = FastAPI()
app.include_router(router)

app.mount("/static", StaticFiles(directory="static"), name="static")


@app.get("/", response_class=HTMLResponse)
async def get_dashboard():
    with open("static/index.html") as f:
        return f.read()
In the code block above, we imported the router we created for order management and mounted the "static" folder. We also defined a route to render the frontend application.
The routes for handling order management are served on
/apiwhile the dashboard is rendered on/.
We're just about ready to build out the frontend; but, before then, let's implement the database watcher and the WebSocket emitter for our real-time dashboard.
Database Listener
For real-time updates on the backend, we're going to make use of MongoDB Change Streams.
MongoDB Change Streams let you listen to real-time changes in your collections without polling (sending frequent request to an endpoint for updates).
MongoDB Change Streams require a replica set. According to MongoDB, a replica set in MongoDB is a group of mongod processes that maintain the same data set, providing redundancy and high availability.
To enable a replica set, run the command below in your terminal:
$ mongod --replSet rs0 --port 27017 --dbpath /data/db
We're making use of "/data/db" as the folder to store the MongoDB process. You may change this to your desired folder.
In another terminal, initiate the replica set and enable pre-images:
$ mongosh orders

> rs.initiate()
> db.createCollection("orders", {changeStreamPreAndPostImages: { enabled: true }})
In the code block above, we enabled pre-images to allow us to retrieve the previous content of a recently changed document. This is particularly useful in delete operations.
With our MongoDB replica set up and running, let's implement the WebSocket emitter and listener.
WebSockets
A WebSocket is a communication protocol that allows us exchange messages (events) between a client and a server.
We'll start by defining the WebSocket routes. Update server/main.py like so:
from fastapi import FastAPI, WebSocket, WebSocketDisconnect
from fastapi.responses import HTMLResponse
from fastapi.staticfiles import StaticFiles

from server.api import router


app = FastAPI()
app.include_router(router)

app.mount("/static", StaticFiles(directory="static"), name="static")

clients = set() # WebSocket connected clients


@app.get("/", response_class=HTMLResponse)
async def get_dashboard():
    with open("static/index.html") as f:
        return f.read()


@app.websocket("/ws")
async def websocket_endpoint(websocket: WebSocket):
    await websocket.accept()
    clients.add(websocket)
    try:
        while True:
            await websocket.receive_text()
    except WebSocketDisconnect:
        clients.remove(websocket)
In the code block above, we updated the imports to include WebSocket and WebSocketDisconnect to handle a connection request and a disconnection request. When a new connection is received, the sender is added to the clients set and removed once disconnected.
Next, let's define a function to broadcast data sent to the WebSocket instance. Just after the imports in server/main.py, add the following:
async def broadcast(data):
    text = json.dumps(data, default=str)
    for client in clients.copy():
        try:
            await client.send_text(text)
        except:
            clients.remove(client)
In the code block above, we defined a broadcast(data) function that receives data, converts it into JSON and sends it out to the connected clients.
server/main.py should now look like this:
import json

from fastapi import FastAPI, WebSocket, WebSocketDisconnect
from fastapi.responses import HTMLResponse
from fastapi.staticfiles import StaticFiles

from server.api import router


async def broadcast(data):
    text = json.dumps(data, default=str)
    for client in clients.copy():
        try:
            await client.send_text(text)
        except:
            clients.remove(client)


app = FastAPI()
app.include_router(router)

app.mount("/static", StaticFiles(directory="static"), name="static")

clients = set() # WebSocket connected clients


@app.get("/", response_class=HTMLResponse)
async def get_dashboard():
    with open("static/index.html") as f:
        return f.read()


@app.websocket("/ws")
async def websocket_endpoint(websocket: WebSocket):
    await websocket.accept()
    clients.add(websocket)
    try:
        while True:
            await websocket.receive_text()
    except WebSocketDisconnect:
        clients.remove(websocket)
Watching Order Changes
With the WebSocket in place, we'll create a function that listens to every action executed in the orders collection.
In server/main.py, add the following beneath the broadcast(data) function:
async def watch_order_changes():
    pipeline = [{"$match": {"operationType": {"$in": ["insert", "update", "replace", "delete"]}}}]
    async with orders.watch(
        pipeline,
        full_document="updateLookup",
        full_document_before_change="required"
    ) as stream:
        async for change in stream:
            doc_id = change["documentKey"]["_id"]
            before = change.get("fullDocumentBeforeChange", {})
            after = change.get("fullDocument", {})
            await broadcast({
                "event": change["operationType"],
                "document_id": str(doc_id),
                "before": before,
                "after": after
            })
Let's break up the series of actions going on in the code above:
- We defined an aggregation pipeline, to match the relevant operation types
insert,update,replace, anddelete. - We spun up an asynchronous
watchevent on the orders collection, passing the aggregation pipeline, setting thefull_documentparameter to retrieve the full document after an update and settingfull_document_before_changeto required to allow us to retrieve the previous state of the document. - For each change noticed in the watch stream, we extracted the document ID as well as the document before and after the change (
beforeandafter), and broadcasted them.
Don't forget to add the following import:
from server.database import orders
Finally, update server/main.py, adding a lifespan function to the FastAPI instance:
import asyncio
import json
from contextlib import asynccontextmanager

from fastapi import FastAPI, WebSocket, WebSocketDisconnect
from fastapi.responses import HTMLResponse
from fastapi.staticfiles import StaticFiles

from server.api import router
from server.database import orders


async def broadcast(data):
    text = json.dumps(data, default=str)
    for client in clients.copy():
        try:
            await client.send_text(text)
        except:
            clients.remove(client)


async def watch_order_changes():
    pipeline = [{"$match": {"operationType": {"$in": ["insert", "update", "replace", "delete"]}}}]
    async with orders.watch(
        pipeline,
        full_document="updateLookup",
        full_document_before_change="required"
    ) as stream:
        async for change in stream:
            doc_id = change["documentKey"]["_id"]
            before = change.get("fullDocumentBeforeChange", {})
            after = change.get("fullDocument", {})
            await broadcast({
                "event": change["operationType"],
                "document_id": str(doc_id),
                "before": before,
                "after": after
            })


@asynccontextmanager
async def lifespan(app: FastAPI):
    task = asyncio.create_task(watch_order_changes())
    yield
    task.cancel()


app = FastAPI(lifespan=lifespan)
app.include_router(router)

app.mount("/static", StaticFiles(directory="static"), name="static")

clients = set() # WebSocket connected clients


@app.get("/", response_class=HTMLResponse)
async def get_dashboard():
    with open("static/index.html") as f:
        return f.read()


@app.websocket("/ws")
async def websocket_endpoint(websocket: WebSocket):
    await websocket.accept()
    clients.add(websocket)
    try:
        while True:
            await websocket.receive_text()
    except WebSocketDisconnect:
        clients.remove(websocket)
The lifespan function controls the events executed at the point of the application startup and shutdown. In our lifespan function, we started an asynchronous task to watch changes in our database via the watch_order_changes() function we defined earlier.
Frontend
We successfully completed the server side of our real-time application. Let's build our mini frontend which updates as orders are created, updated, and deleted from the API.
In static/index.html, add the following:
<!DOCTYPE html>
<html>
<head>
  <title>Order Dashboard</title>
</head>
<style>
  body {
    font-family: sans-serif;
    padding: 2rem;
    background: #f9f9f9;
  }
  h1 {
    text-align: center;
  }
  #orders {
    max-width: 800px;
    margin: 2rem auto;
  }
  .order {
    background: white;
    padding: 1rem;
    margin-bottom: 1rem;
    border-left: 5px solid green;
  }
  .order.update { border-color: orange; }
  .order.delete { border-color: red; }
</style>
<body>
  <h1>Live Order Tracking</h1>
  <div id="orders"></div>
  <script src="/static/index.js"></script>
</body>
</html>
In the code block above, we've laid a template for the real-time dashboard and created a div with an ID of orders. We also linked the index.js file which will be used to publish WebSocket events from the backend to the frontend via the div element.
In static/index.js, add the following:
const ws = new WebSocket(`ws://${location.host}/ws`);
const container = document.getElementById("orders");

ws.onmessage = (e) => {
  const { event, document_id, before, after } = JSON.parse(e.data);

  const div = document.createElement("div");
  div.classList.add("order", event);

  div.innerHTML = `
    <strong>${event.toUpperCase()}</strong><br/>
    <strong>ID:</strong> ${document_id}<br/>
    <strong>Before:</strong><pre>${JSON.stringify(before, null, 2)}</pre>
    <strong>After:</strong><pre>${JSON.stringify(after, null, 2)}</pre>
  `;

  container.prepend(div);
};
Let's take a look at what's going on in the code above:
- WebSocket connection is established once the dashboard page is rendered.
- The
divelement with IDordersis stored in thecontainervariable. - Once a message is received, the
ws.onmessage()listener parses the broadcasted data. - A new
divelement is created and theinnerHTMLobject is populated with the values from the broadcast. - The new
divelement is prepended to the orders div usingcontainer.prepend.
Real-time Order Dashboard
With both server and client side all set, let's install the websockets library and run our application:
(venv)$ pip install websockets
(venv)$ uvicorn main:app --reload
INFO:     Uvicorn running on http://127.0.0.1:8000 (Press CTRL+C to quit)
INFO:     Started reloader process [14791] using StatReload
INFO:     Started server process [14793]
INFO:     Waiting for application startup.
INFO:     Application startup complete.
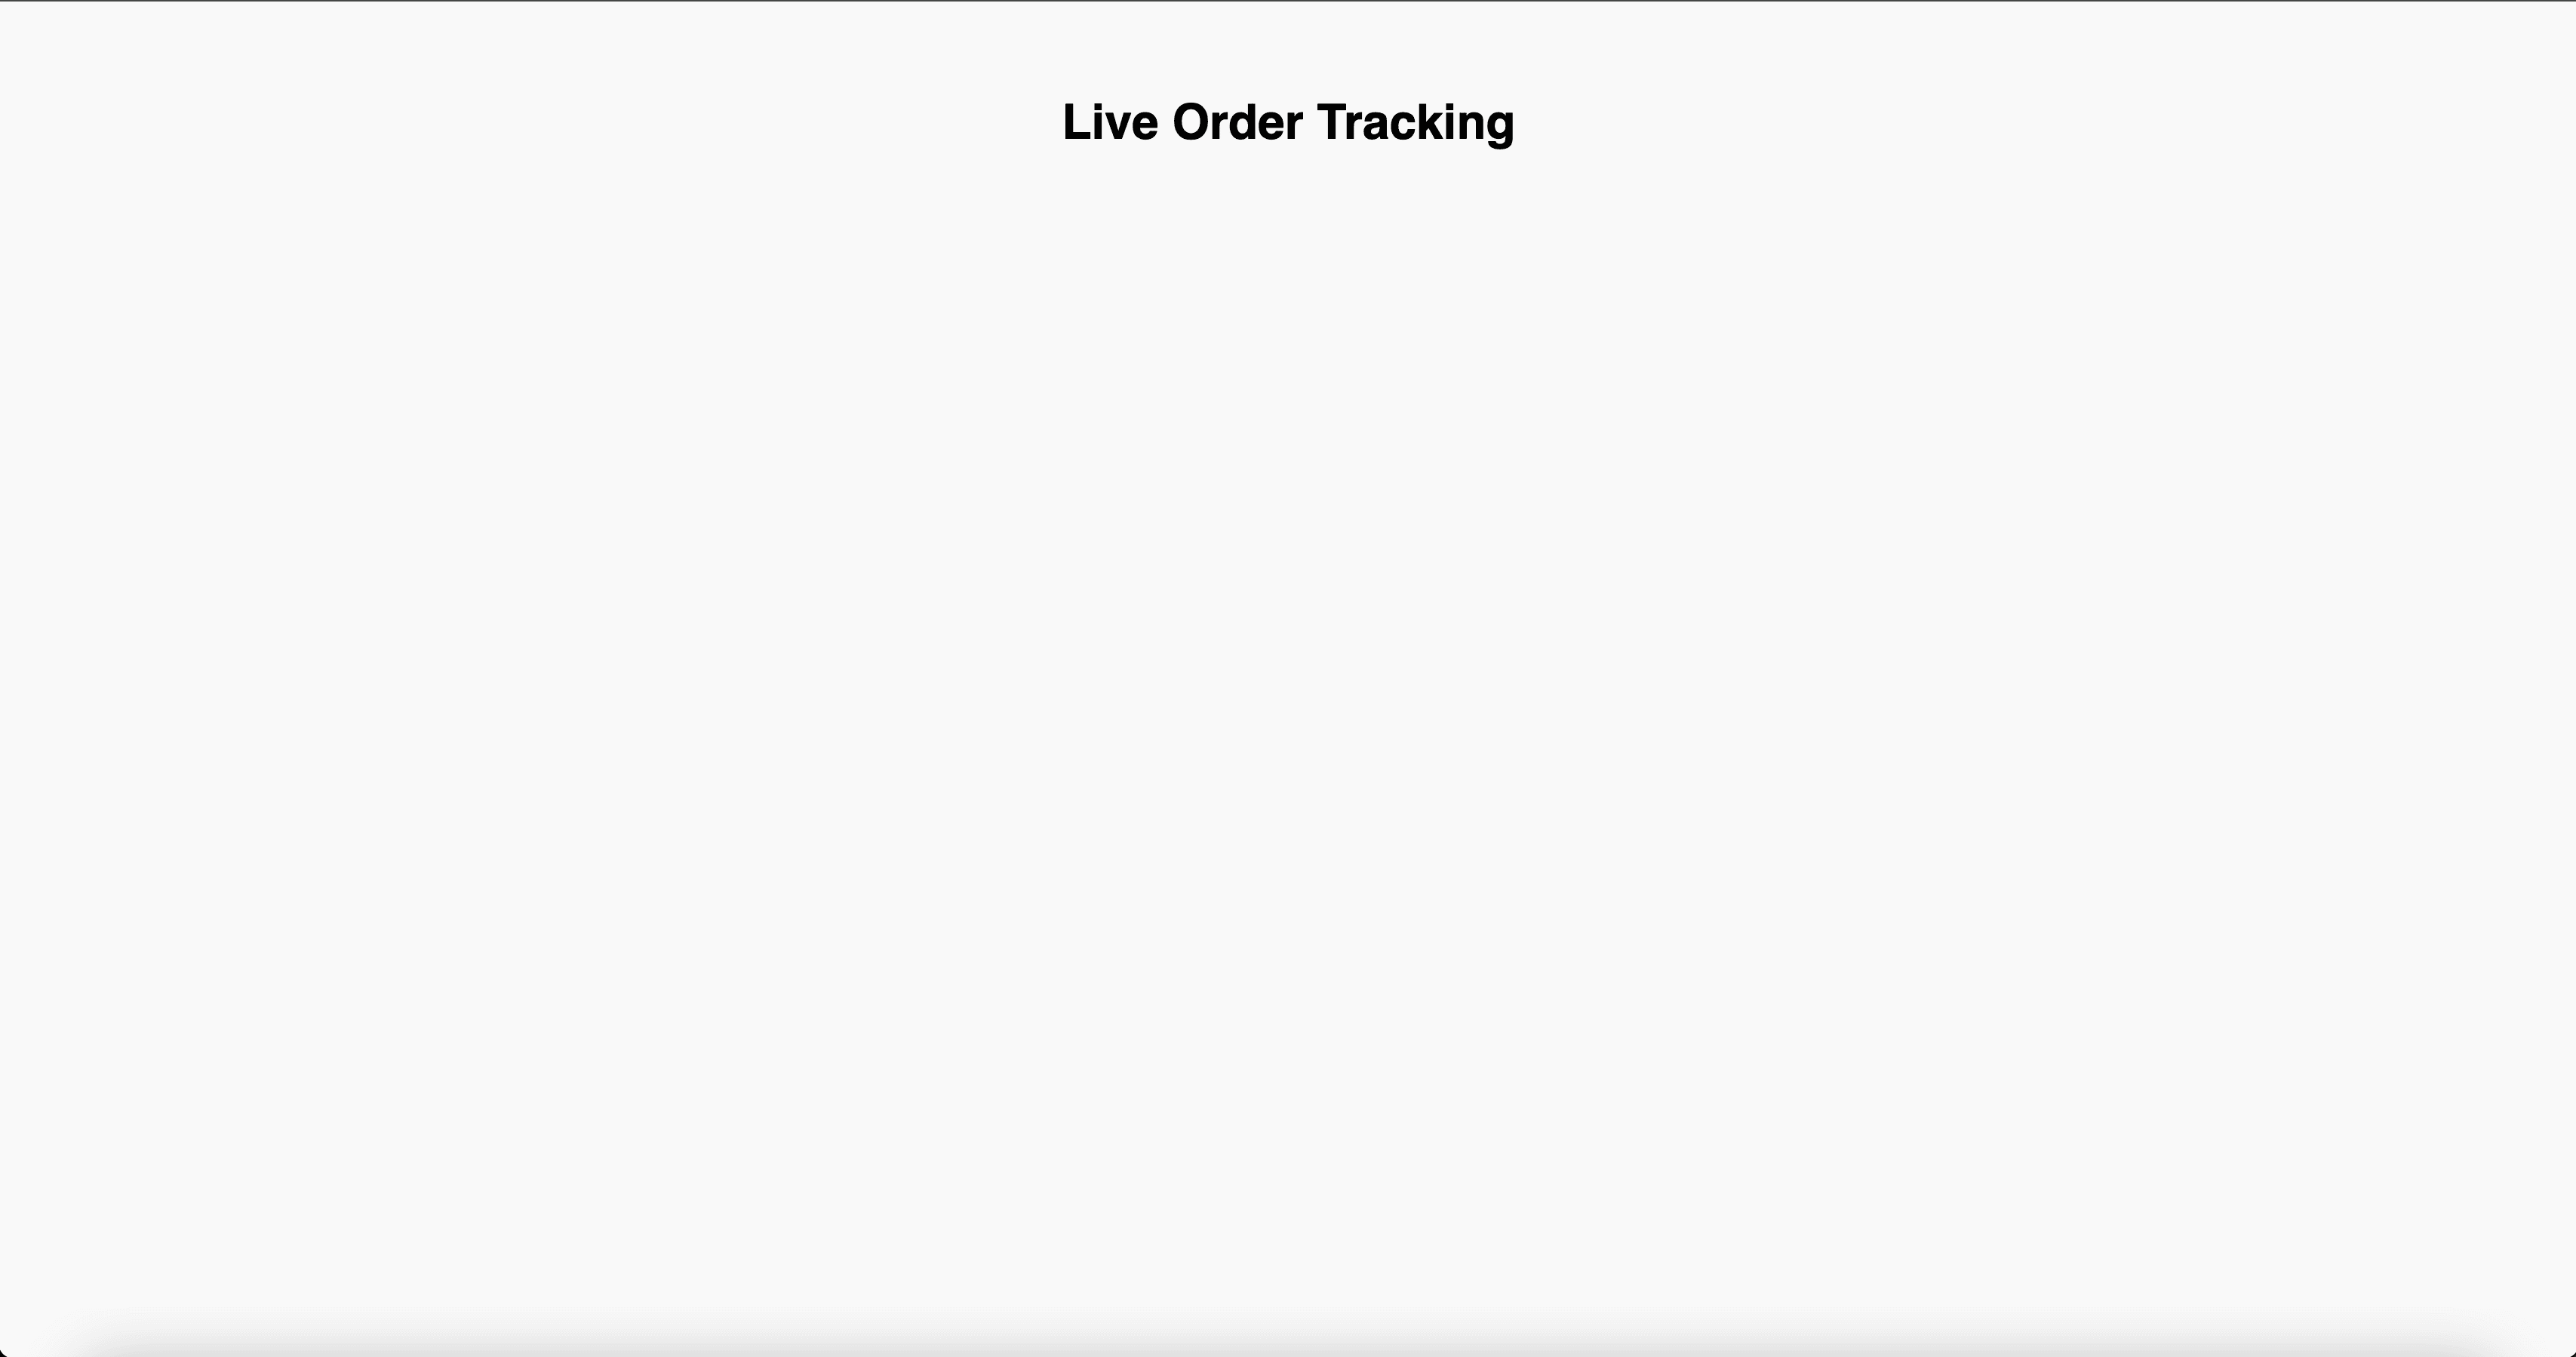
In your browser, navigate to the application instance on http://localhost:8000. You should see the dashboard:
In your terminal, make a POST request:
$ curl -X POST http://localhost:8000/api/orders \
-H "Content-Type: application/json" \
-d '{"item": "FastAPI Course By TestDriven", "customer": "Abdulazeez Abdulazeez Adeshina"}'
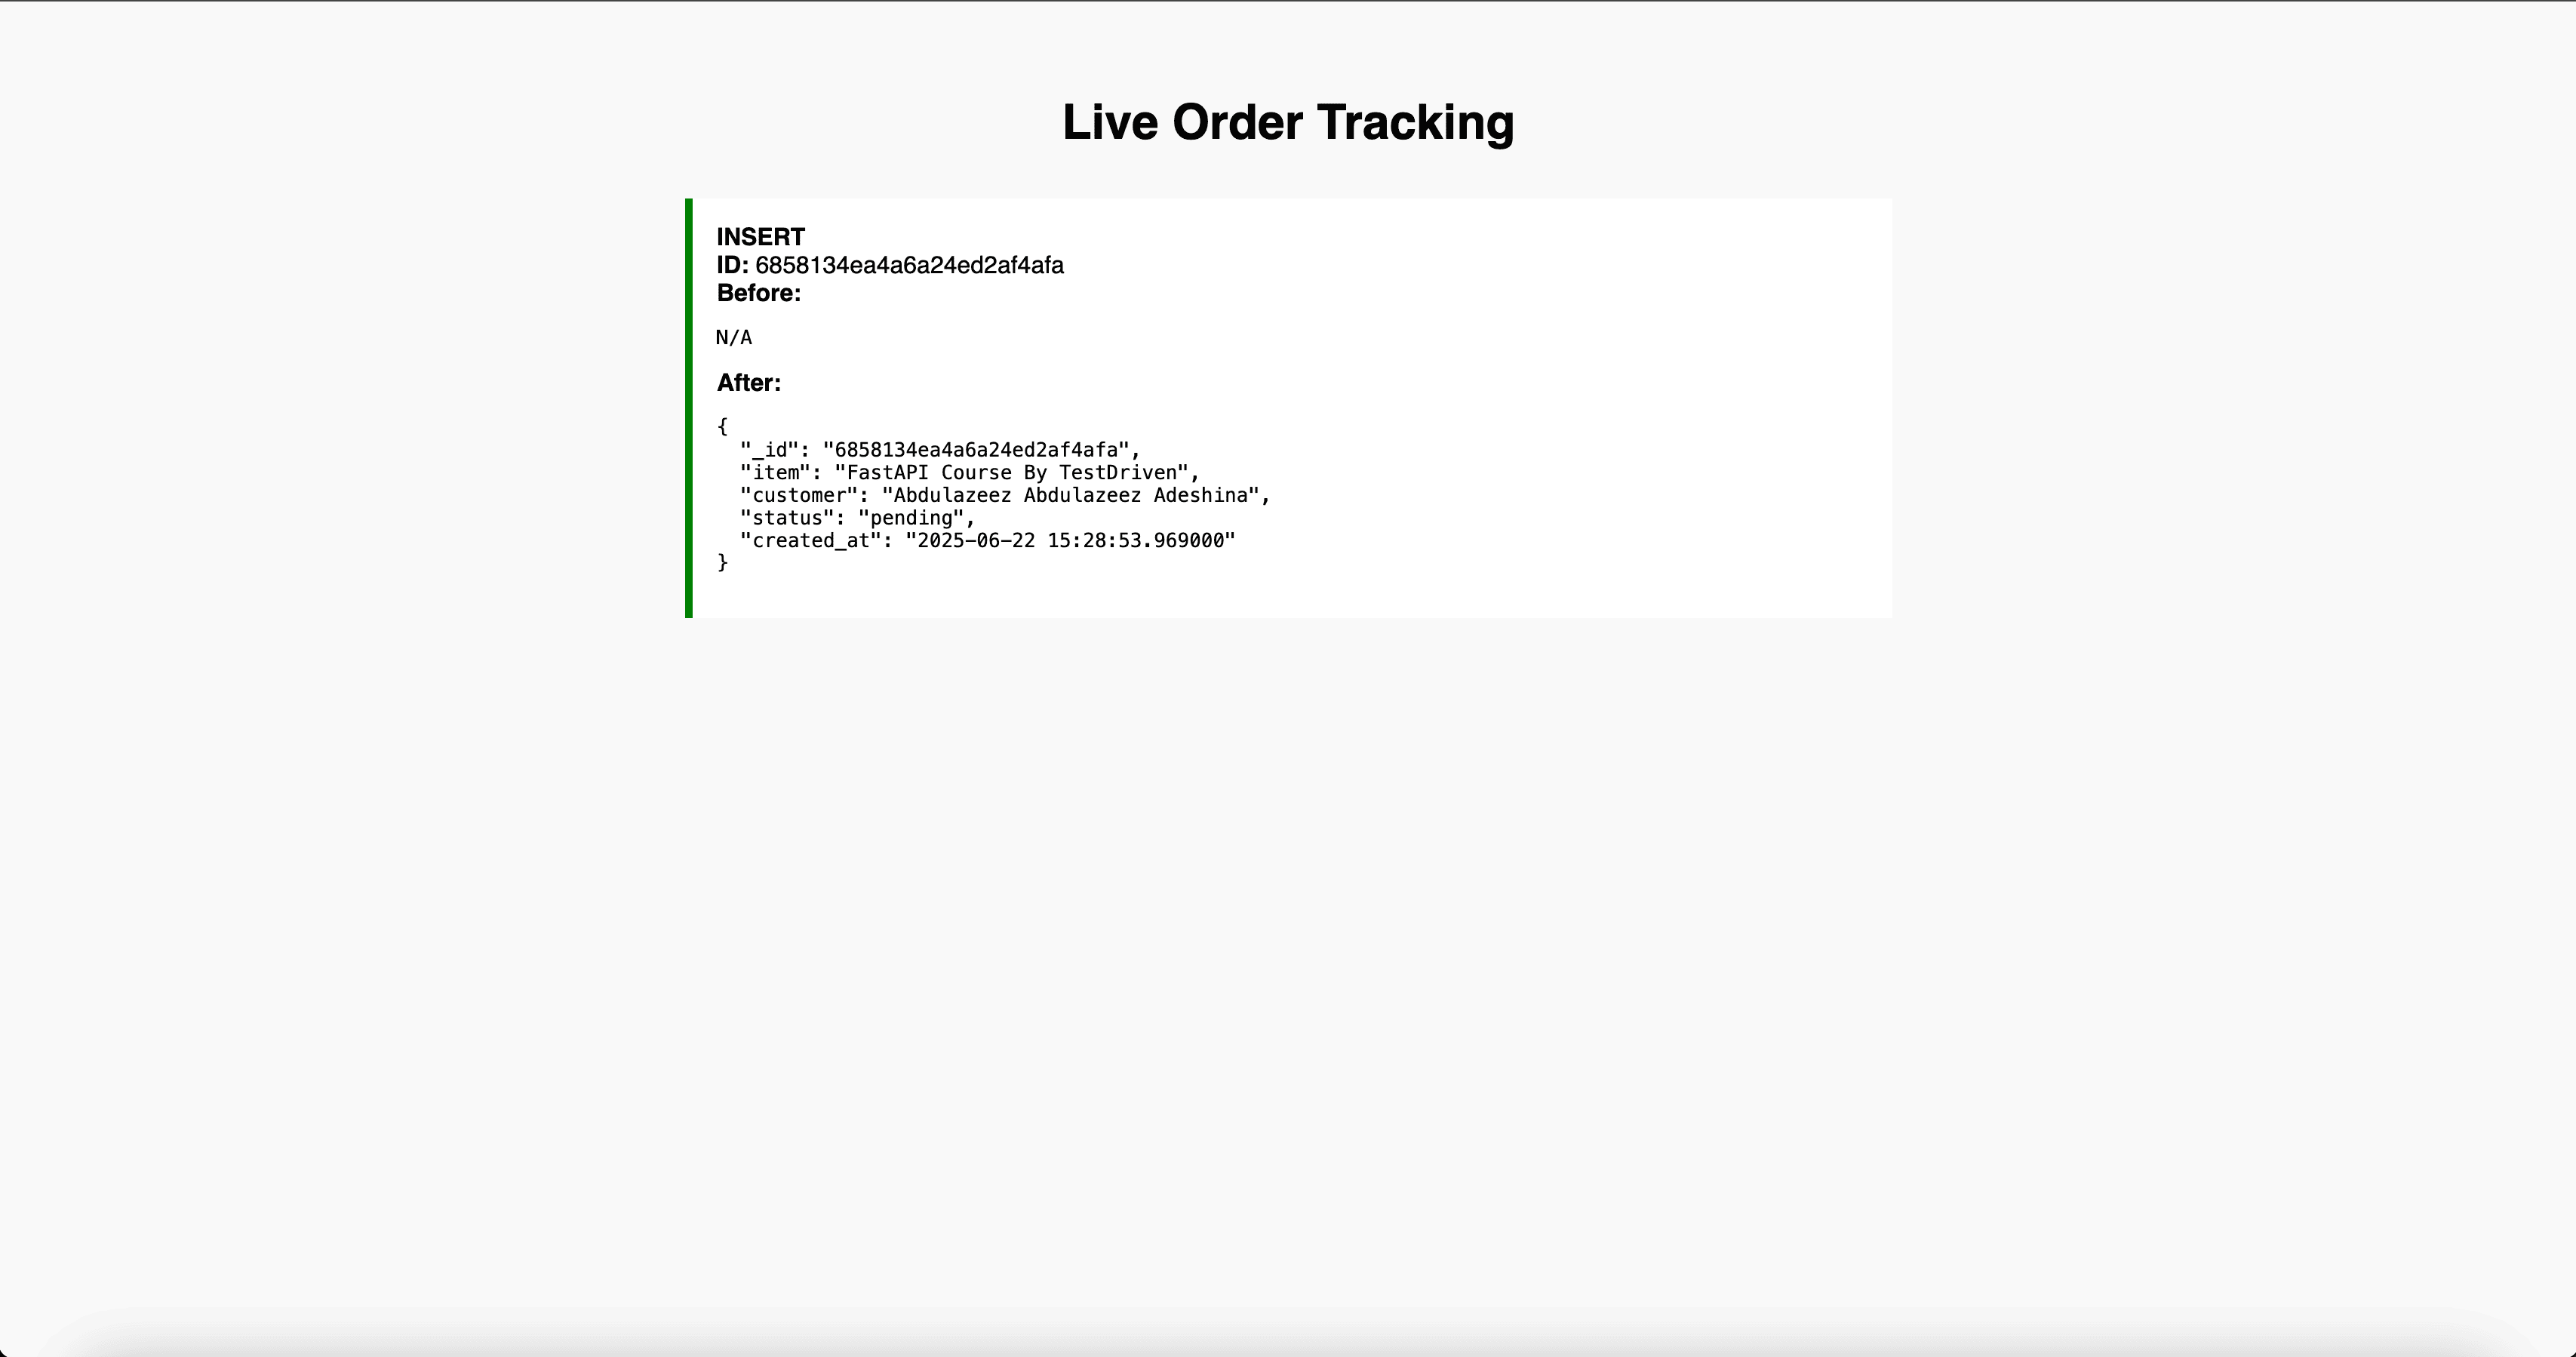
{"id":"6858134ea4a6a24ed2af4afa"}
The live dashboard will be updated with the details from the database operation:
Let's make a PUT request:
$ curl -X PUT http://localhost:8000/api/orders/6858134ea4a6a24ed2af4afa \
-H "Content-Type: application/json" \
-d '{"status": "completed"}'
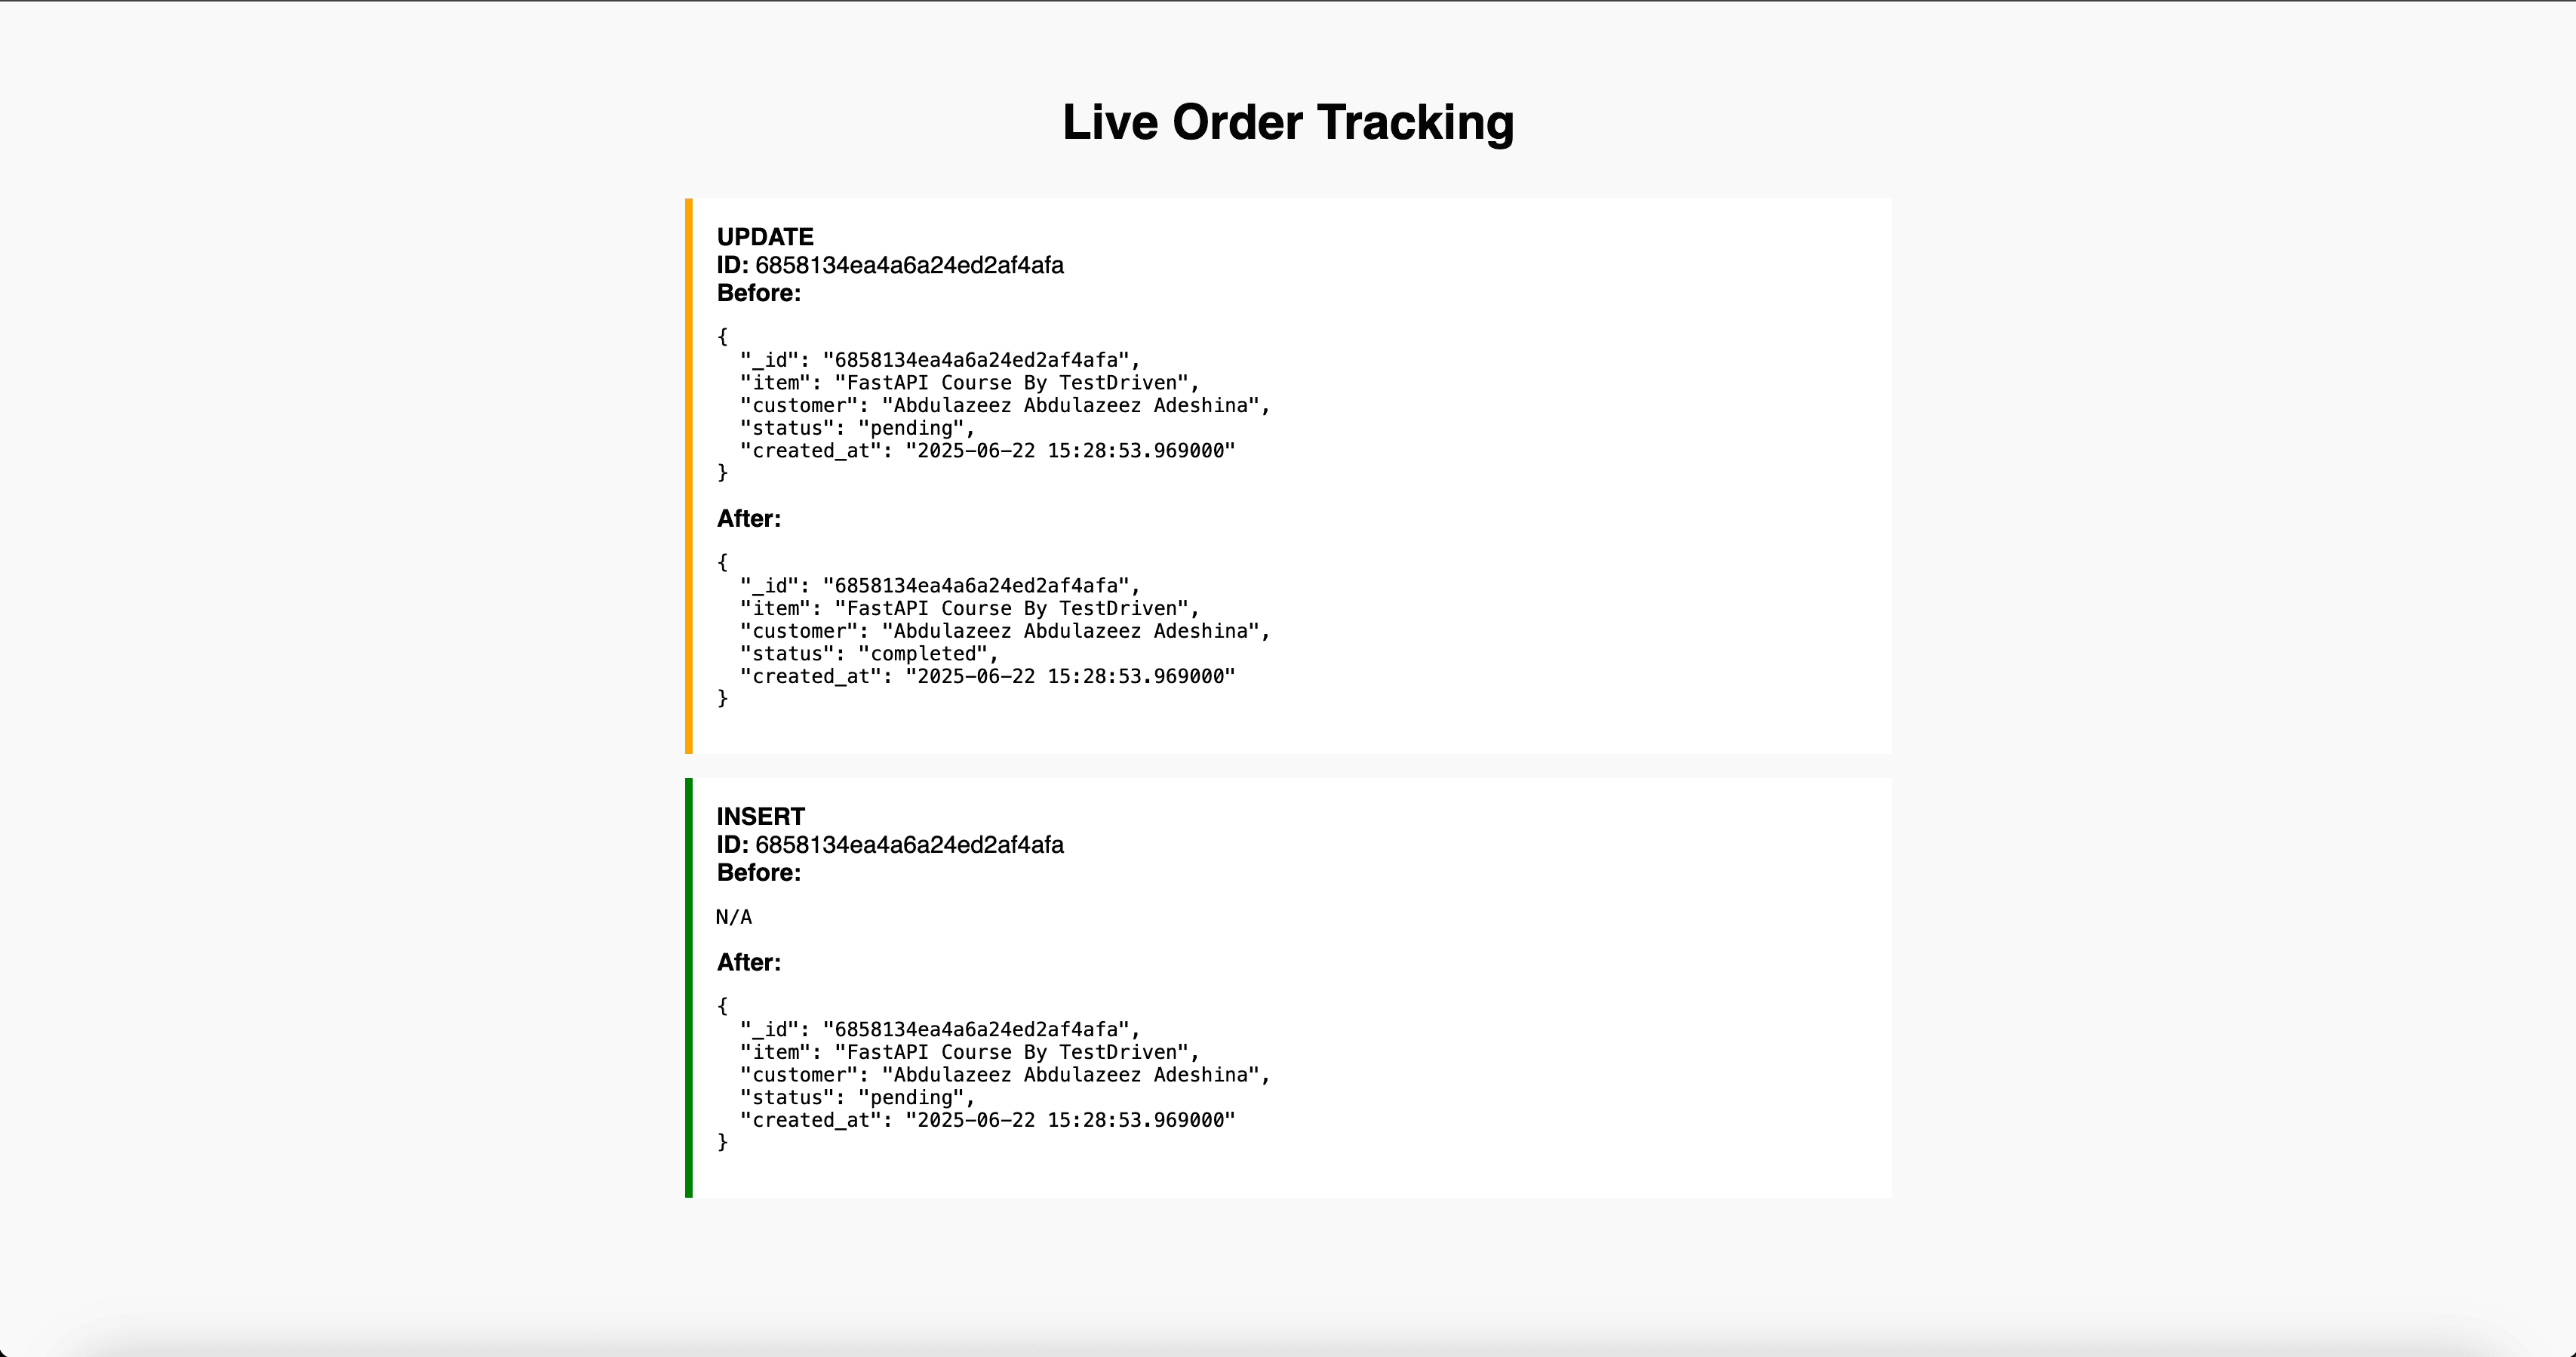
{"updated":"6858134ea4a6a24ed2af4afa"}
The dashboard page will be automatically updated with Before and After shown:
Lastly, let's make a DELETE request:
$ curl -X DELETE http://localhost:8000/api/orders/6858134ea4a6a24ed2af4afa
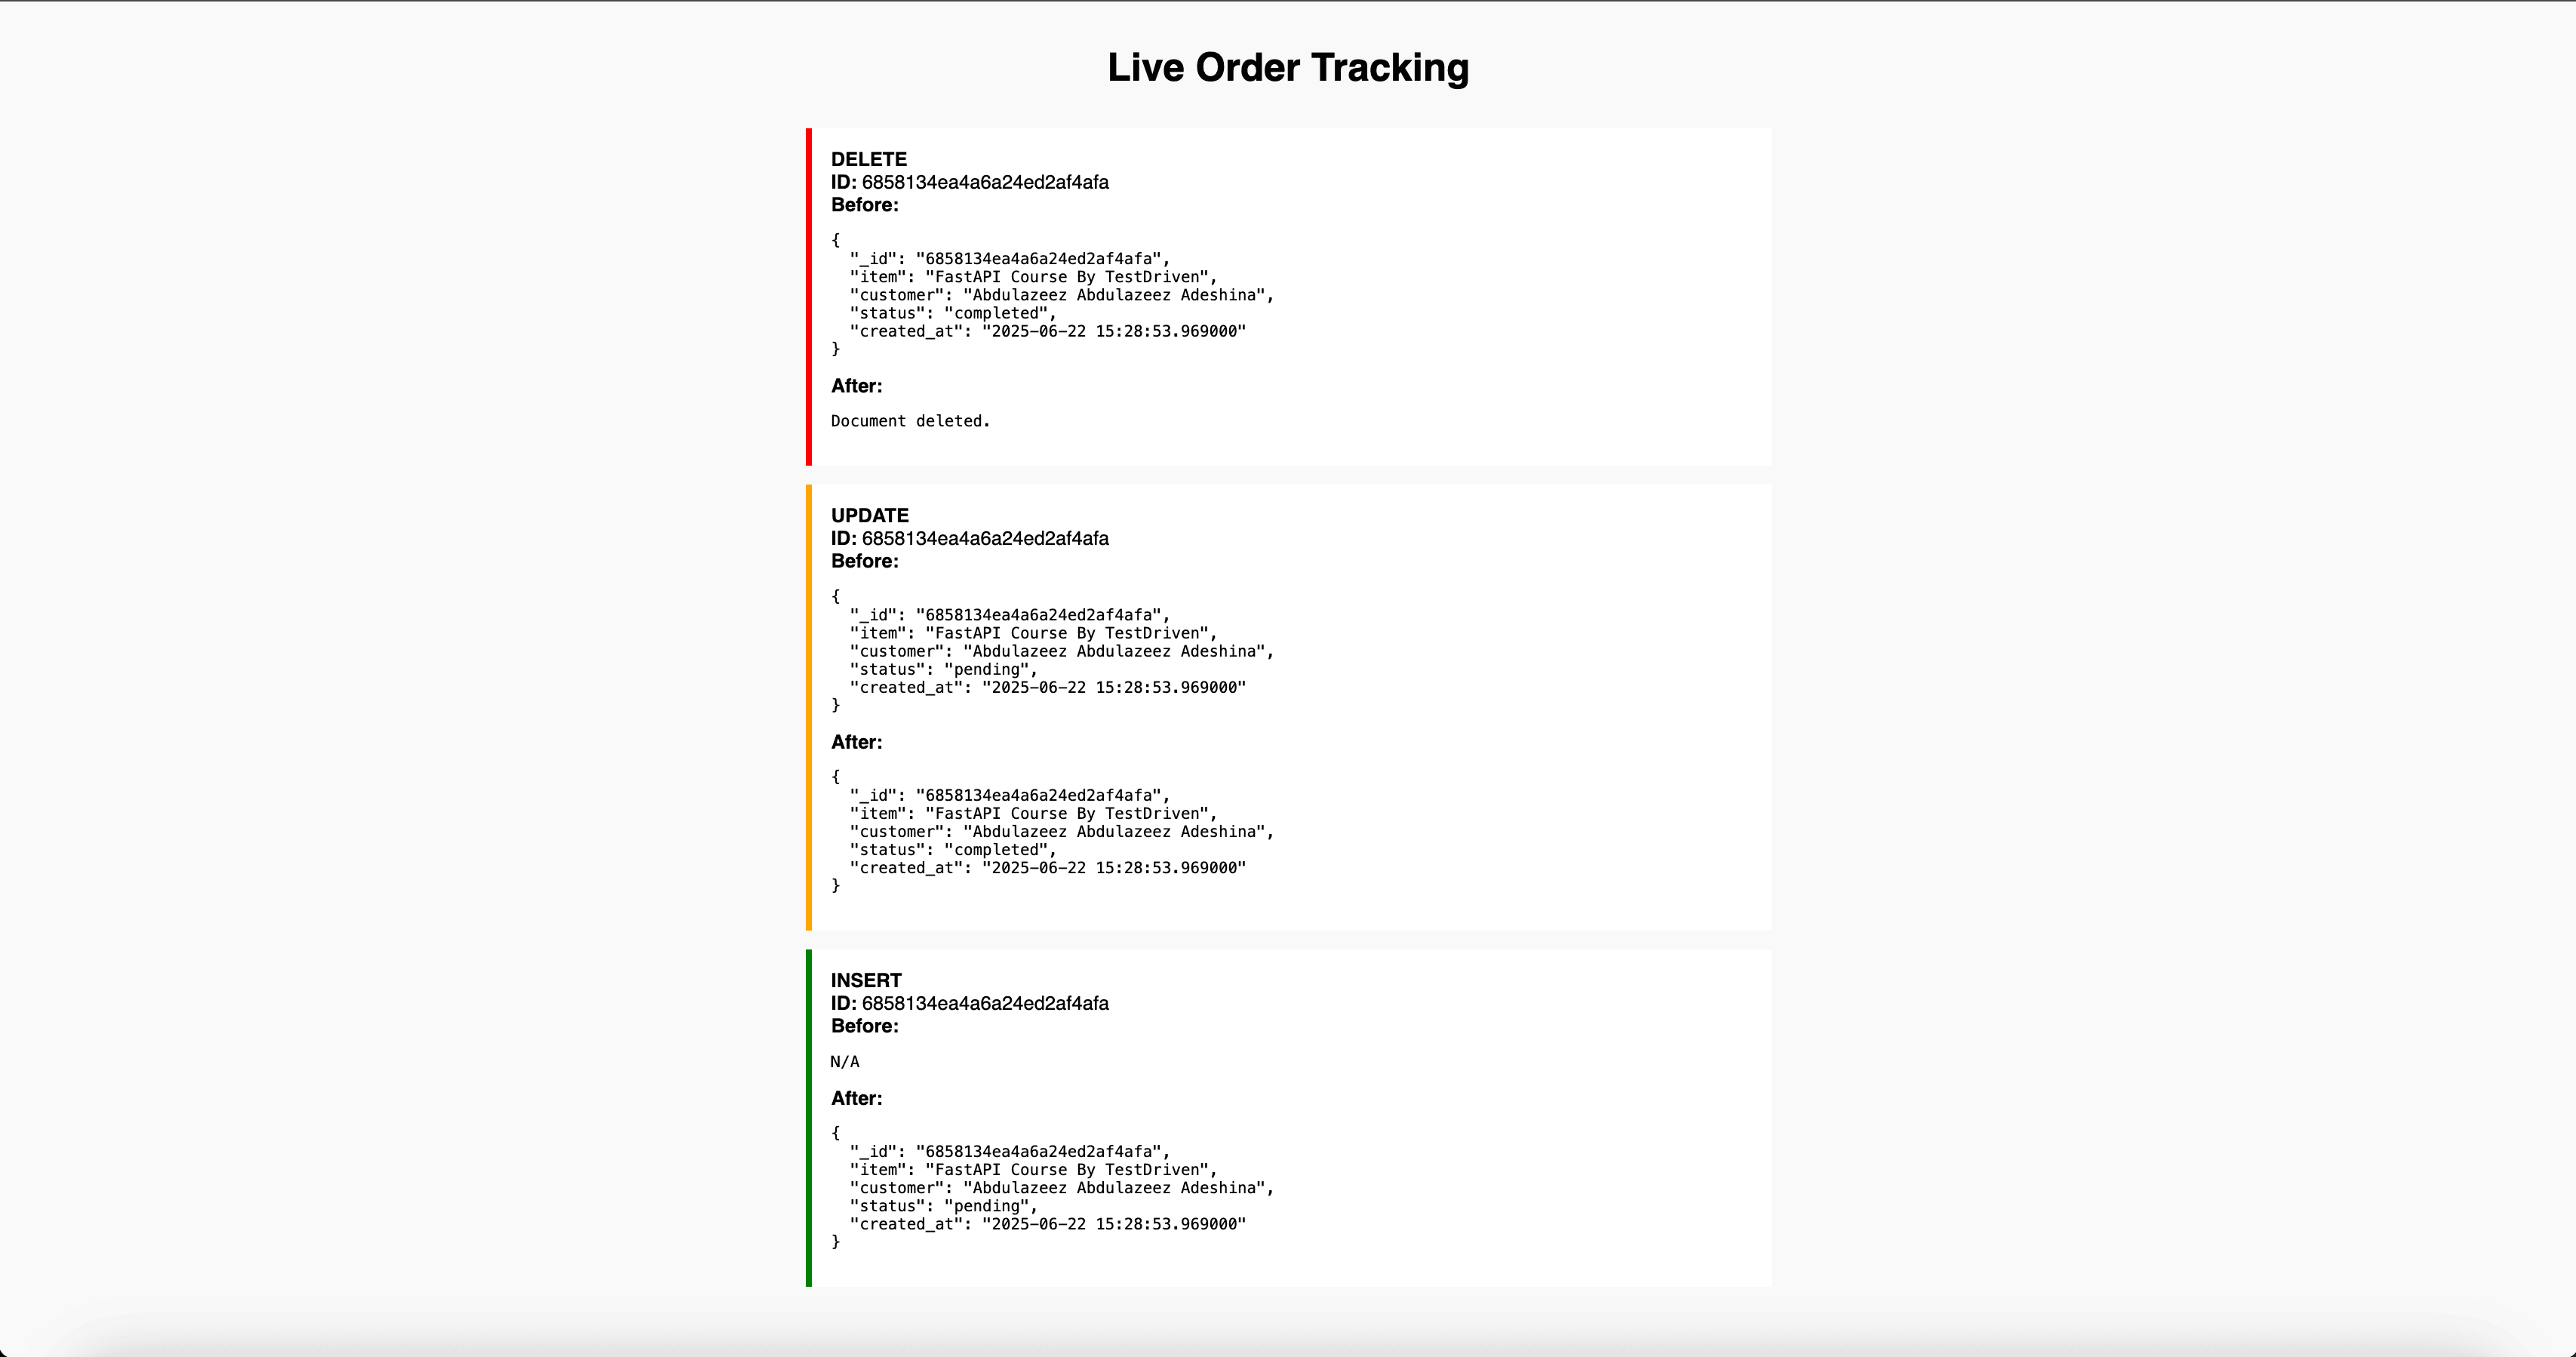
{"deleted":"6858134ea4a6a24ed2af4afa"}
The dashboard is updated with Before showing the previous state of the document:
Your real-time dashboard is now complete.
Conclusion
In this tutorial, we've built a real-time dashboard using FastAPI, MongoDB, and WebSockets. Perform a quick self-check by reviewing the objectives at the beginning of the tutorial. You can find the code used in this tutorial on GitHub.
Looking for more?
- Update the dashboard to display the orders as HTML elements and not JSON.
- Persist the changes from the events to a database collection.
- Review the Building a CRUD App with FastAPI, MongoDB, and Beanie tutorial to see how you can leverage Beanie ODM, which provides an additional abstraction layer over Motor, making it much easier to interact with collections inside a Mongo database.
Check out the Test-Driven Development with FastAPI and Docker course to learn more about testing and setting up CI/CD for a FastAPI app.
Cheers!