 Michael Herman
DigitalOcean Spaces is an S3-compatible object storage service with a built-in Content Delivery Network (CDN). Like Amazon S3, it provides a simple, cost-effective way to store static files.
This tutorial shows how to configure Django to load and serve up static and user uploaded media files, public and private, via DigitalOcean Spaces.
Prefer to use S3? Check out Storing Django Static and Media Files on Amazon S3.
Contents
DigitalOcean Spaces
DigitalOcean Spaces vs AWS S3?
As mentioned, DigitalOcean Spaces is an object storage service. When compared to S3, DigitalOcean Spaces:
- is easier to use
- has a simpler and more predicable pricing model
- has much better documentation
That said, DigitalOcean Spaces is less flexible than S3 and has much less regions.
DigitalOcean Spaces is much easier to set up and use than S3. Adding on a CDN requires a few button clicks from the UI. Plus, it's just as developer-friendly as S3. If you're already using DigitalOcean, you should definitely use it.
Getting Started
First, you'll need to sign up for a DigitalOcean account (if you don't already have one), and then generate Spaces access keys so you can access the DigitalOcean Spaces API.
Go ahead and create the keys. You should have an access key ID and a secret access key. With them, you can interact with the Spaces API with Boto3.
Example:
import boto3

# configure session and client
session = boto3.session.Session()
client = session.client(
    's3',
    region_name='sfo3',
    endpoint_url='https://sfo3.digitaloceanspaces.com',
    aws_access_key_id='YOUR_ACCESS_KEY_ID',
    aws_secret_access_key='YOUR_SECRET_ACCESS_KEY',
)

# create new bucket
client.create_bucket(Bucket='your-bucket-name')

# upload file
with open('test.txt', 'rb') as file_contents:
    client.put_object(
        Bucket='your-bucket-name',
        Key='test.txt',
        Body=file_contents,
    )

# download file
client.download_file(
    Bucket='your-bucket-name',
    Key='test.txt',
    Filename='tmp/test.txt',
)
For more examples, check out Using DigitalOcean Spaces with AWS S3 SDKs.
Next, from the DigitalOcean control panel, click "Create" in the top right, and then click "Spaces Object Storage" in the dropdown. Select a region, enable a CDN, and create a unique name for your bucket. Then, create the bucket.
You should see something similar to:
By default, the bucket is set as restricted so that only users who connect to the bucket using access keys can list the contents. To change this, navigate to the settings tab.
Django Project
Clone down the base project from the django-digitalocean-spaces repo on GitHub:
$ git clone -b base https://github.com/testdrivenio/django-digitalocean-spaces
$ cd django-digitalocean-spaces
From the project root, create the images and spin up the Docker containers:
$ docker-compose up -d --build
Once the build is complete, collect the static files:
$ docker-compose exec web python manage.py collectstatic
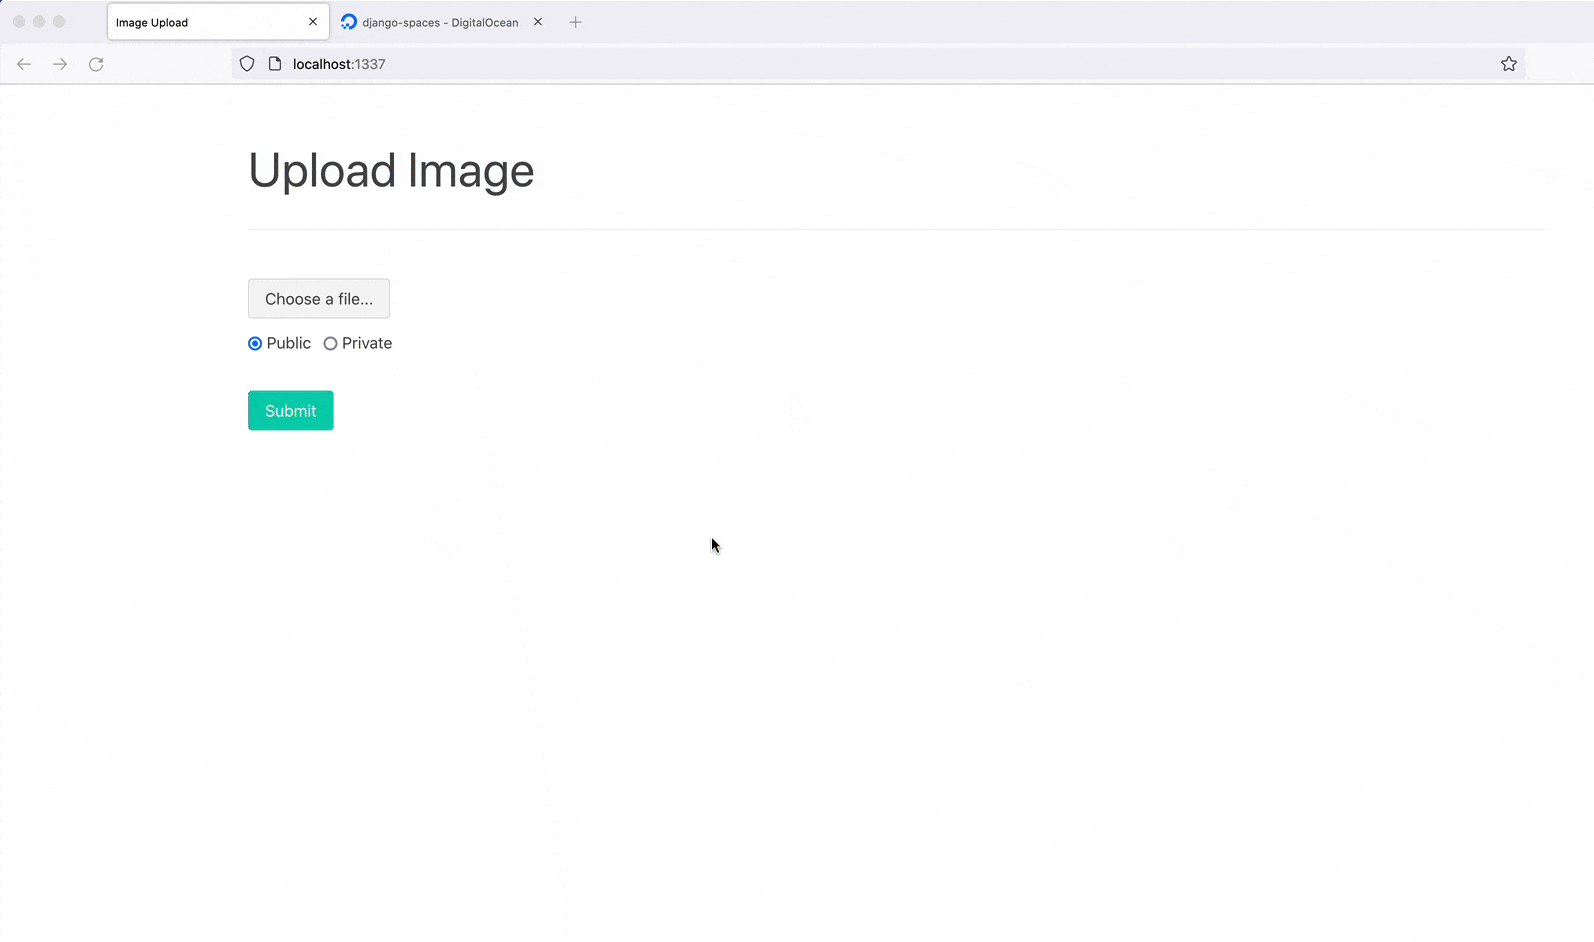
Then, navigate to http://localhost:1337:
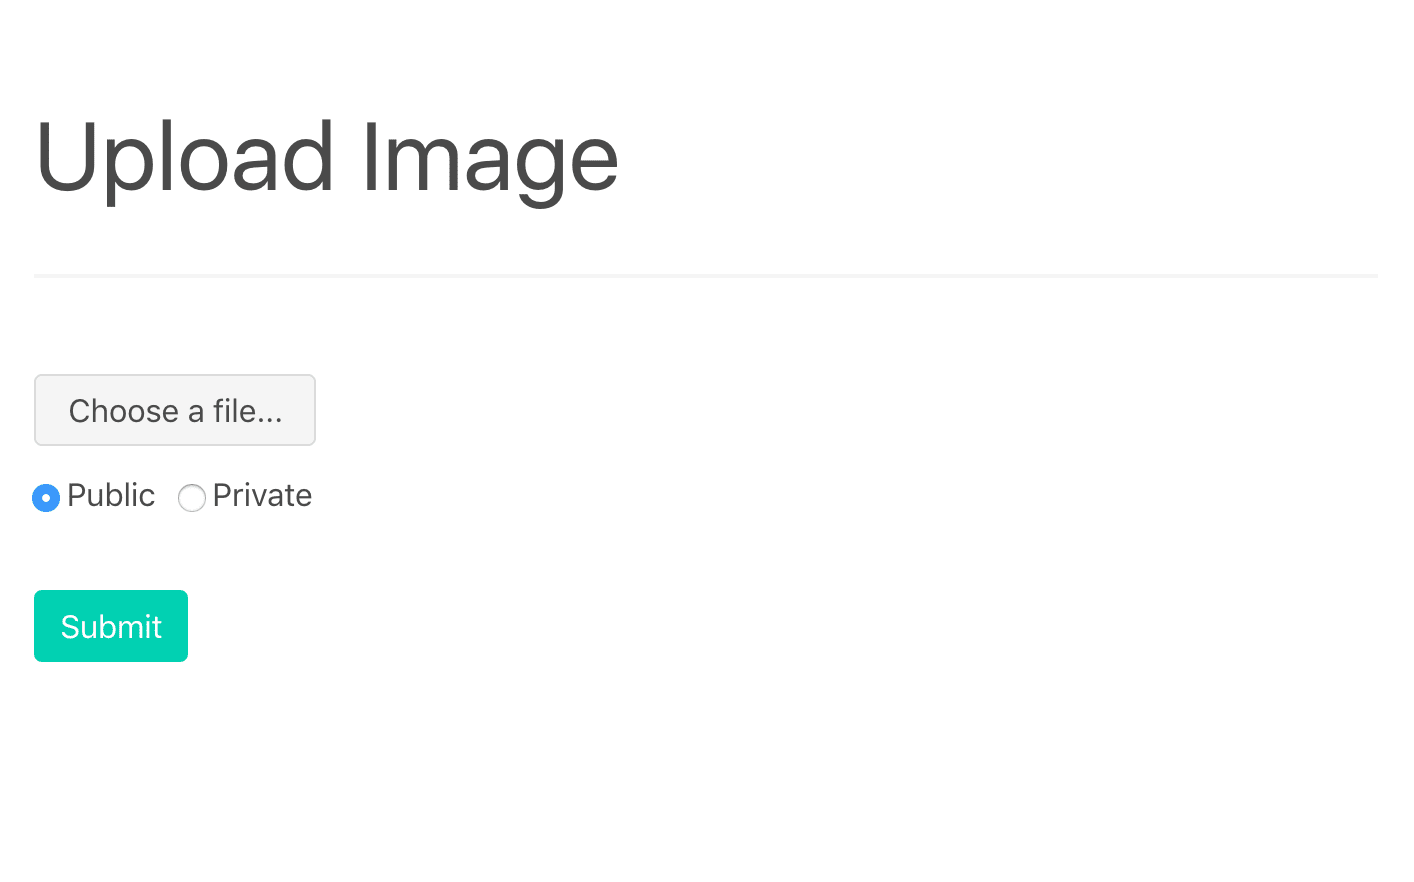
You should be able to upload an image, and then view the image at http://localhost:1337/media/IMAGE_FILE_NAME.
The radio buttons, for public vs. private, do not work. We'll be adding this functionality later in this tutorial. Ignore them for now.
Take a quick look at the project structure before moving on:
├── .gitignore
├── LICENSE
├── README.md
├── app
│   ├── Dockerfile
│   ├── hello_django
│   │   ├── __init__.py
│   │   ├── asgi.py
│   │   ├── settings.py
│   │   ├── urls.py
│   │   └── wsgi.py
│   ├── manage.py
│   ├── mediafiles
│   ├── requirements.txt
│   ├── static
│   │   └── bulma.min.css
│   ├── staticfiles
│   └── upload
│       ├── __init__.py
│       ├── admin.py
│       ├── apps.py
│       ├── migrations
│       │   └── __init__.py
│       ├── models.py
│       ├── templates
│       │   └── upload.html
│       ├── tests.py
│       └── views.py
├── docker-compose.yml
└── nginx
    ├── Dockerfile
    └── nginx.conf
Want to learn how to build this project? Check out Dockerizing Django with Postgres, Gunicorn, and Nginx.
Django Storages
Next, let's install django-storages, so that we can use Spaces as the main Django storage backend, and boto3, in order to interact with the Spaces API.
Update the requirements file:
boto3==1.34.117
Django==5.0.6
django-storages==1.14.3
gunicorn==22.0.0
psycopg2-binary==2.9.9
Add storages to the INSTALLED_APPS in settings.py:
INSTALLED_APPS = [
    'django.contrib.admin',
    'django.contrib.auth',
    'django.contrib.contenttypes',
    'django.contrib.sessions',
    'django.contrib.messages',
    'django.contrib.staticfiles',
    'upload',
    'storages',
]
Update the images and spin up the new containers:
$ docker-compose up -d --build
Static Files
Moving along, we need to update the handling of static files in settings.py:
STATIC_URL = '/static/'
STATIC_ROOT = BASE_DIR / 'staticfiles'
STATICFILES_DIRS = (BASE_DIR / 'static',)

MEDIA_URL = '/media/'
MEDIA_ROOT = BASE_DIR / 'mediafiles'
Replace those settings with the following:
USE_SPACES = os.getenv('USE_SPACES') == 'TRUE'

if USE_SPACES:
    # settings
    AWS_ACCESS_KEY_ID = os.getenv('AWS_ACCESS_KEY_ID')
    AWS_SECRET_ACCESS_KEY = os.getenv('AWS_SECRET_ACCESS_KEY')
    AWS_STORAGE_BUCKET_NAME = os.getenv('AWS_STORAGE_BUCKET_NAME')
    AWS_DEFAULT_ACL = 'public-read'
    AWS_S3_ENDPOINT_URL = 'https://sfo3.digitaloceanspaces.com'
    AWS_S3_OBJECT_PARAMETERS = {'CacheControl': 'max-age=86400'}
    # static settings
    AWS_LOCATION = 'static'
    STATIC_URL = f'https://{AWS_S3_ENDPOINT_URL}/{AWS_LOCATION}/'
    STATICFILES_STORAGE = 'storages.backends.s3boto3.S3Boto3Storage'
else:
    STATIC_URL = '/static/'
    STATIC_ROOT = BASE_DIR / 'staticfiles'

STATICFILES_DIRS = (BASE_DIR / 'static',)

MEDIA_URL = '/media/'
MEDIA_ROOT = BASE_DIR / 'mediafiles'
Be sure to update the
AWS_S3_ENDPOINT_URLif you're using a different region thanSFO3.
Take note of USE_SPACES and STATICFILES_STORAGE:
- The
USE_SPACESenvironment variable is used to turn the Spaces storage on (value isTRUE) and off (value isFALSE). So, you could configure two Docker compose files: One for development with Spaces off and the other for production with Spaces on. - The
STATICFILES_STORAGEsetting configures Django to automatically add static files to the Spaces bucket when thecollectstaticcommand is run.
Review the official django-storages documentation on DigitalOcean and Amazon S3 for more info on the above settings and config.
Add the appropriate environment variables to the web service in the docker-compose.yml file:
web:
  build: ./app
  command: bash -c 'while !</dev/tcp/db/5432; do sleep 1; done; gunicorn hello_django.wsgi:application --bind 0.0.0.0:8000'
  volumes:
    - ./app/:/usr/src/app/
    - static_volume:/usr/src/app/staticfiles
    - media_volume:/usr/src/app/mediafiles
  expose:
    - 8000
  environment:
    - SECRET_KEY=please_change_me
    - SQL_ENGINE=django.db.backends.postgresql
    - SQL_DATABASE=postgres
    - SQL_USER=postgres
    - SQL_PASSWORD=postgres
    - SQL_HOST=db
    - SQL_PORT=5432
    - DATABASE=postgres
    - USE_SPACES=TRUE
    - AWS_ACCESS_KEY_ID=UPDATE_ME
    - AWS_SECRET_ACCESS_KEY=UPDATE_ME
    - AWS_STORAGE_BUCKET_NAME=UPDATE_ME
  depends_on:
    - db
Don't forget to update
AWS_ACCESS_KEY_IDandAWS_SECRET_ACCESS_KEYwith the user keys that you just created along with theAWS_STORAGE_BUCKET_NAME.
To test, re-build and run the containers:
$ docker-compose down -v
$ docker-compose up -d --build
Collect the static files:
$ docker-compose exec web python manage.py collectstatic
It should take much longer than before since the files are being uploaded to the Spaces bucket.
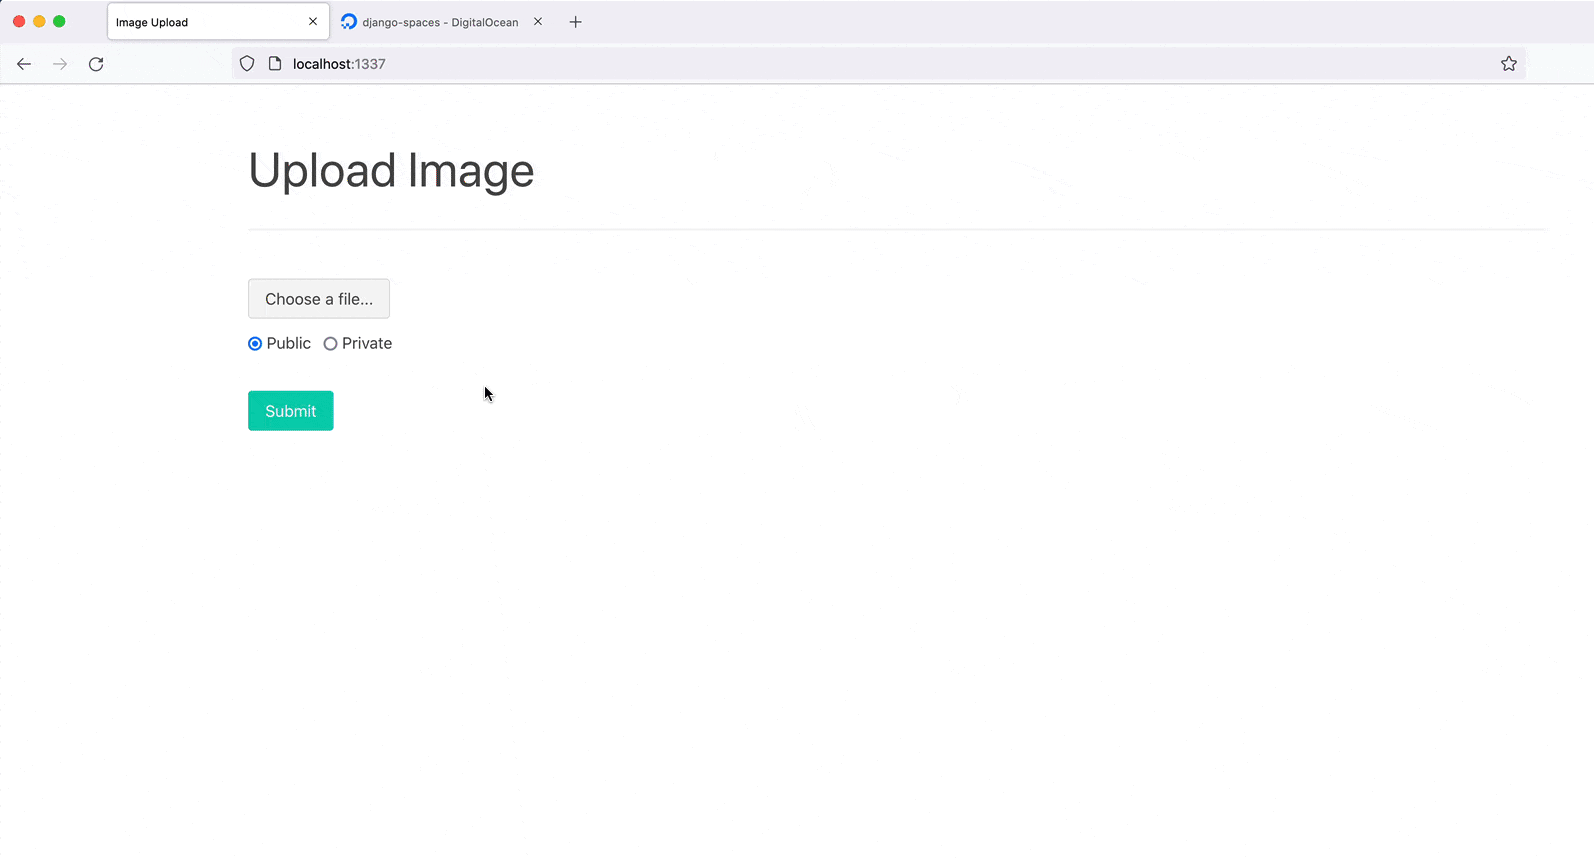
http://localhost:1337 should still render correctly:
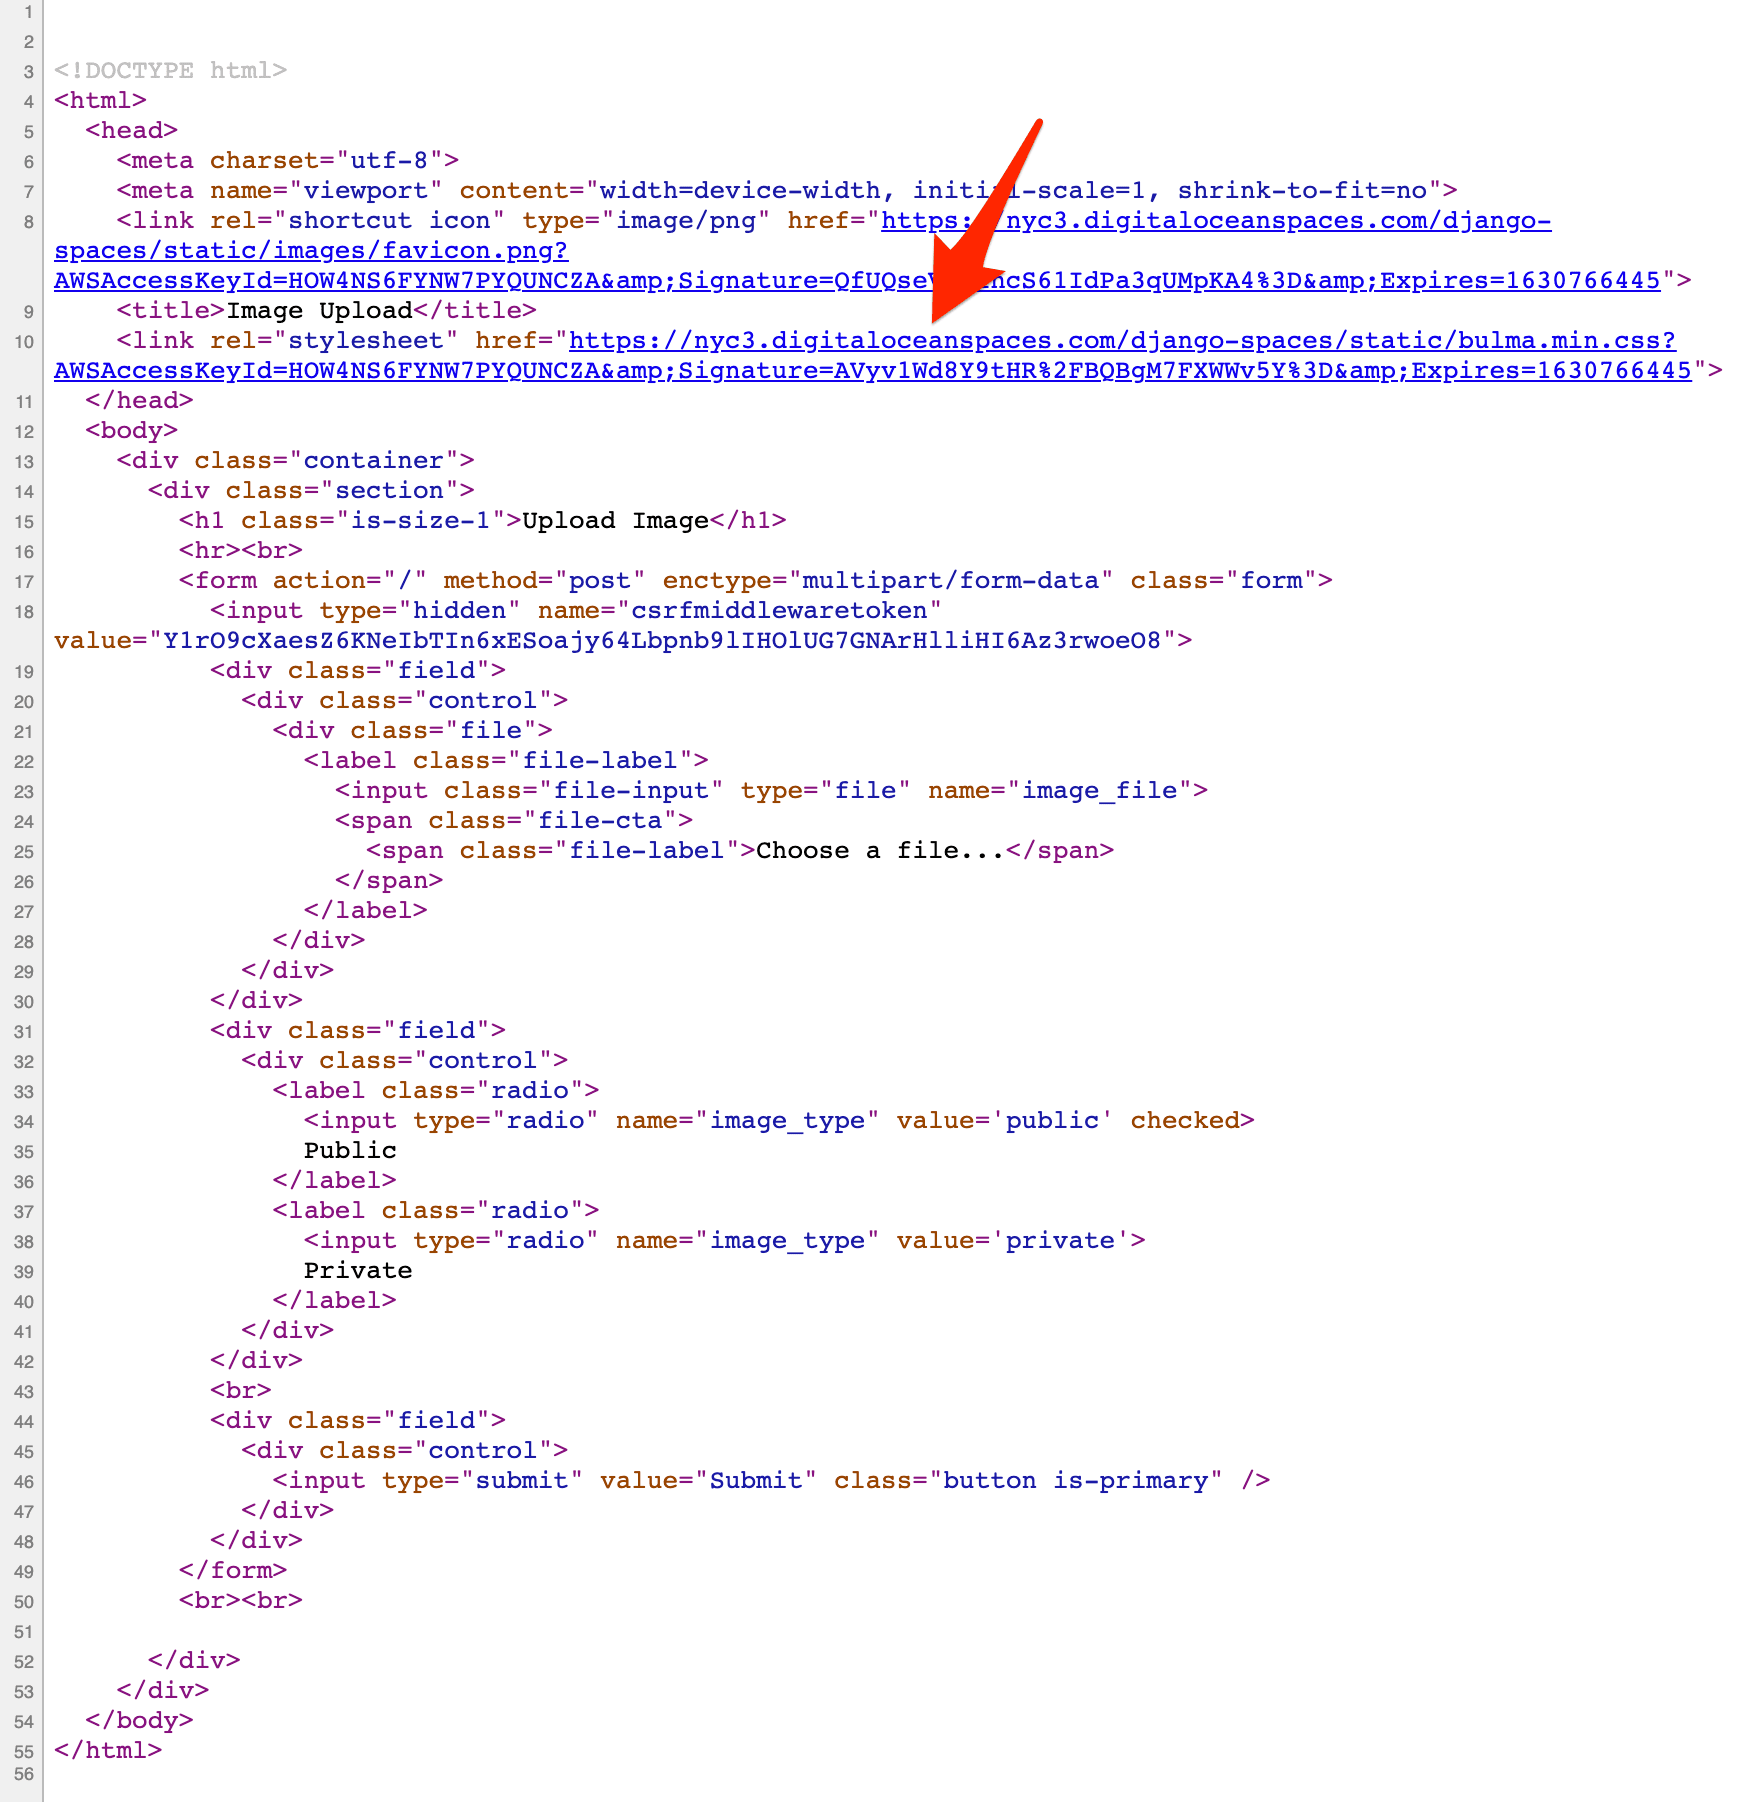
View the page source to ensure the CSS stylesheet is pulled in from the Spaces bucket:
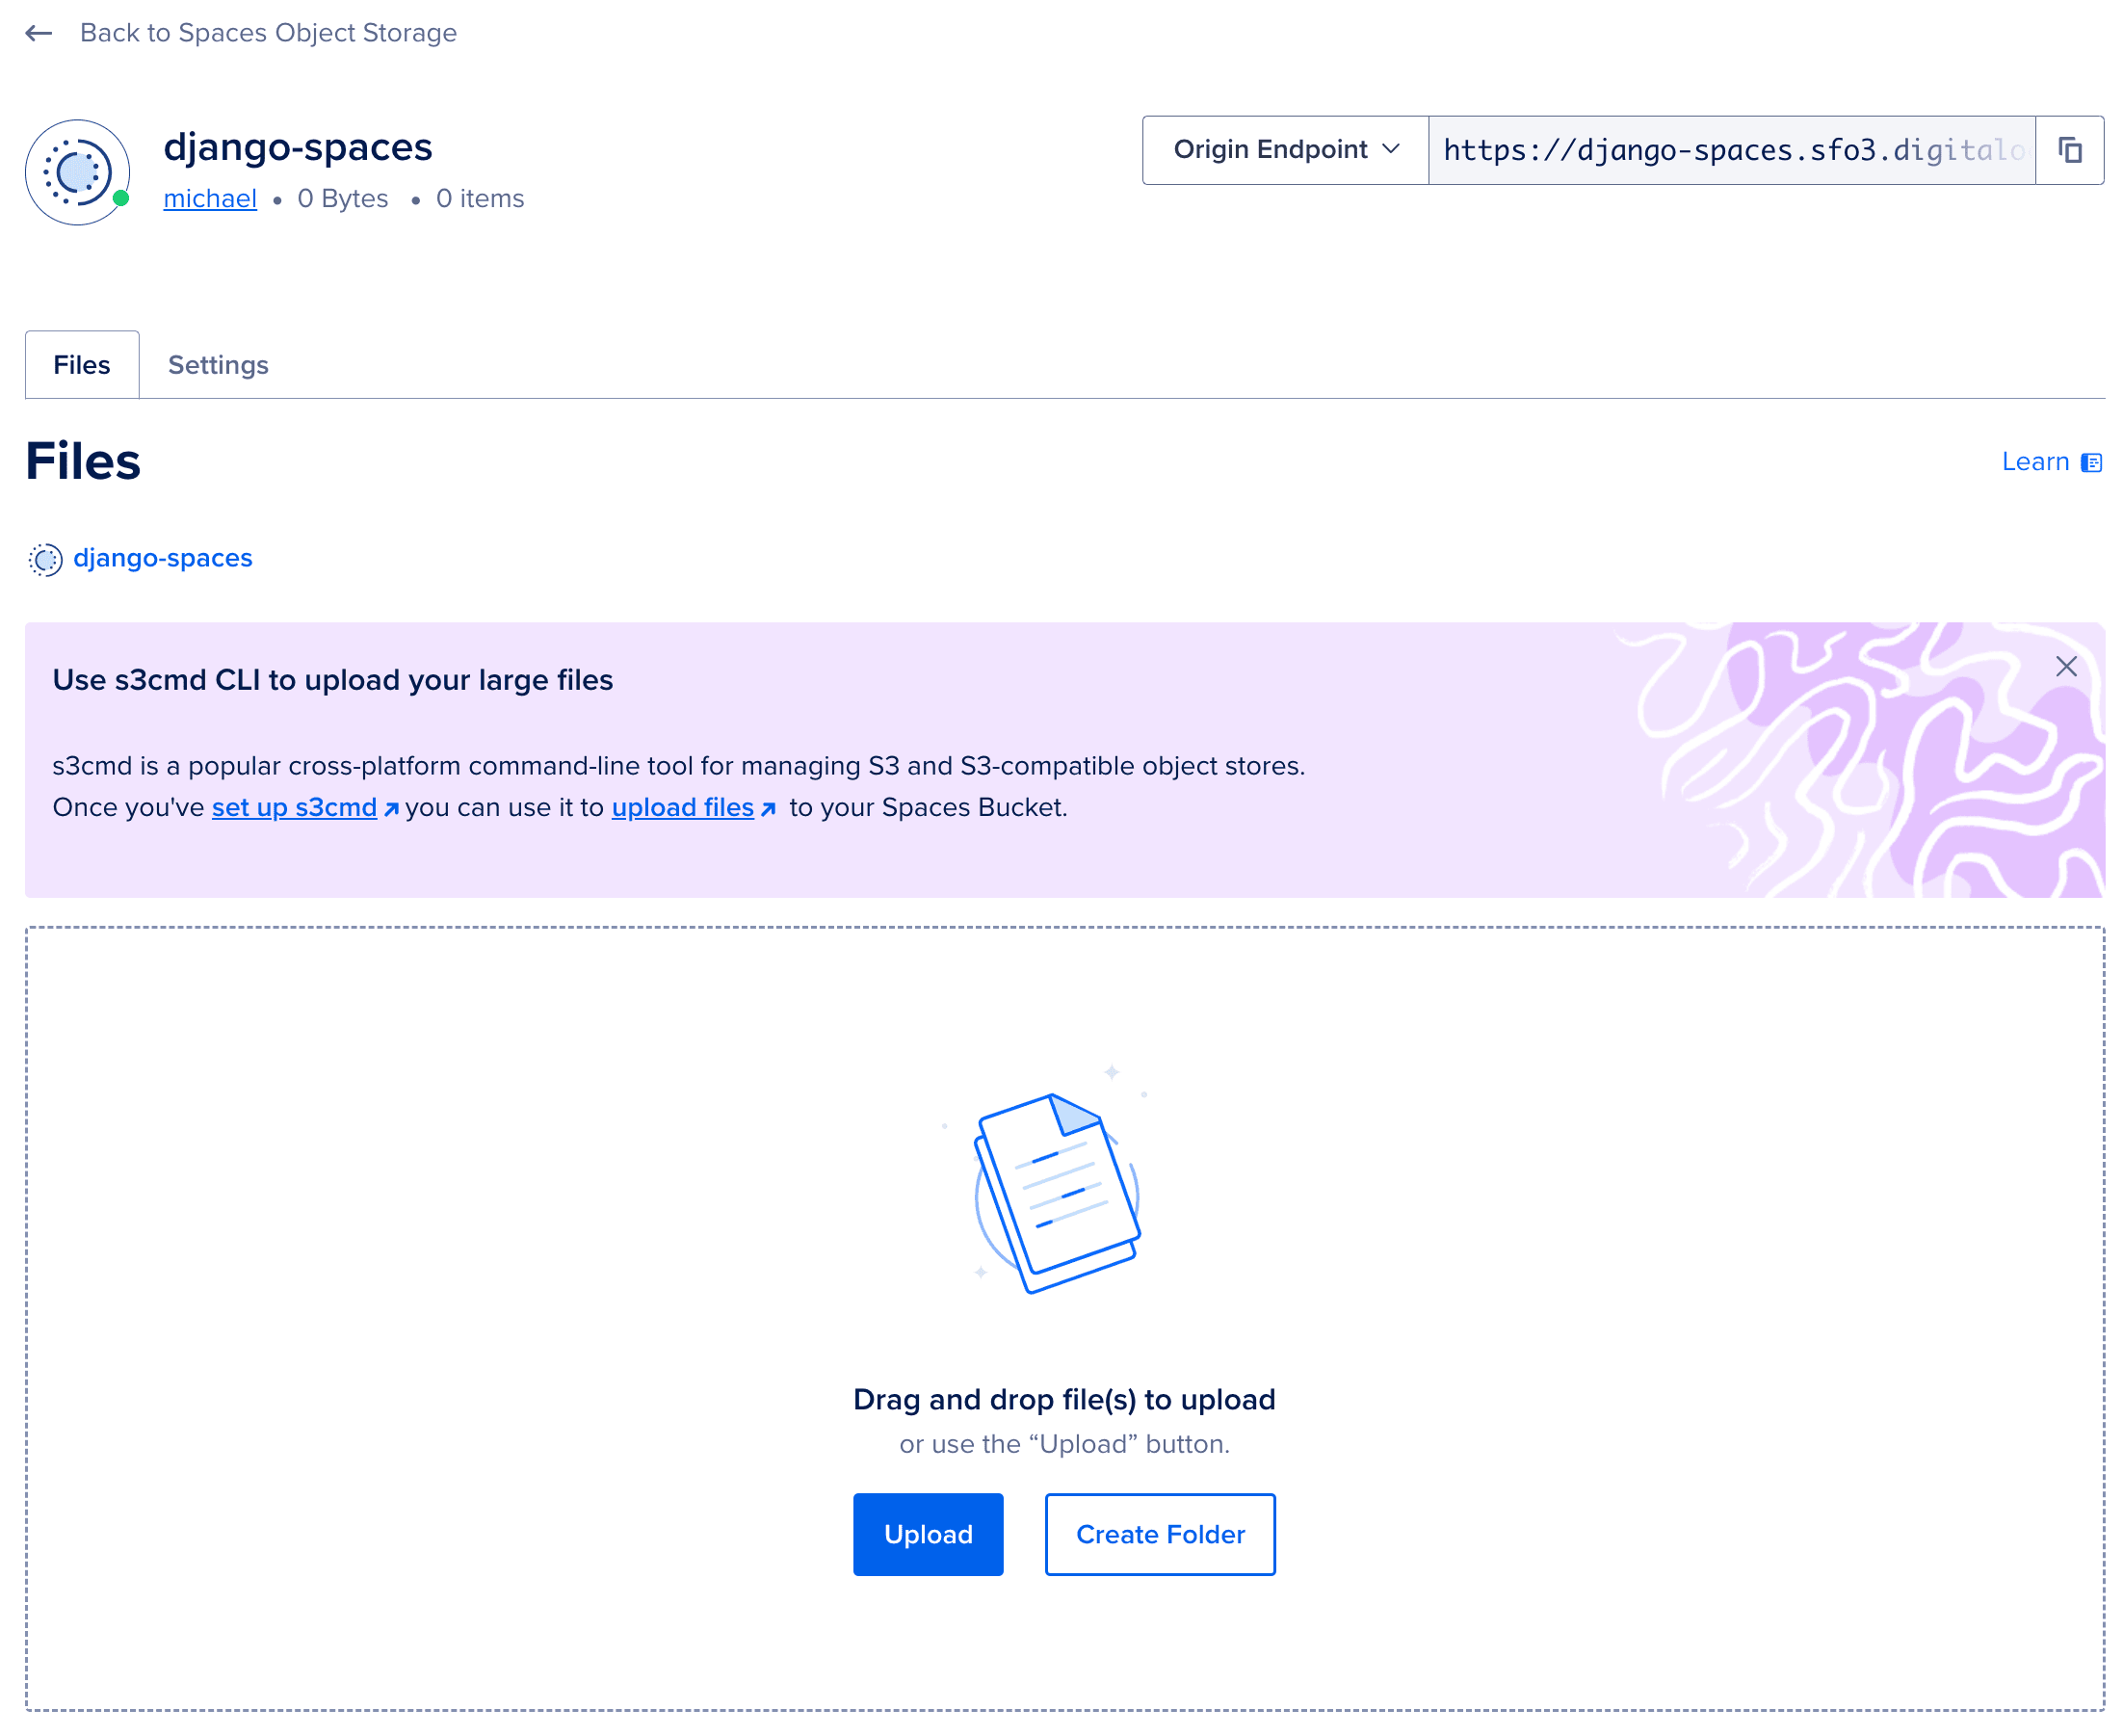
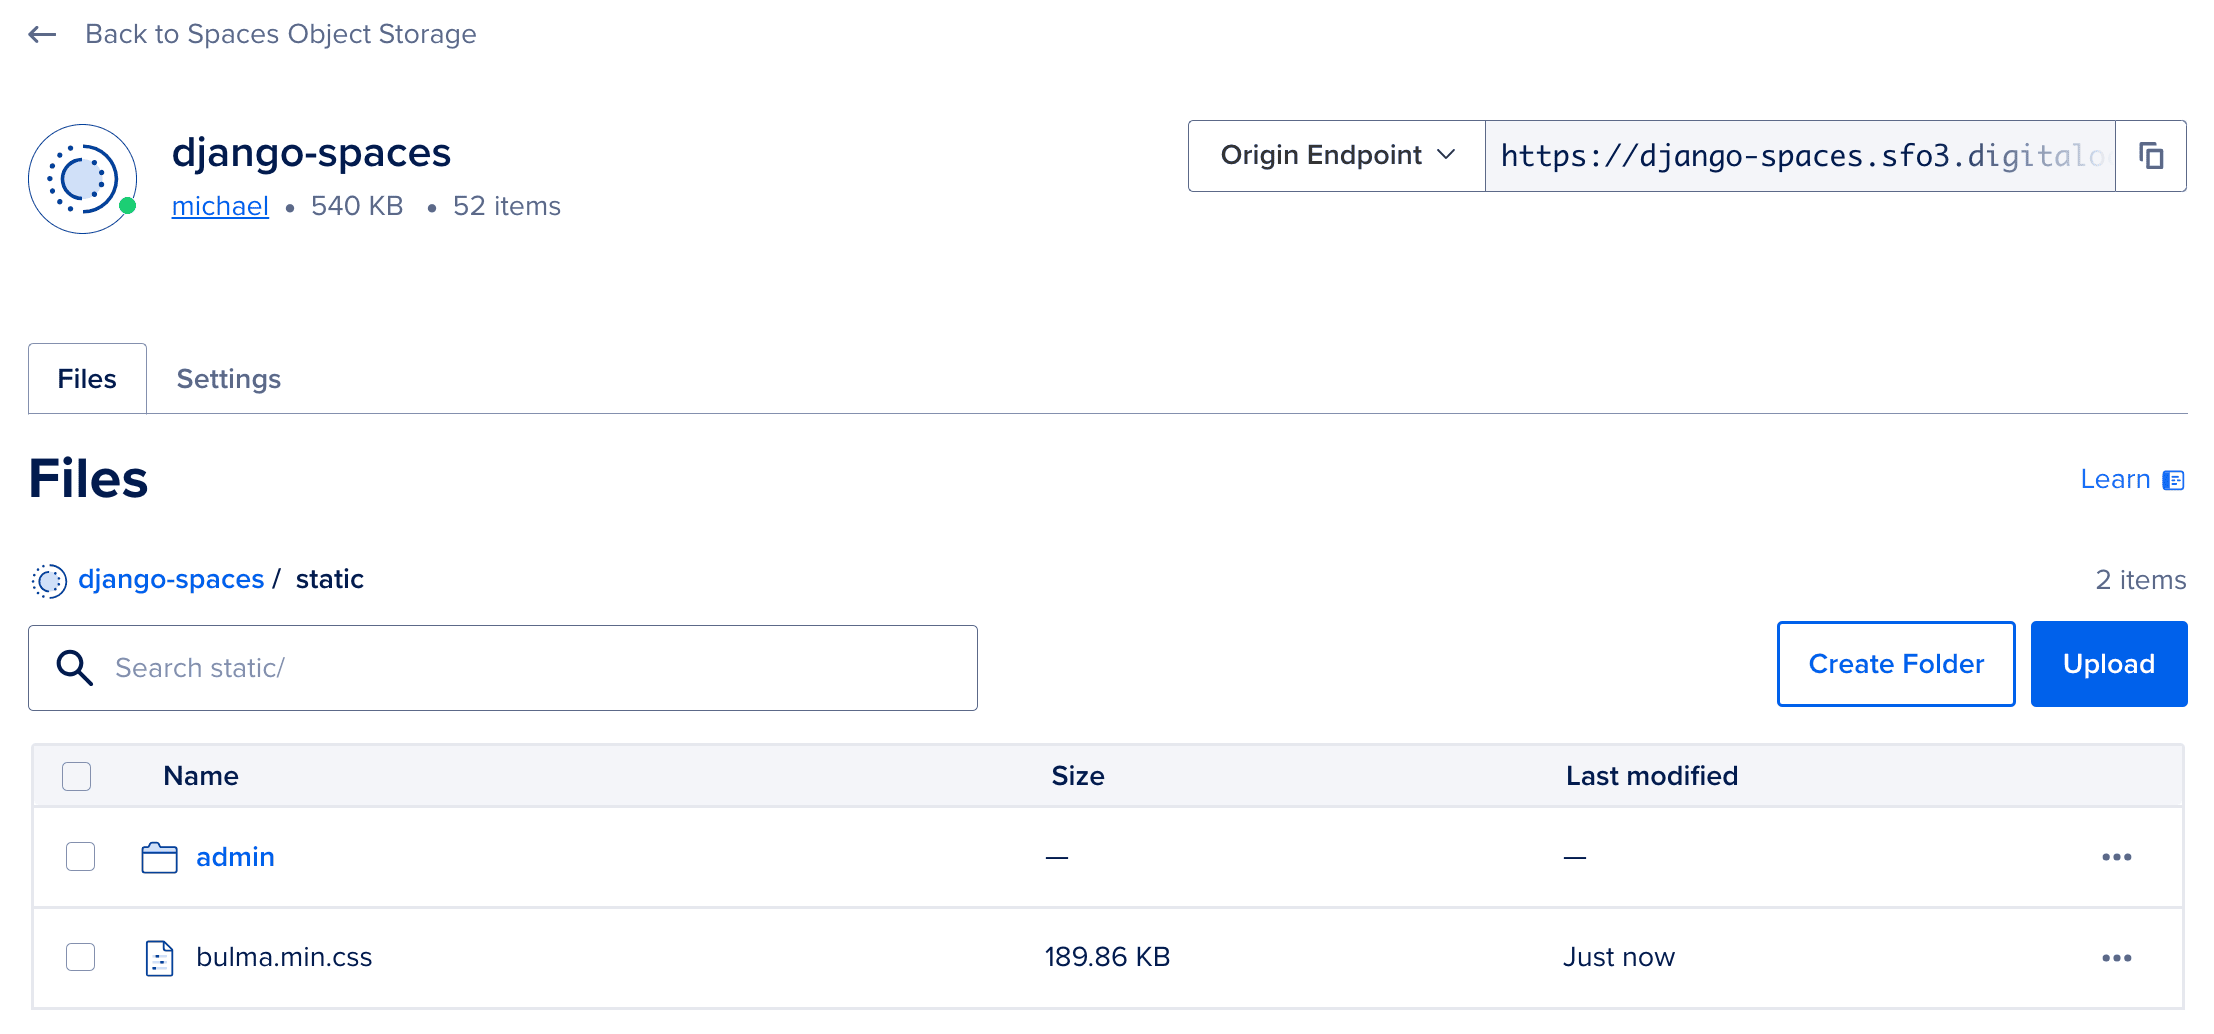
Verify that the static files can be seen on the DigitalOcean control panel within the "static" subfolder of the Spaces bucket:
Media uploads will still hit the local filesystem since we've only configured Spaces for static files. We'll work with media uploads shortly.
Finally, update the value of USE_SPACES to FALSE and re-build the images to make sure that Django uses the local filesystem for static files. Once done, change USE_SPACES back to TRUE.
Public Media Files
To prevent users from overwriting existing static files, media file uploads should be placed in a different subfolder in the bucket. We'll handle this by creating custom storage classes for each type of storage.
Add a new file called storage_backends.py to the "app/hello_django" folder:
from django.conf import settings
from storages.backends.s3boto3 import S3Boto3Storage


class StaticStorage(S3Boto3Storage):
    location = 'static'
    default_acl = 'public-read'


class PublicMediaStorage(S3Boto3Storage):
    location = 'media'
    default_acl = 'public-read'
    file_overwrite = False

    @property
    def querystring_auth(self):
        return False
Make the following changes to settings.py:
USE_SPACES = os.getenv('USE_SPACES') == 'TRUE'

if USE_SPACES:
    # settings
    AWS_ACCESS_KEY_ID = os.getenv('AWS_ACCESS_KEY_ID')
    AWS_SECRET_ACCESS_KEY = os.getenv('AWS_SECRET_ACCESS_KEY')
    AWS_STORAGE_BUCKET_NAME = os.getenv('AWS_STORAGE_BUCKET_NAME')
    AWS_DEFAULT_ACL = 'public-read'
    AWS_S3_ENDPOINT_URL = 'https://sfo3.digitaloceanspaces.com'
    AWS_S3_OBJECT_PARAMETERS = {'CacheControl': 'max-age=86400'}
    # static settings
    AWS_LOCATION = 'static'
    STATIC_URL = f'https://{AWS_S3_ENDPOINT_URL}/{AWS_LOCATION}/'
    STATICFILES_STORAGE = 'storages.backends.s3boto3.S3Boto3Storage'
    # public media settings
    PUBLIC_MEDIA_LOCATION = 'media'
    MEDIA_URL = f'https://{AWS_S3_ENDPOINT_URL}/{PUBLIC_MEDIA_LOCATION}/'
    DEFAULT_FILE_STORAGE = 'hello_django.storage_backends.PublicMediaStorage'
else:
    STATIC_URL = '/static/'
    STATIC_ROOT = BASE_DIR / 'staticfiles'
    MEDIA_URL = '/media/'
    MEDIA_ROOT = BASE_DIR / 'mediafiles'

STATICFILES_DIRS = (BASE_DIR / 'static',)
With the DEFAULT_FILE_STORAGE setting now set, all FileFields will upload their content to the Spaces bucket. Review the remaining settings before moving on.
Next, let's make a few changes to the upload app.
app/upload/models.py:
from django.db import models


class Upload(models.Model):
    uploaded_at = models.DateTimeField(auto_now_add=True)
    file = models.FileField()
app/upload/views.py:
from django.conf import settings
from django.core.files.storage import FileSystemStorage
from django.shortcuts import render

from .models import Upload


def image_upload(request):
    if request.method == 'POST':
        image_file = request.FILES['image_file']
        image_type = request.POST['image_type']
        if settings.USE_SPACES:
            upload = Upload(file=image_file)
            upload.save()
            image_url = upload.file.url
        else:
            fs = FileSystemStorage()
            filename = fs.save(image_file.name, image_file)
            image_url = fs.url(filename)
        return render(request, 'upload.html', {
            'image_url': image_url
        })
    return render(request, 'upload.html')
Create the new migration file and then build the new images:
$ docker-compose exec web python manage.py makemigrations
$ docker-compose down -v
$ docker-compose up -d --build
$ docker-compose exec web python manage.py migrate
Test it out! Upload an image at http://localhost:1337. The image should be uploaded to Spaces (to the media subfolder) and the image_url should include the S3 url:
Private Media Files
Add a new class to the storage_backends.py:
class PrivateMediaStorage(S3Boto3Storage):
    location = 'private'
    default_acl = 'private'
    file_overwrite = False
    custom_domain = False

    @property
    def querystring_auth(self):
        return True
When
querystring_auth(orAWS_QUERYSTRING_AUTH) isTrue, each URL includes a signature and an expiration time.
Add the appropriate settings:
USE_SPACES = os.getenv('USE_SPACES') == 'TRUE'

if USE_SPACES:
    # settings
    AWS_ACCESS_KEY_ID = os.getenv('AWS_ACCESS_KEY_ID')
    AWS_SECRET_ACCESS_KEY = os.getenv('AWS_SECRET_ACCESS_KEY')
    AWS_STORAGE_BUCKET_NAME = os.getenv('AWS_STORAGE_BUCKET_NAME')
    AWS_DEFAULT_ACL = 'public-read'
    AWS_S3_ENDPOINT_URL = 'https://sfo3.digitaloceanspaces.com'
    AWS_S3_OBJECT_PARAMETERS = {'CacheControl': 'max-age=86400'}
    # static settings
    AWS_LOCATION = 'static'
    STATIC_URL = f'https://{AWS_S3_ENDPOINT_URL}/{AWS_LOCATION}/'
    STATICFILES_STORAGE = 'storages.backends.s3boto3.S3Boto3Storage'
    # public media settings
    PUBLIC_MEDIA_LOCATION = 'media'
    MEDIA_URL = f'https://{AWS_S3_ENDPOINT_URL}/{PUBLIC_MEDIA_LOCATION}/'
    DEFAULT_FILE_STORAGE = 'hello_django.storage_backends.PublicMediaStorage'
    # private media settings
    PRIVATE_MEDIA_LOCATION = 'private'
    PRIVATE_FILE_STORAGE = 'hello_django.storage_backends.PrivateMediaStorage'
else:
    STATIC_URL = '/static/'
    STATIC_ROOT = BASE_DIR / 'staticfiles'
    MEDIA_URL = '/media/'
    MEDIA_ROOT = BASE_DIR / 'mediafiles'

STATICFILES_DIRS = (BASE_DIR / 'static',)
Create a new model in app/upload/models.py:
from django.db import models

from hello_django.storage_backends import PublicMediaStorage, PrivateMediaStorage


class Upload(models.Model):
    uploaded_at = models.DateTimeField(auto_now_add=True)
    file = models.FileField(storage=PublicMediaStorage())


class UploadPrivate(models.Model):
    uploaded_at = models.DateTimeField(auto_now_add=True)
    file = models.FileField(storage=PrivateMediaStorage())
Then, update the view:
from django.conf import settings
from django.core.files.storage import FileSystemStorage
from django.shortcuts import render

from .models import Upload, UploadPrivate


def image_upload(request):
    if request.method == 'POST':
        image_file = request.FILES['image_file']
        image_type = request.POST['image_type']
        if settings.USE_SPACES:
            if image_type == 'private':
                upload = UploadPrivate(file=image_file)
            else:
                upload = Upload(file=image_file)
            upload.save()
            image_url = upload.file.url
        else:
            fs = FileSystemStorage()
            filename = fs.save(image_file.name, image_file)
            image_url = fs.url(filename)
        return render(request, 'upload.html', {
            'image_url': image_url
        })
    return render(request, 'upload.html')
Again, create the migration file, re-build the images, and spin up the new containers:
$ docker-compose exec web python manage.py makemigrations
$ docker-compose down -v
$ docker-compose up -d --build
$ docker-compose exec web python manage.py migrate
To test, upload a private image at http://localhost:1337. Like a public image, the image should be uploaded to Spaces (to the private subfolder) and the image_url should include the Spaces URL along with the following query string parameters:
- AWSAccessKeyId
- Signature
- Expires
Essentially, we created a temporary, signed URL that users can access for a specific period of time. You won't be able to access it directly, without the parameters.
Conclusion
This tutorial walked you through how to create a bucket on DigitalOcean Spaces and set up Django to upload and serve static files and media uploads to and from Spaces.
By using Spaces, you:
- Increase the amount of space you have available for static and media files
- Decrease the stress on your own server since it no longer has to serve up the files
- Can limit access to specific files
- Can take advantage of a CDN
Let us know if we missed anything or if you have any other tips and tricks. You can find the final code in the django-digitalocean-spaces repo.